Choose Your Own Adventure: Printmaking

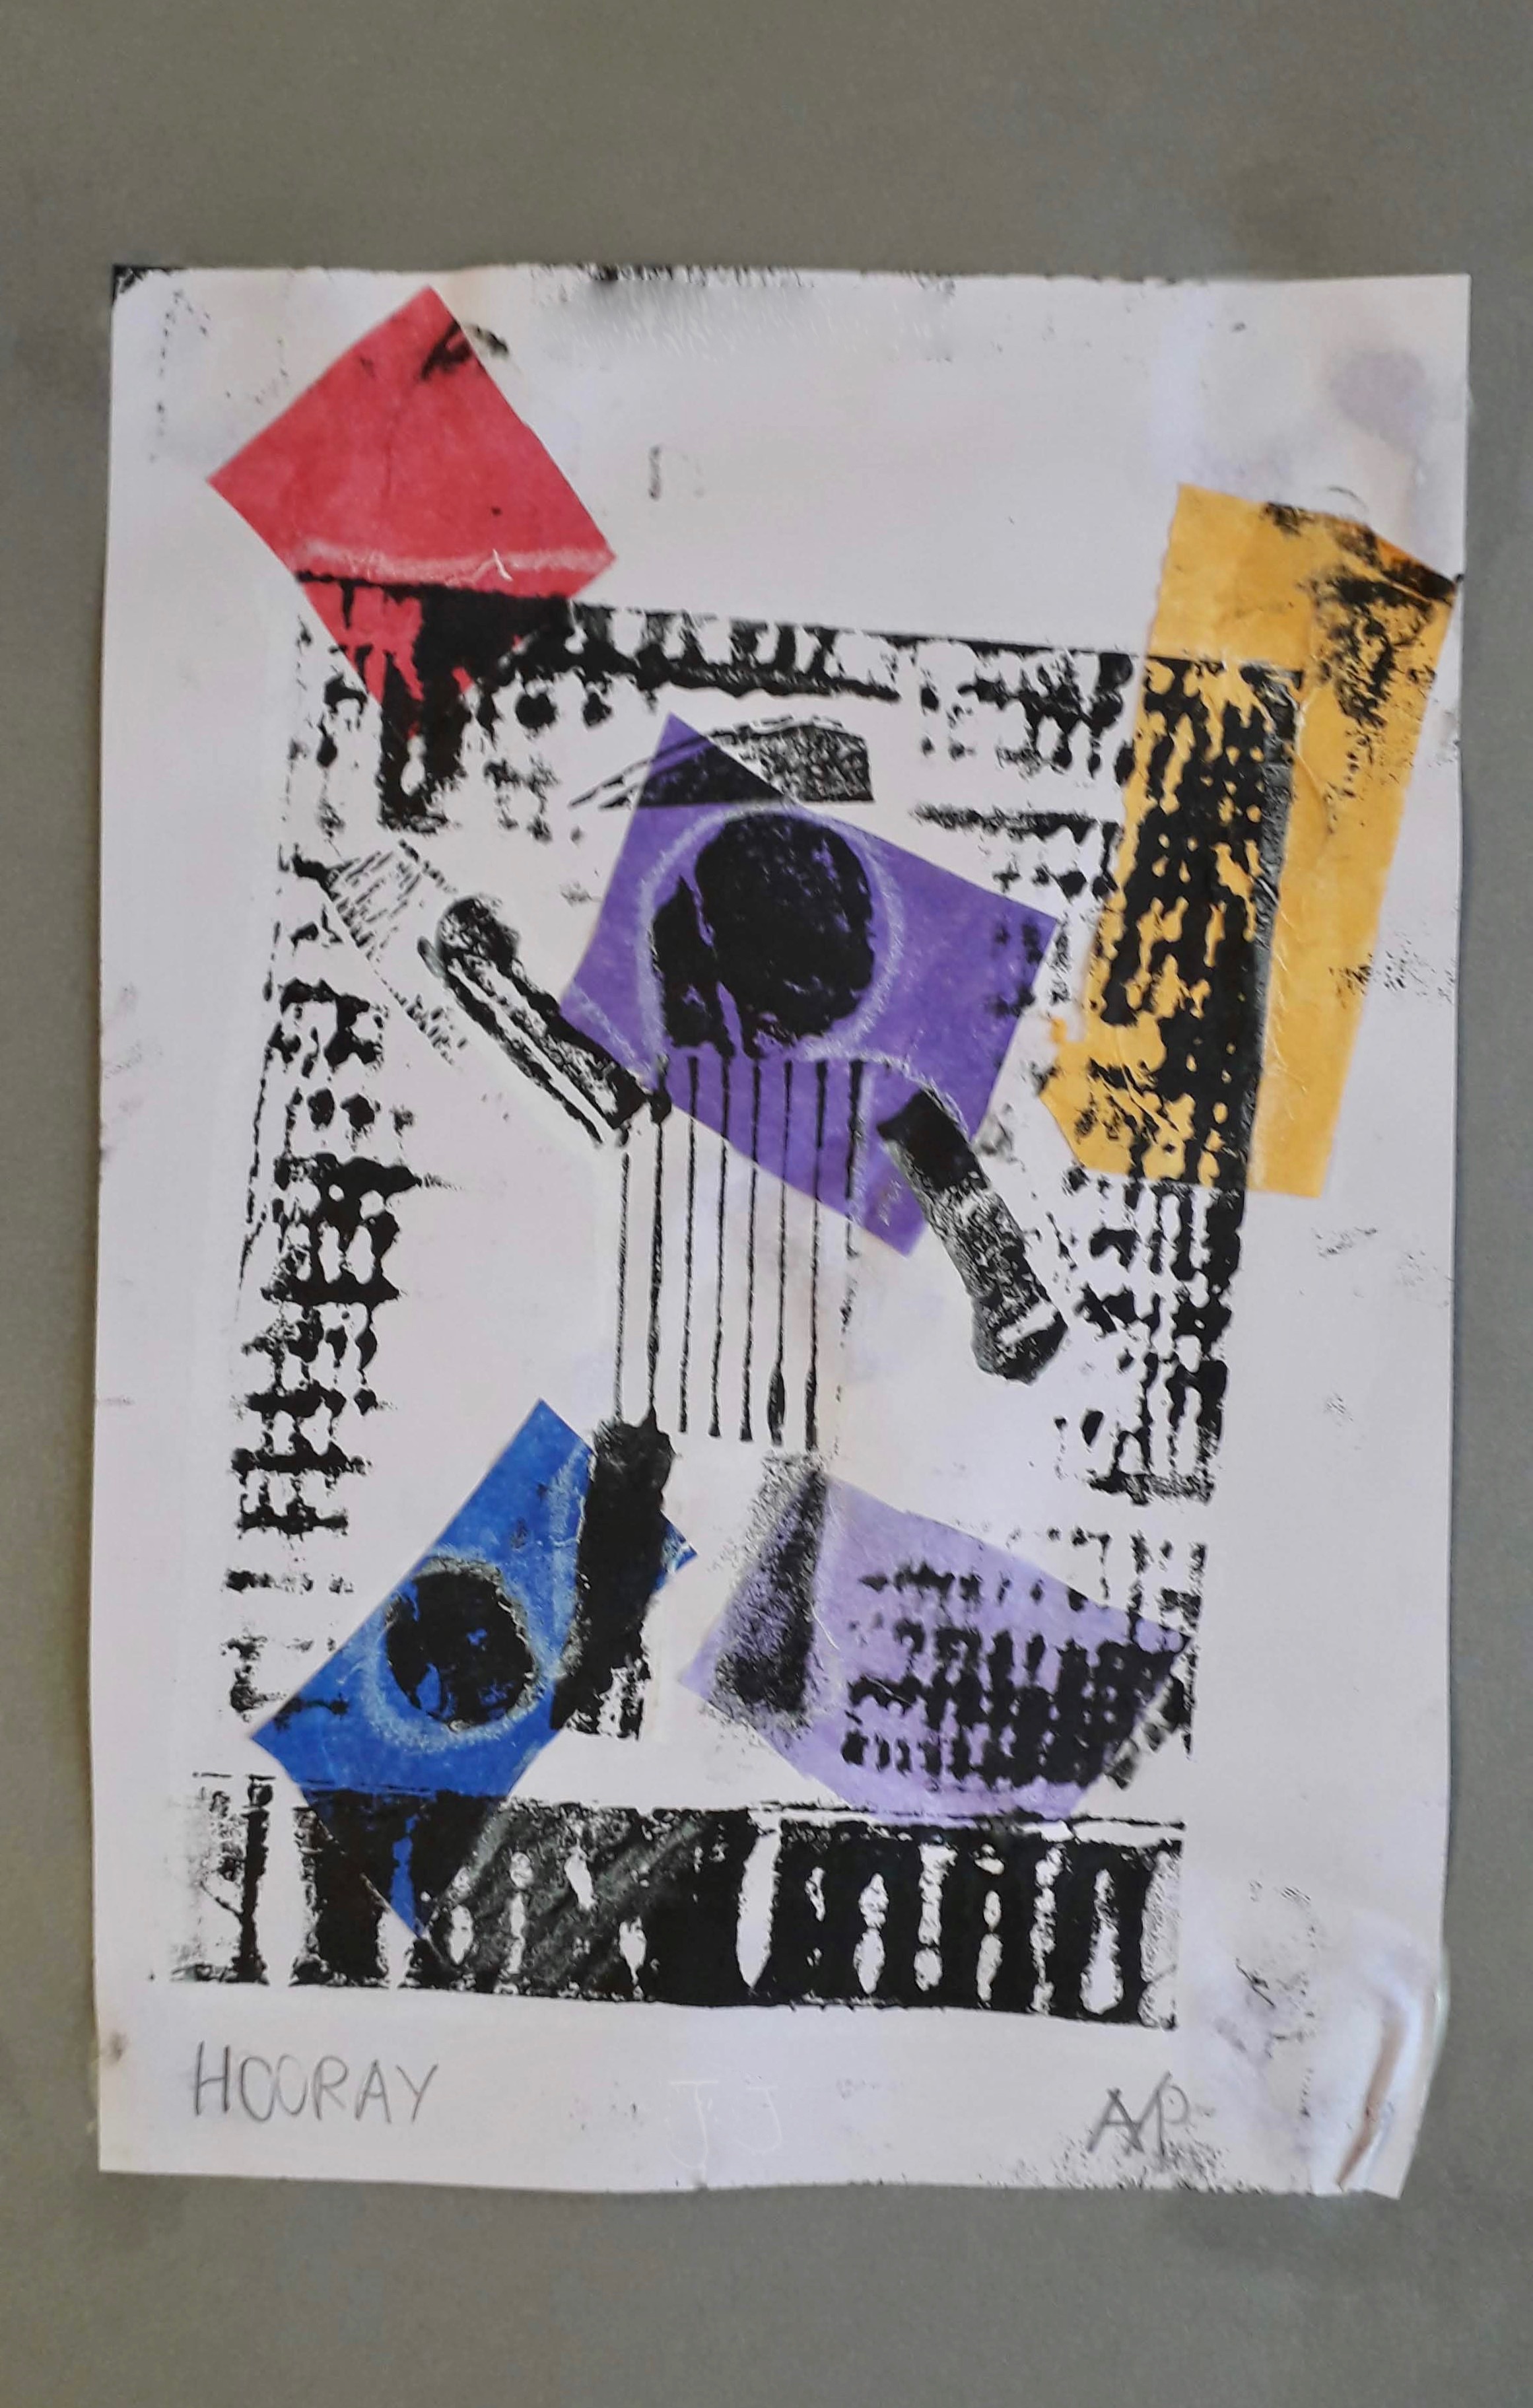
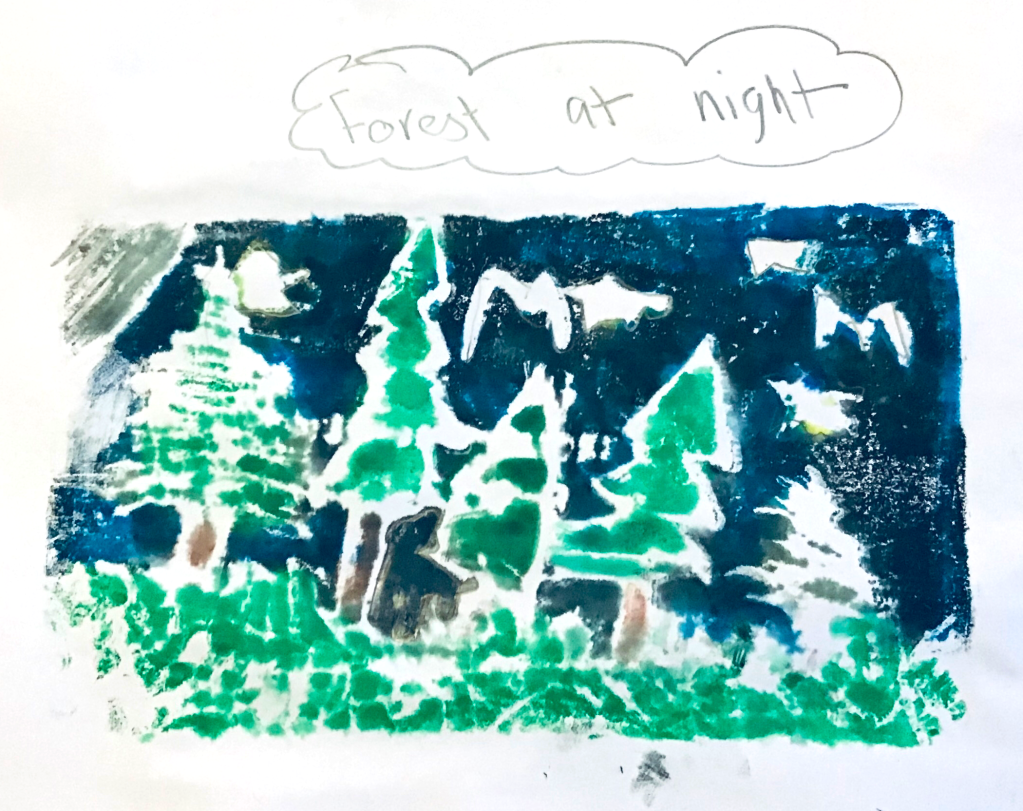
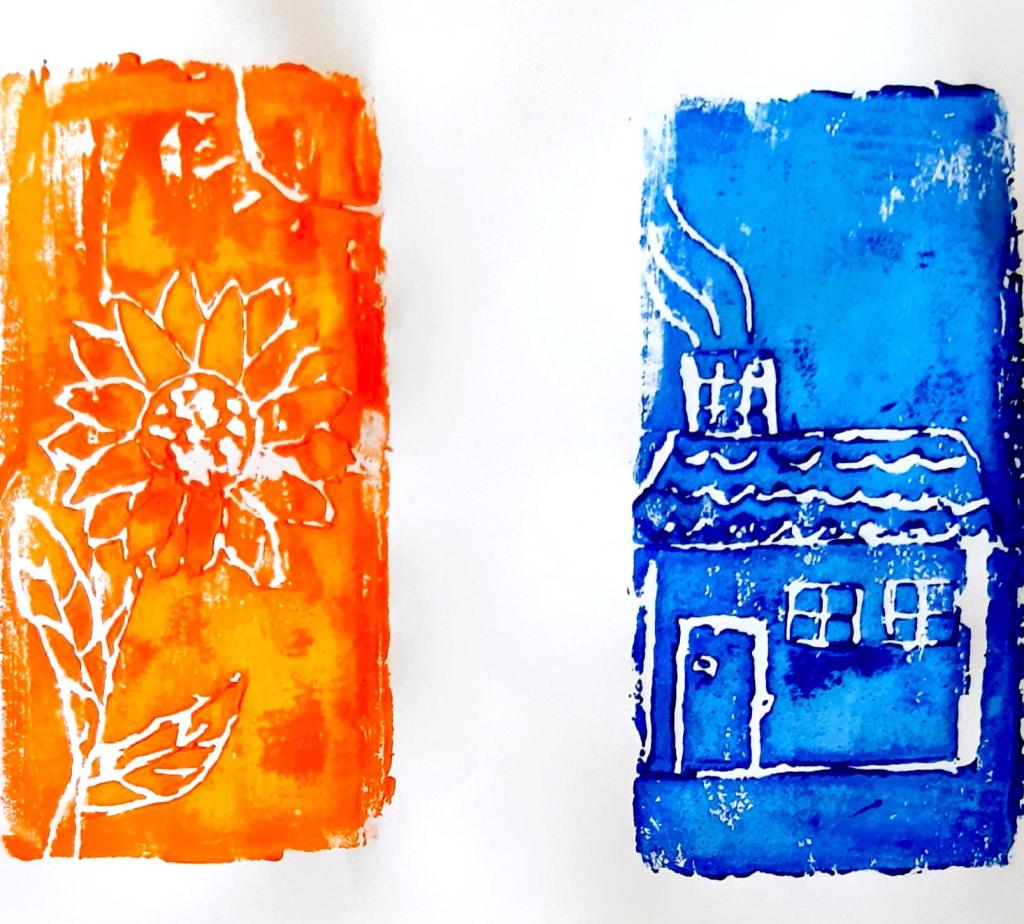
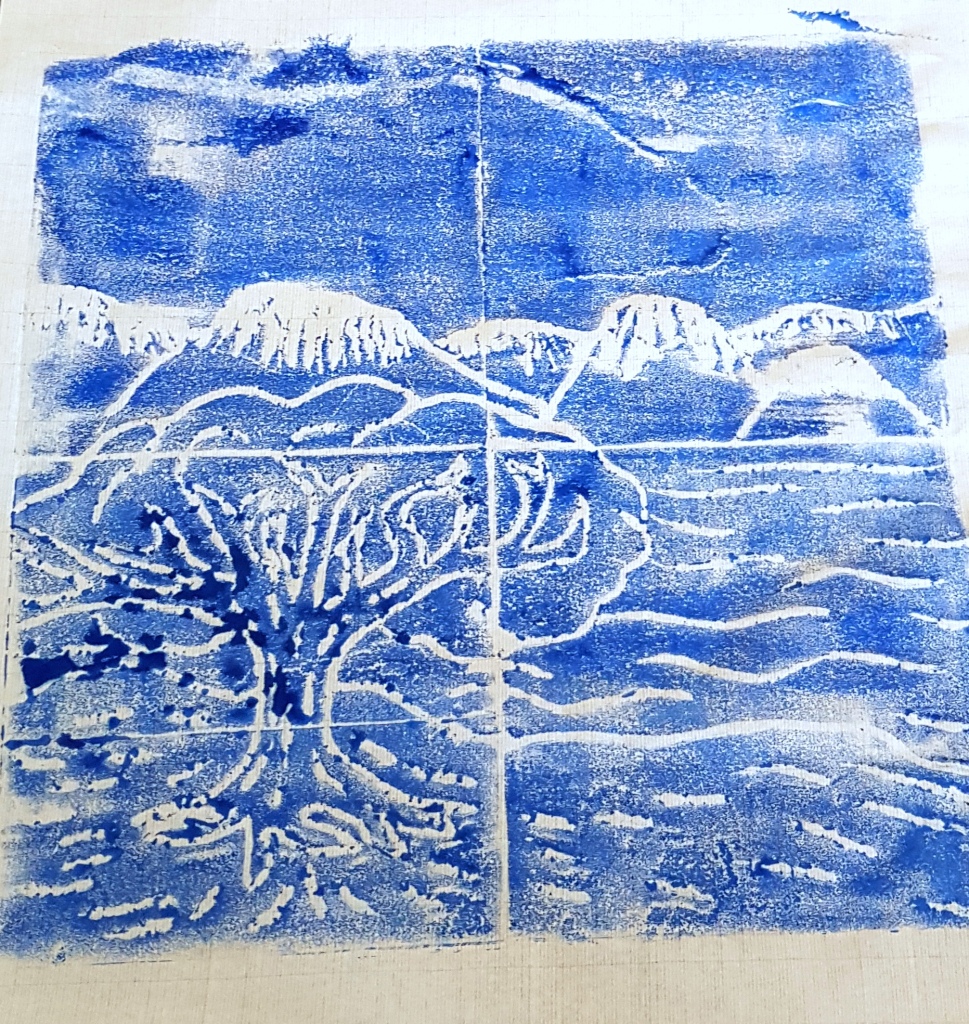
I look forward to teaching printmaking every year and seeing the students’ eyes light up at the magical process. I was planning to make spring landscape collographs with them like these second and third grade ones from a few years ago… instead I dove into experimental mode and made three separate video tutorials for printmaking with various alternative material options. It was time intensive, but worth it as students began sending me photos of their finished prints! If you are curious about printmaking, you can see the project here and samples of their work below.

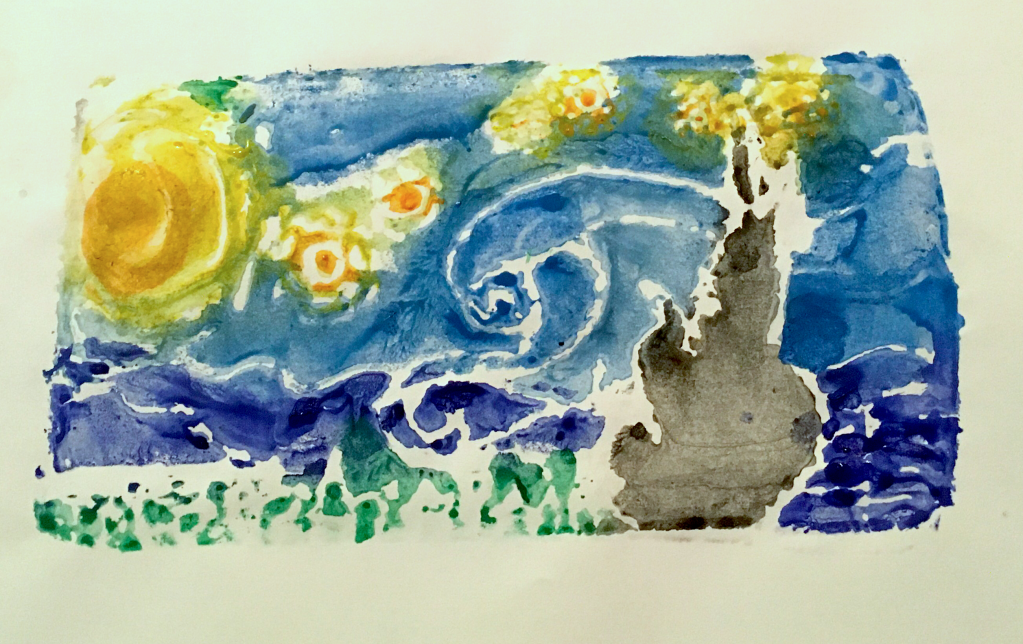
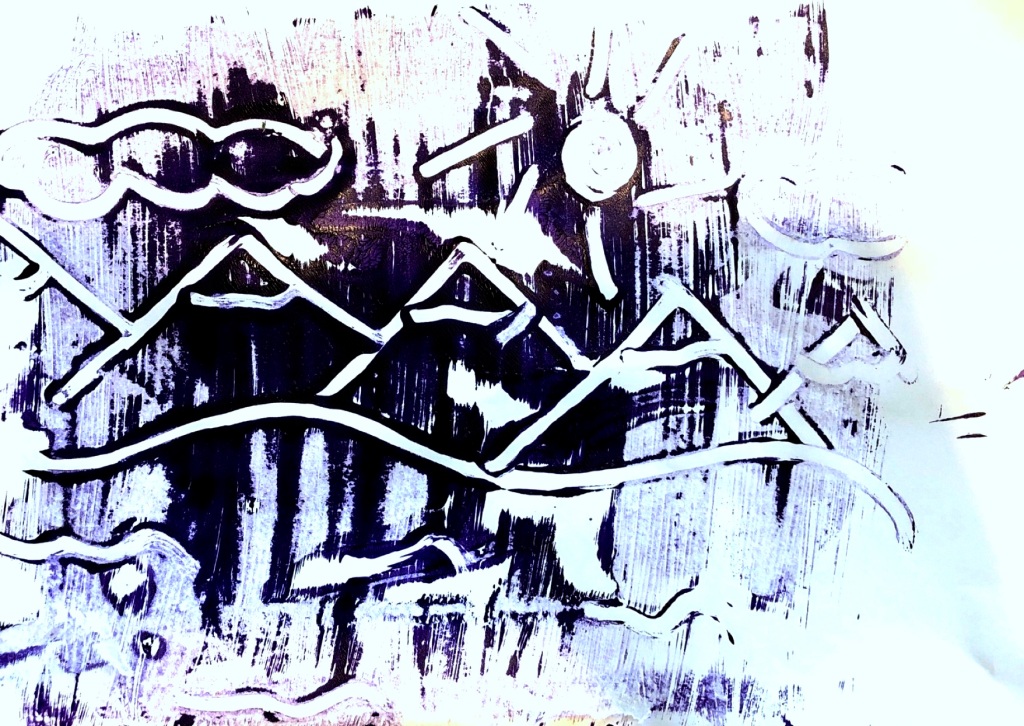
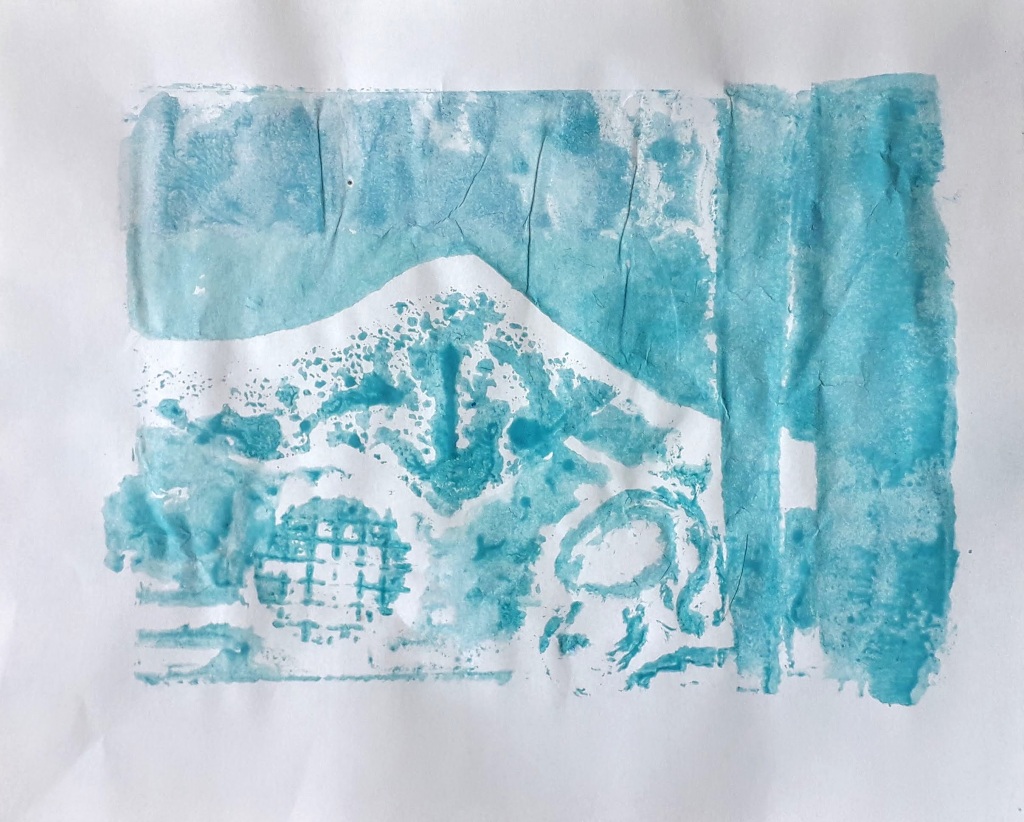
Monoprint

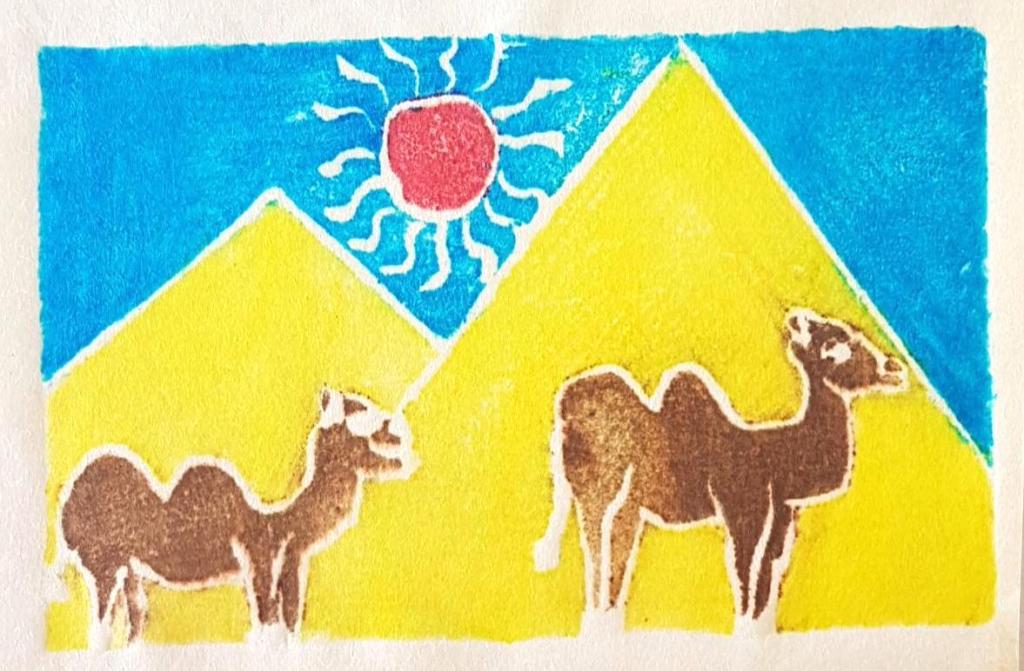
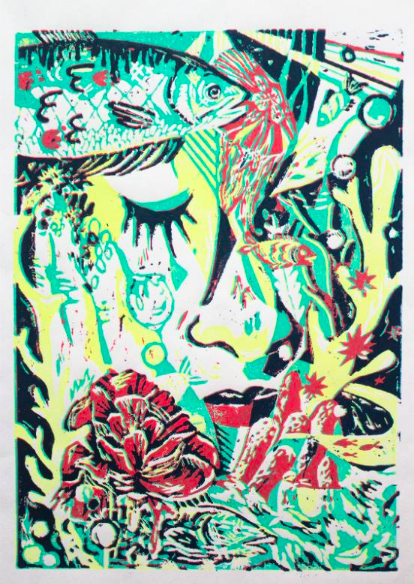
Styrofoam Relief Print

This method was the popular choice! Can you spot the one inspired by a famous painting?

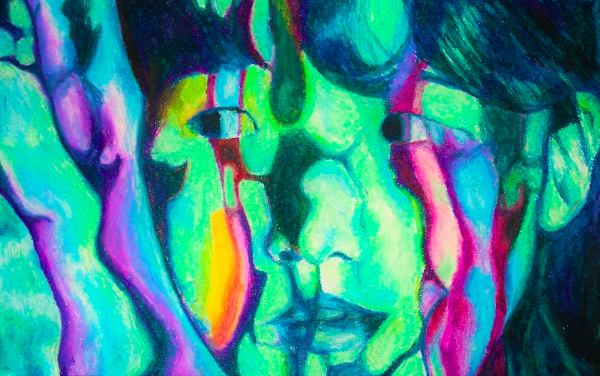
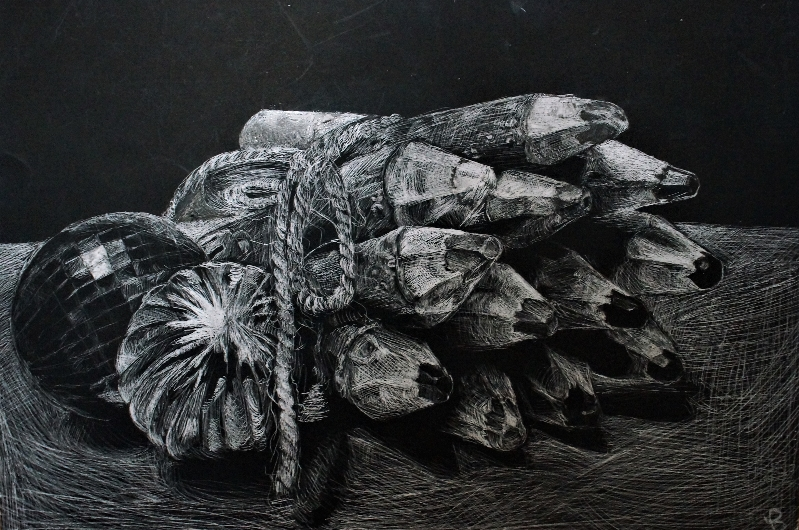
Collograph Print

No one chose this, despite it being the method I wanted to teach. I love the results, although coincidentally, this was the method I disliked the most in art school!

4 Years of AP Art!

I am in a very reflective mood. This year, I taught my fourth group of AP artists. It is SO good for me as an educator to see how far I have come in my abilities to teach and mentor students at this level. I could not be more proud of these girls and the hard work they put in for the scores they received.

Throughout this year (and second semester in particular), I aimed to make the class really special, and to cultivate a collaborative learning environment beneficial for both me and my students. I knew this might be my last time teaching the class for a while!

I thought I would share a few of my favourite projects over the years- the AP art program is going through some big changes this next year, so I may not have the chance to use these again!

Printmaking on Repeat

Whew, it has been a busy month! I have enjoyed revisiting these lessons  from a few years ago, having made some improvements (check back here, here and here for the original posts).

5th and 6th Grade: Gelli Monoprints

7th Grade: Collographs

20181204_094927

Students made collograph plates by gluing textured materials: cardboard, felt, wallpaper, string to a cardboard surface. Students printed an edition of three prints, plus two artist proofs: one in an additional different colour, and one incorporating chine collé (tissue paper that gets glued to the paper at the same time as printing.

Once they finished printing, students covered their collograph plates with tinfoil to create a repoussee of the textures present. Colour and detail was added overtop with sharpie markers.

8th Grade: Styrofoam Relief Prints

The students created these prints by carving lines into styrofoam using a dull pencil. An edition of 3 prints were made, in addition to two artist proofs: one incorporating chine collé and one reduction print with two colours. The reduction prints were made by printing a first layer in one colour, drawing additional detail and line work on the plate and printing again overtop of the first layer in a second colour.

And, amidst all the flurry of printing with 70+ middle schoolers, I decided to host another after school workshop for my fellow teachers!
Textile Patterns from Ghana

After our unit in the caves, we flew off to a new country in West Africa; Ghana.

In first and second grade we looked at Kente cloth patterns

We started with making two patterned papers.

img_4775.jpg

1. Printed gold patterns on black paper- we made printing blocks by wrapping twine around sponges

2. Painted geometric patterns using colour, line and shape


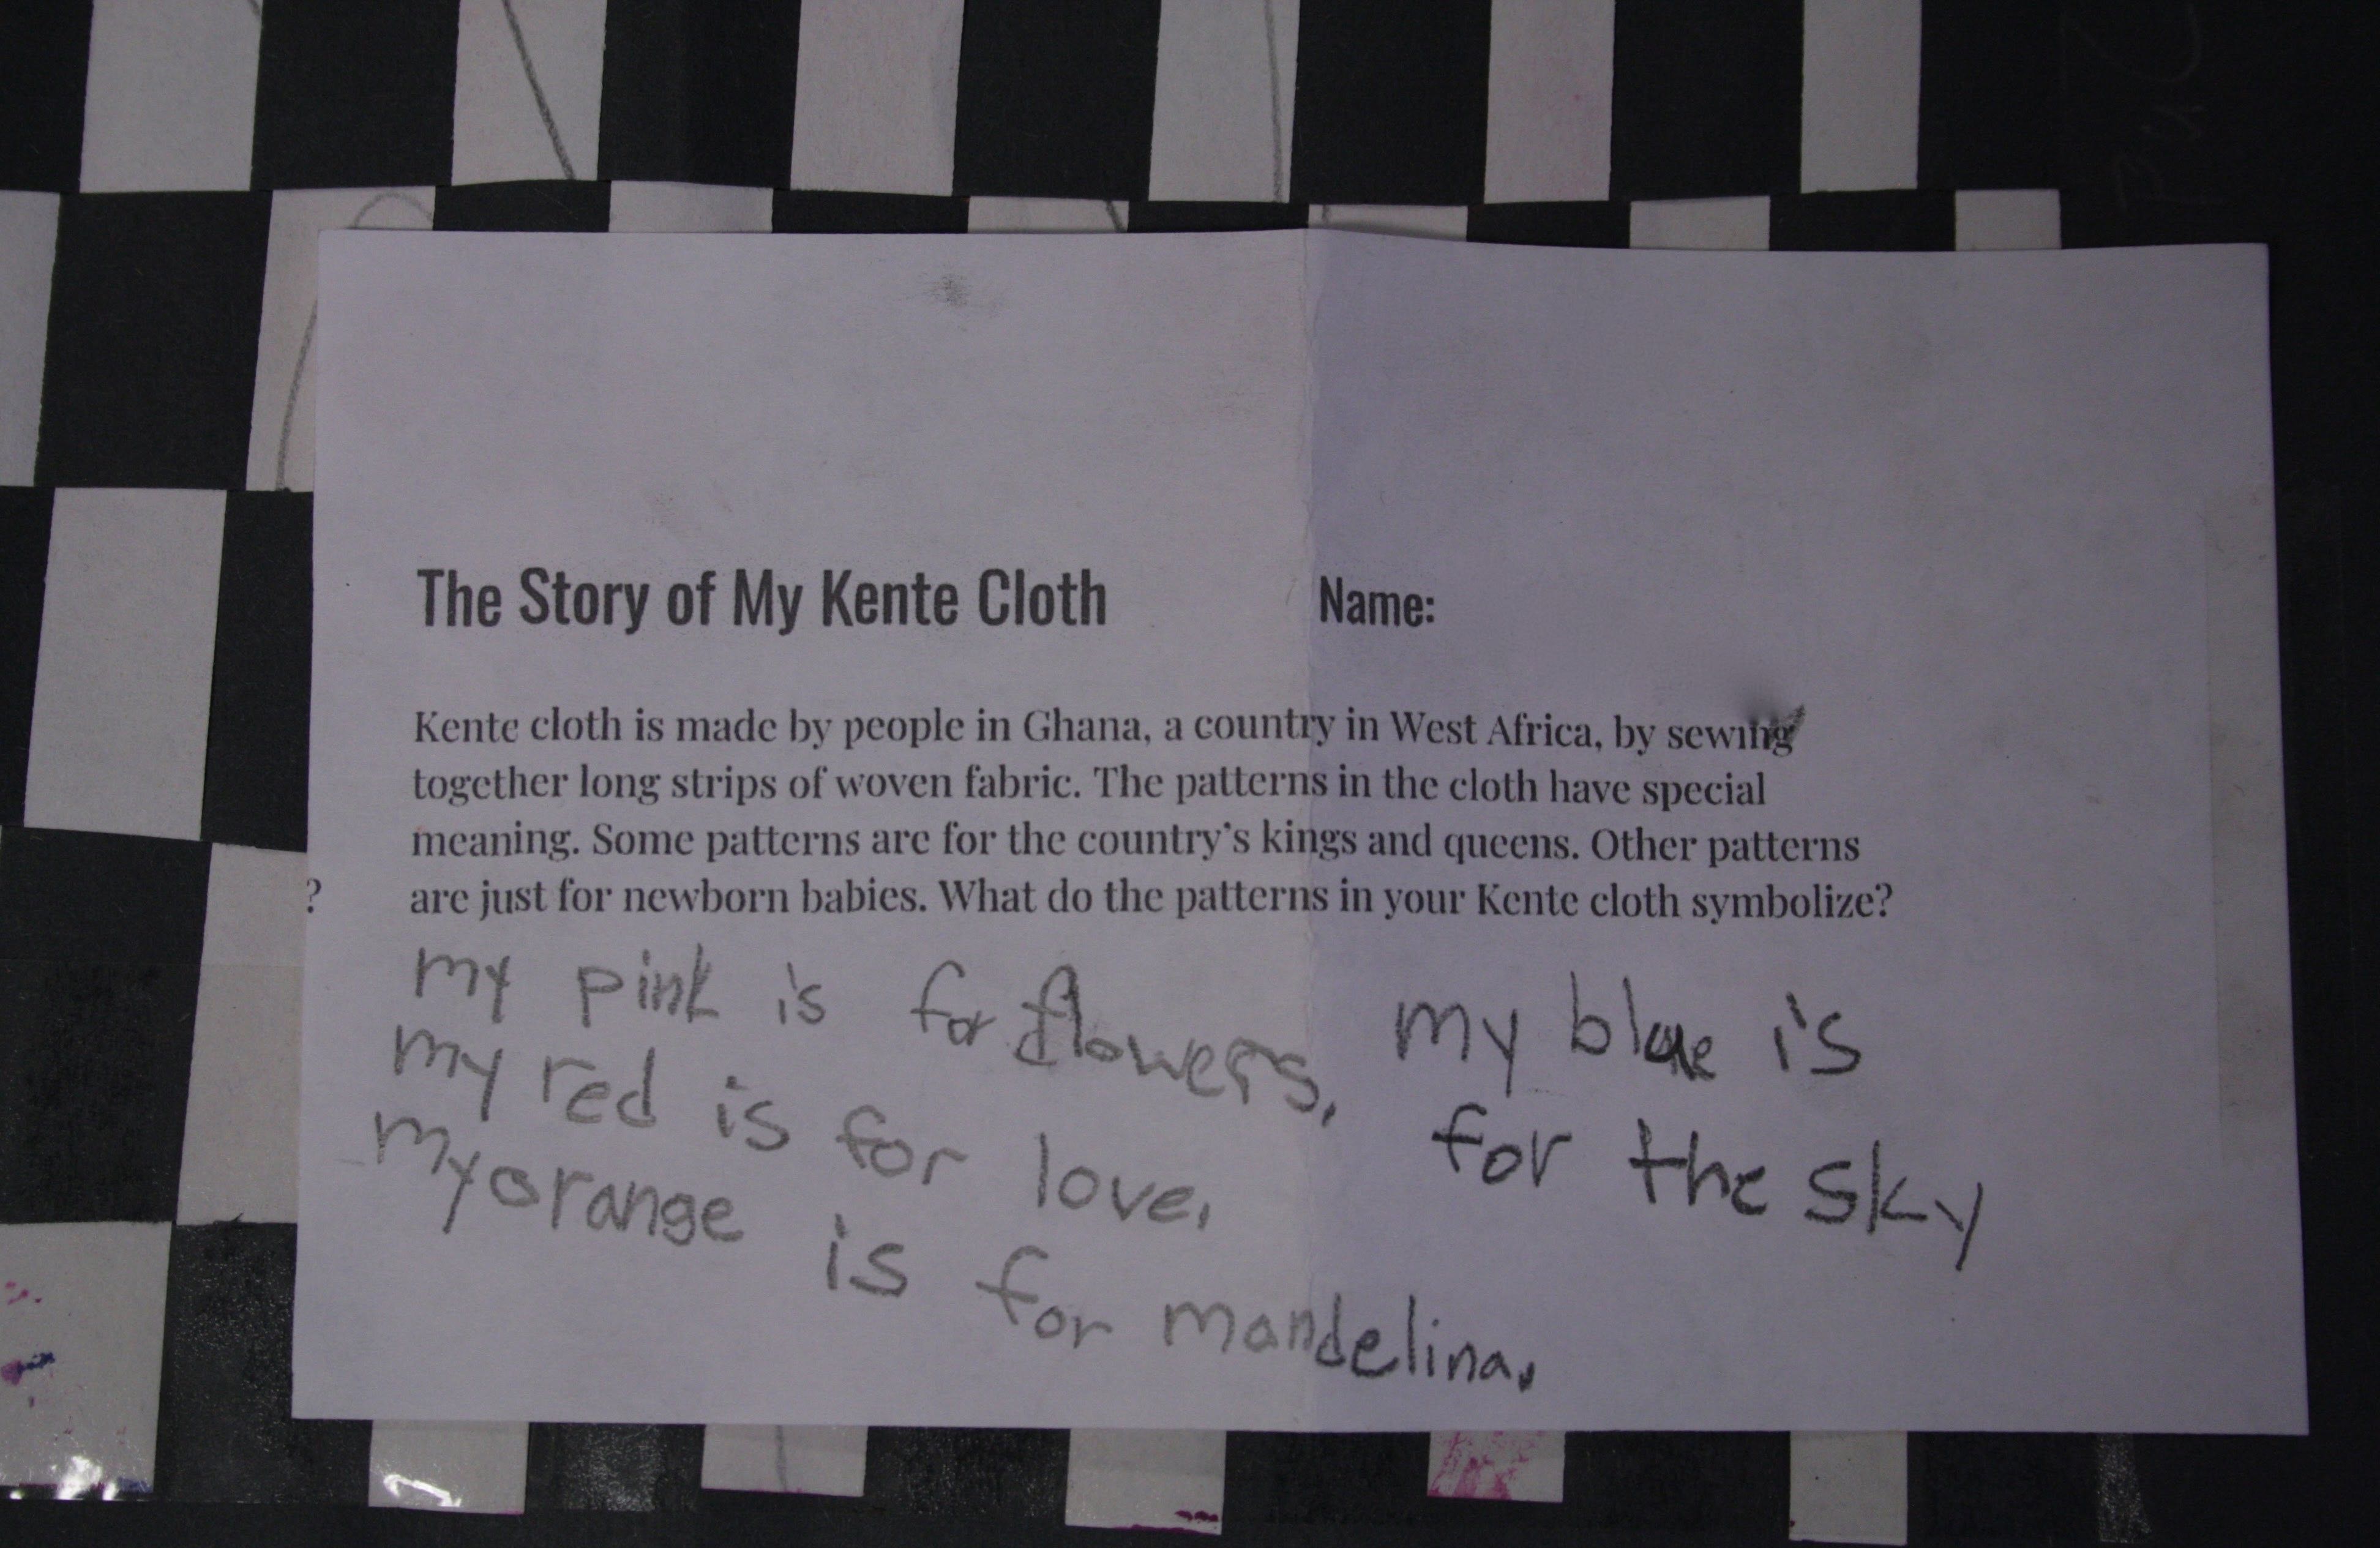
Once these papers were finished, we wove the two patterns together to create a new and intricate pattern. The black paper became our warp and the coloured was the weft strips. Weaving always goes over great- I did it with both groups last year, so this was review for most. We talked about how Kente cloth is used to make new clothes for special occasions and thought about what occasion we would make our designs for; a few students wrote artist statements about the meaning behind their finished pieces.

IMG_4904

Third through fifth grade focused on the Adinkra symbols found on Kente cloth

We looked at examples of symbols and their meanings; and watched an artist through the process of stamping a design on cloth.

I gave the students sheets of ideas of existing symbols and encouraged to make a design of their own. They glued foam shapes onto a cardboard base.

The printing of these designs was exciting! Even after printmaking with classes this long, I still strive to make the process run more smoothly. I set up a long table in the middle of the room for inking, and each student at the remaining four tables had a number. When it was their turn, students inked their stamps in the middle and then returned to their tables to print. I encouraged them to rotate the stamps to create variation in their design and also incorporate a second symbol.


Lino Block Prints

I love printmaking. It is my favourite process to teach and I have tried many different methods over the past four years. This year was the first time I tried linoleum block printing with my students. Fortunately for me, I have two small high school classes (four students each!) so I did not need many supplies to give it a go.

My AP studio art class tried their hand at carving and printing blocks as pieces for their AP portfolios. I also had the opportunity to squeeze in a week of block printing with my IGCSE class as an end-of-year activity. Both groups thoroughly enjoyed the process and found carving quite therapeutic. I am amazed at the details of their final results.


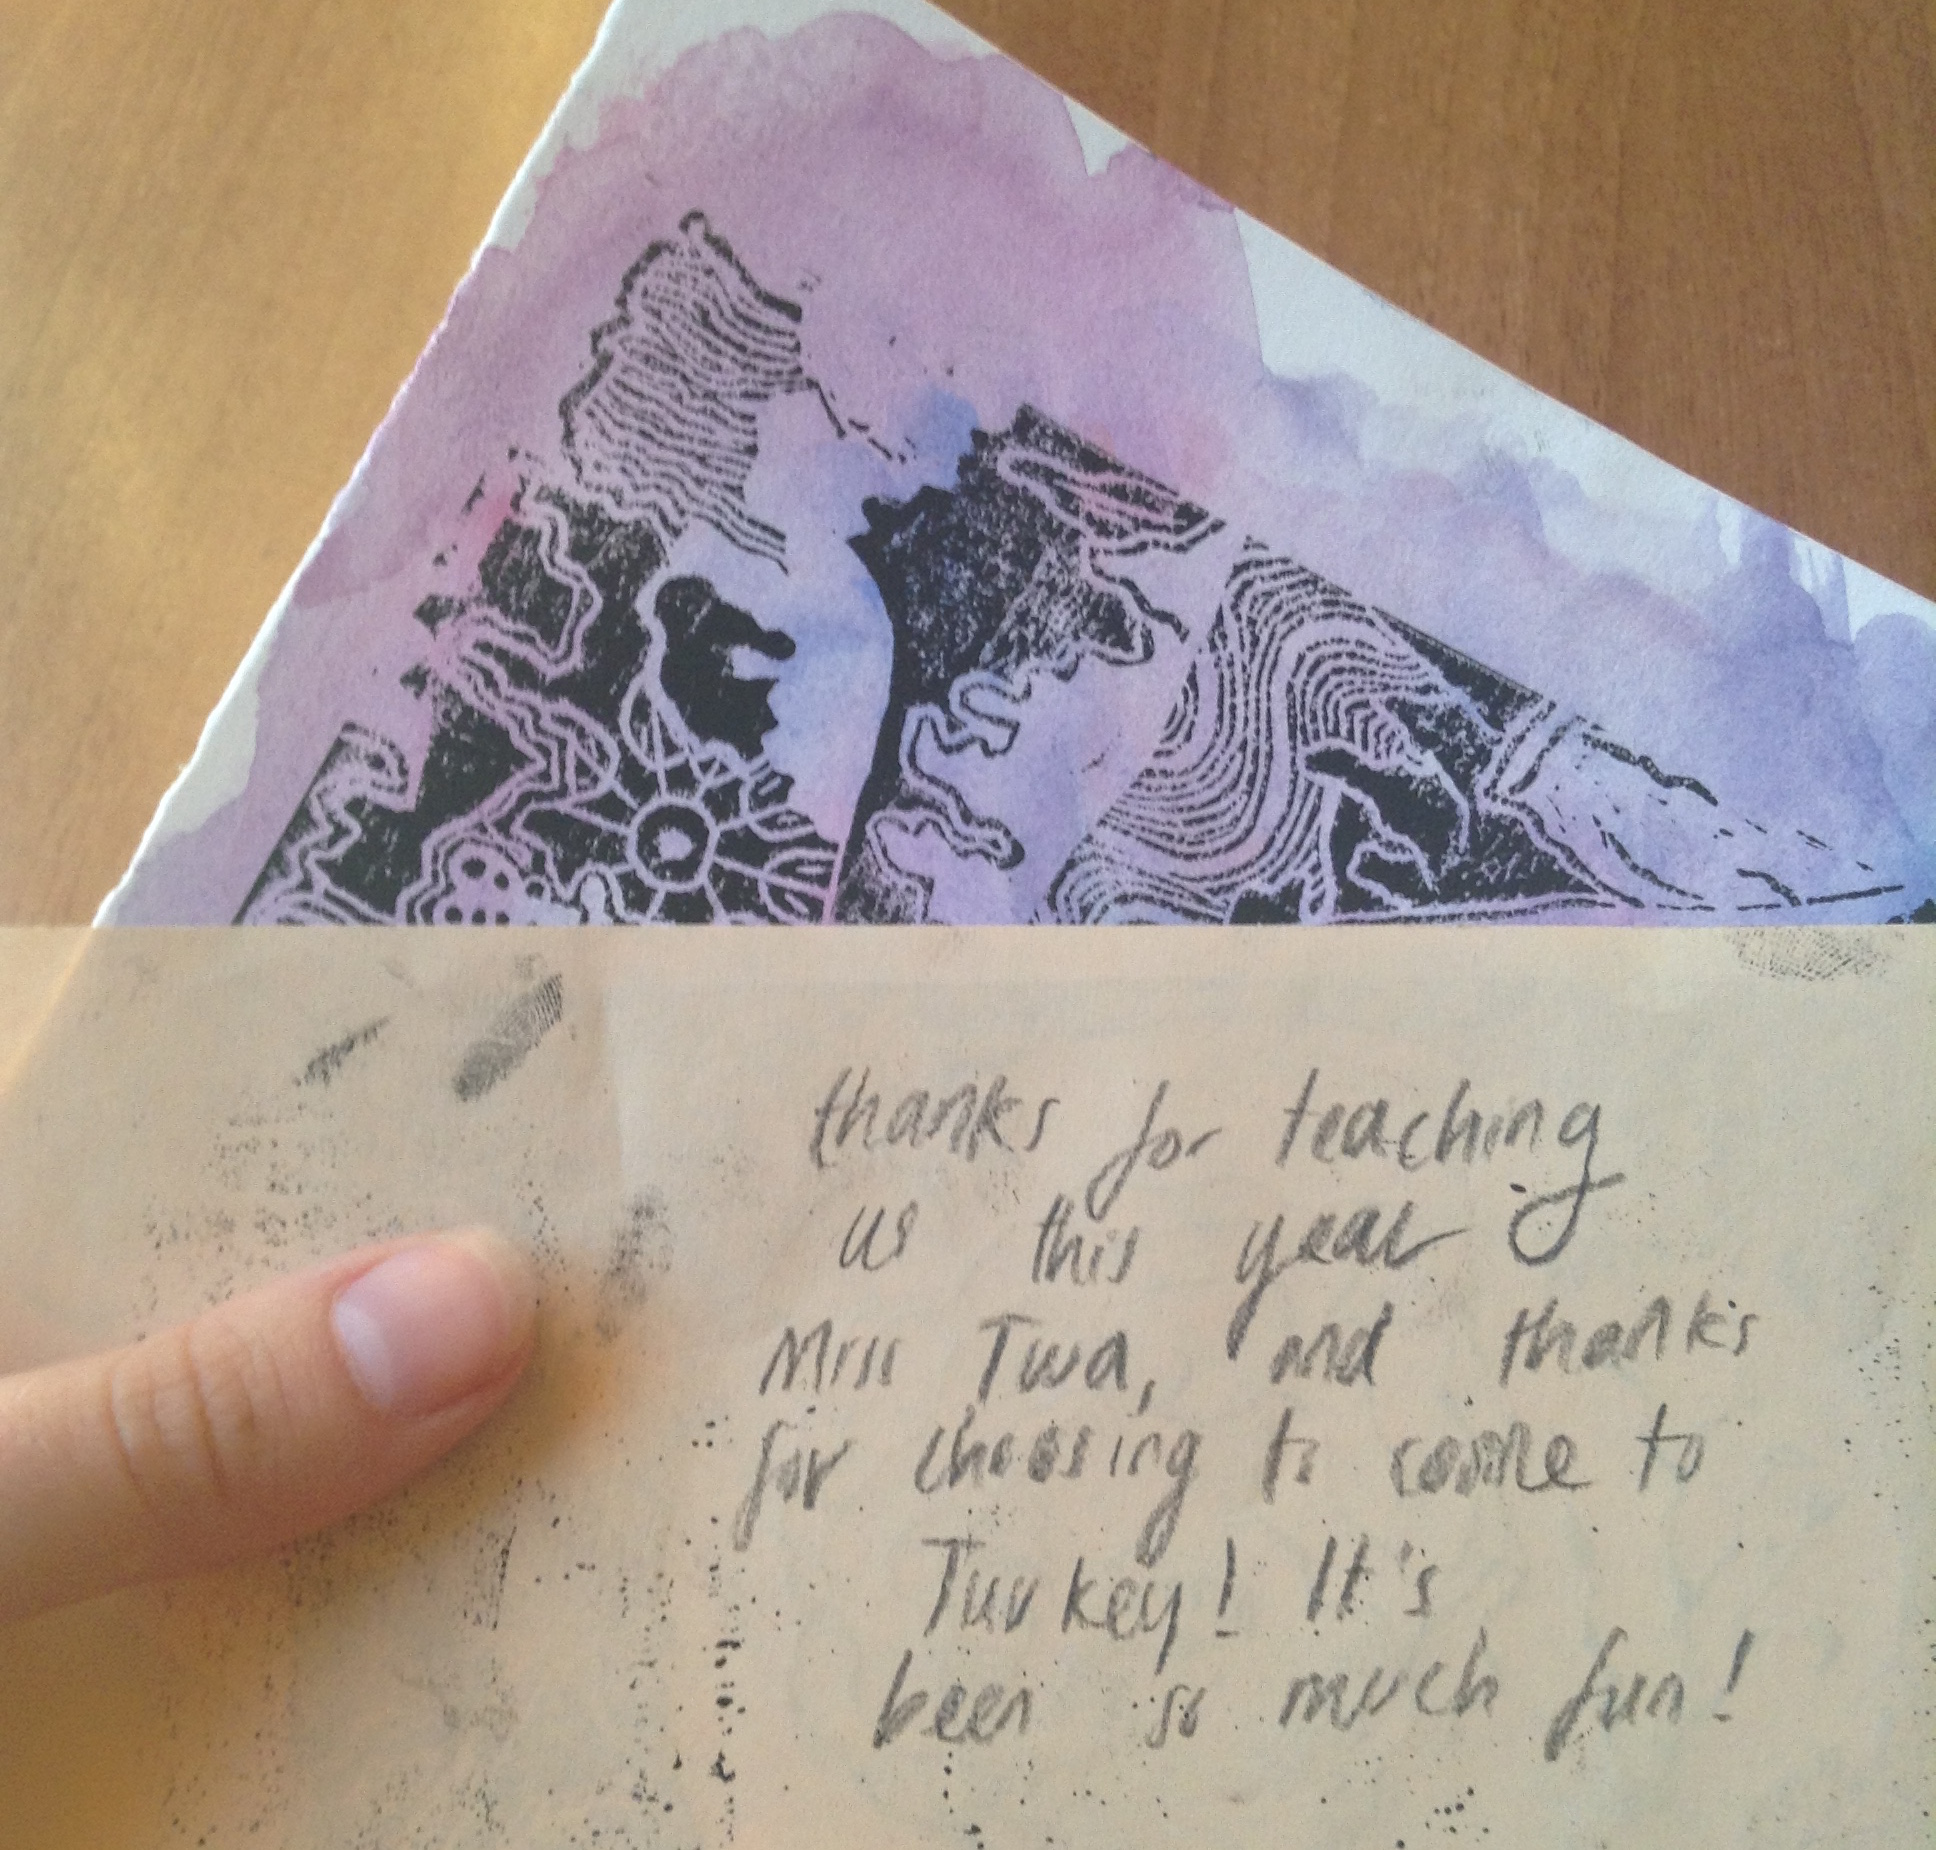
Following our last classes today, I was gifted a few of these prints and discovered the sweetest notes written on the back! I am glad for the opportunity to journey with these students.IMG_6464

Printed Patterns

Today was a trying day; with tears, an overflowing sink, and paint everywhere… We are SO ready to be done with the year, though we still have 2 1/2 weeks left!

Kindergarten and first grade have been working with patterns recently. We did a paper weaving project and I wanted to try something spring-y also involving patterns. Matisse’s colourful, patterned still lifes inspired the piece: A fruit and veggie printed vase of flowers. We looked at several examples of the artist’s work and I did a demo to give the kiddos some ideas for creating areas of pattern. I limited the colour palettes to warm and cool versions of the primaries: red, blue and yellow (these ended up getting mixed together!)

Pop Up Gallery

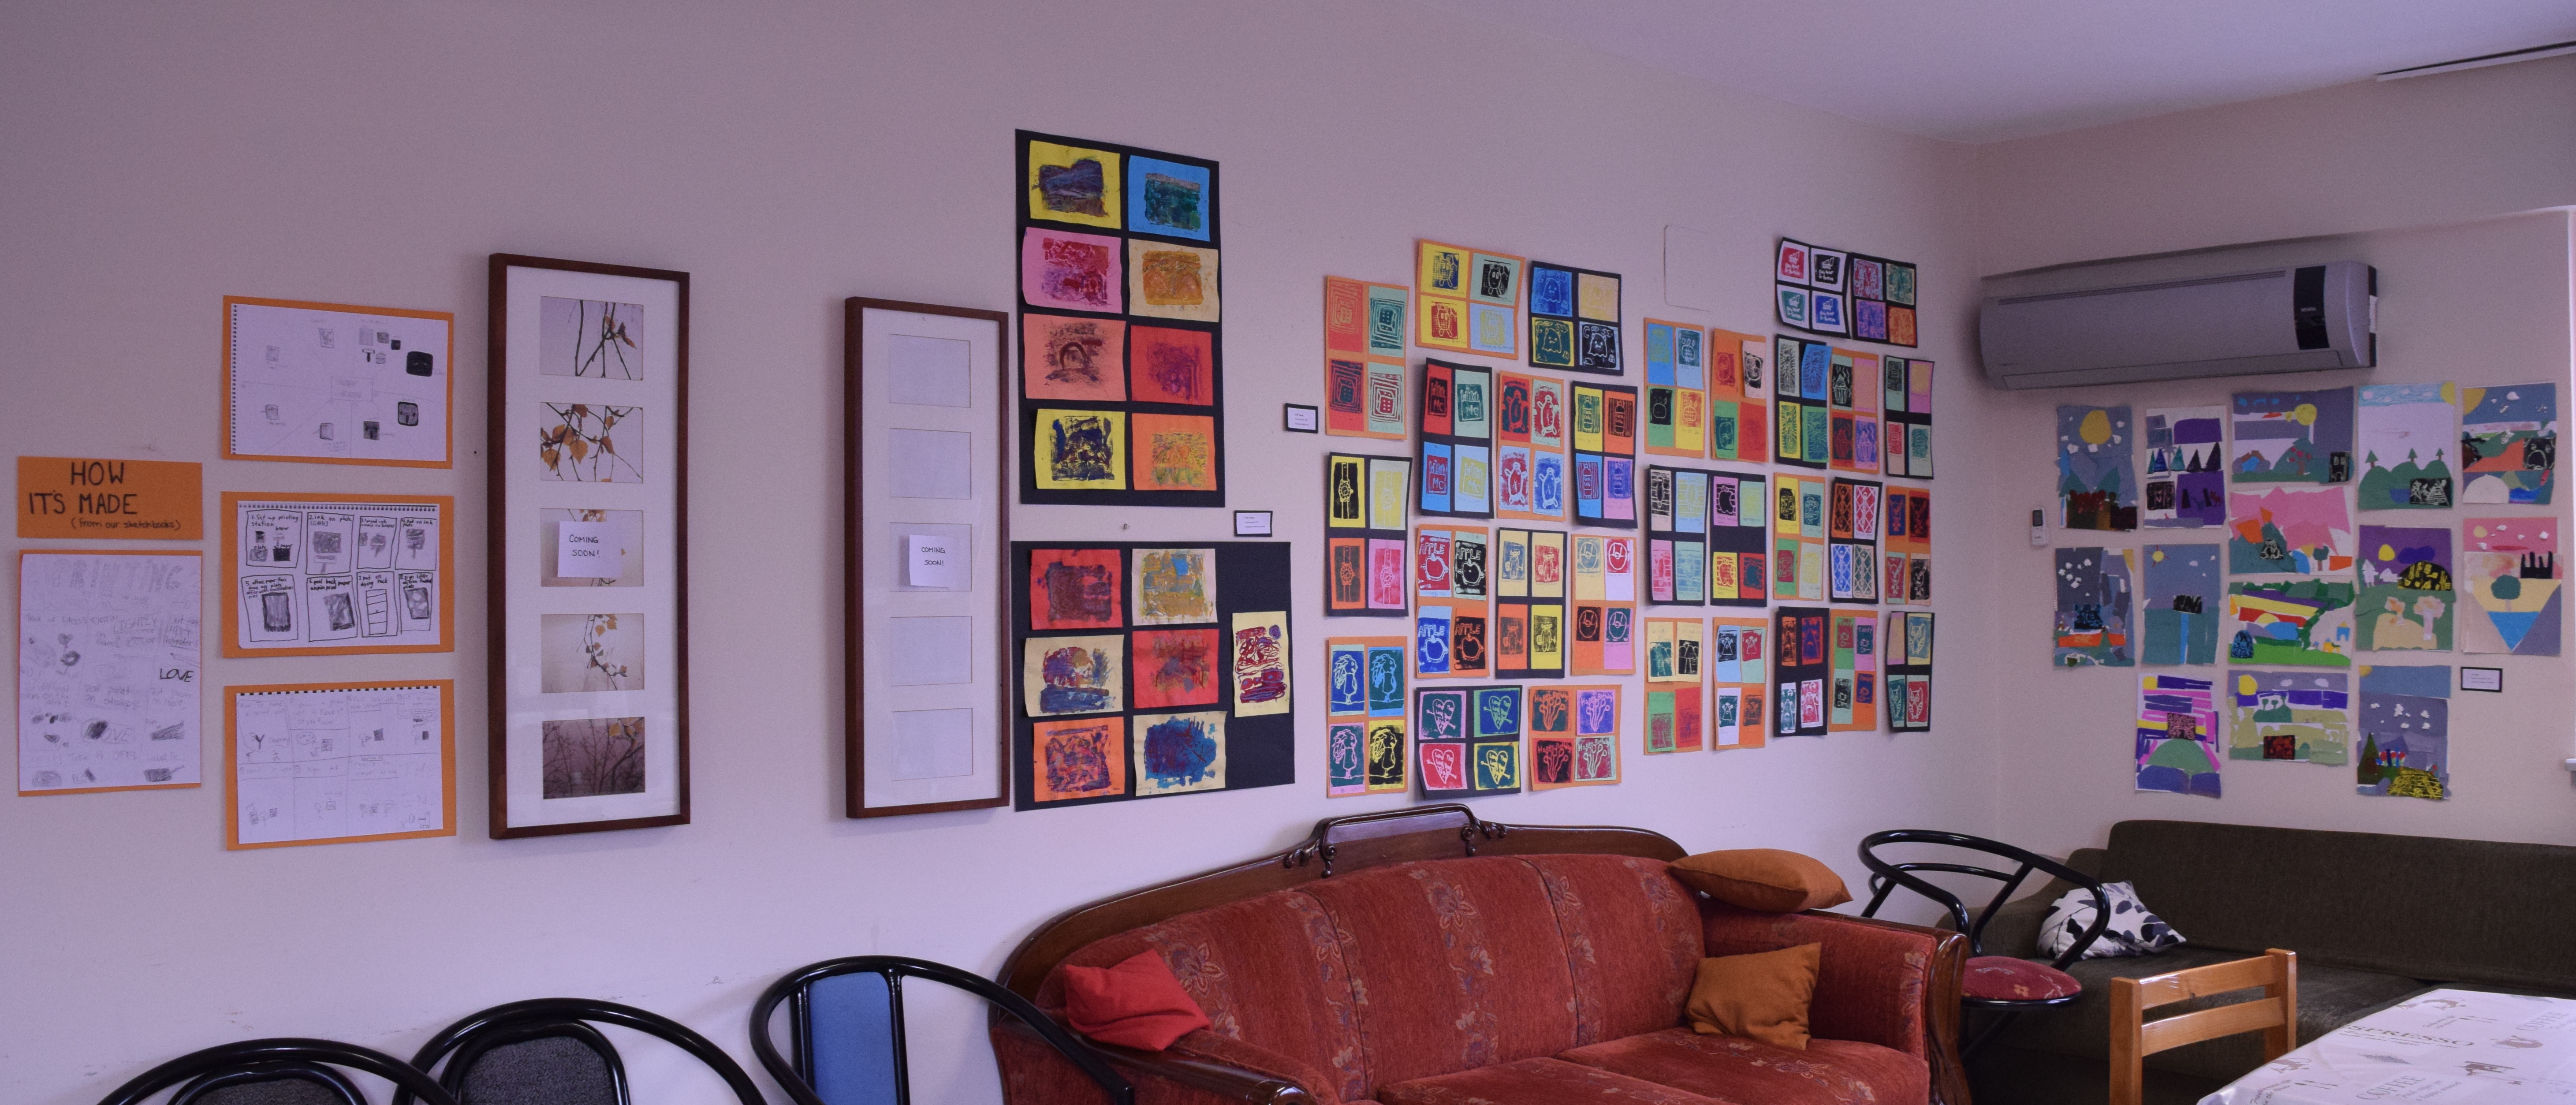
Around this time of year, our staff room at school could use some cheering up, and I happen to have many beautiful prints to share… so I put together a gallery display of this year’s 1st through 5th grade printmaking projects. It makes me so happy to see it all displayed and to share these finished products with the school community.

DSC_0247 copy

Pop Art Prints

The theme for 4th and 5th Grade this year has been a focus on pop art. This next project I introduced was inspired by Andy Warhol’s Marilyn Monroe portraits. I had the students do at least four idea drawings before deciding on their favourite for a styrofoam printing plate. I encouraged them to keep the line drawings simple and try out favourite cartoon characters, objects and logos (in line with the style of pop, of course!)

Students drew their chosen designs onto styrofoam plates and printed their designs over several class periods. With this larger group of students, I set up the printing process differently I have in the past- and it worked well. We designated one table at the front for inking the plates, with the choice of four different coloured inks. Once plates were inked, students carefully carried them back to their work tables to print- each table had a stack of different coloured papers to choose from.

The goal was for each student to have at least four prints of different colours . Finished prints were signed, titled and editioned, and students chose their best four to mount onto cardstock.


Under the Sea

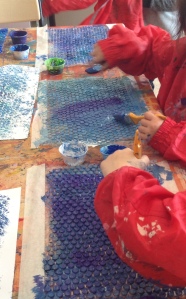
IMG_6105 copyA new unit was added to the kindergarten curriculum this year, as I found out they were studying the ocean in science! Following our exploration of dots and colour mixing (inspired by Kandinsky), we made bubble wrap printed backgrounds using colours we associate with the ocean.

We did guided practice drawings of different sea creatures- students already knew many of their names! Everyone did good copy drawings of their chosen creatures on thicker paper using sharpie. Drawings were painted with watercolours, cut out (by me), arranged and glued onto the printed backgrounds. Some early finishers painted sea anemone and jellyfish onto the backgrounds as well. A final touch was adding tissue paper seaweed overtop.

Leaf Prints

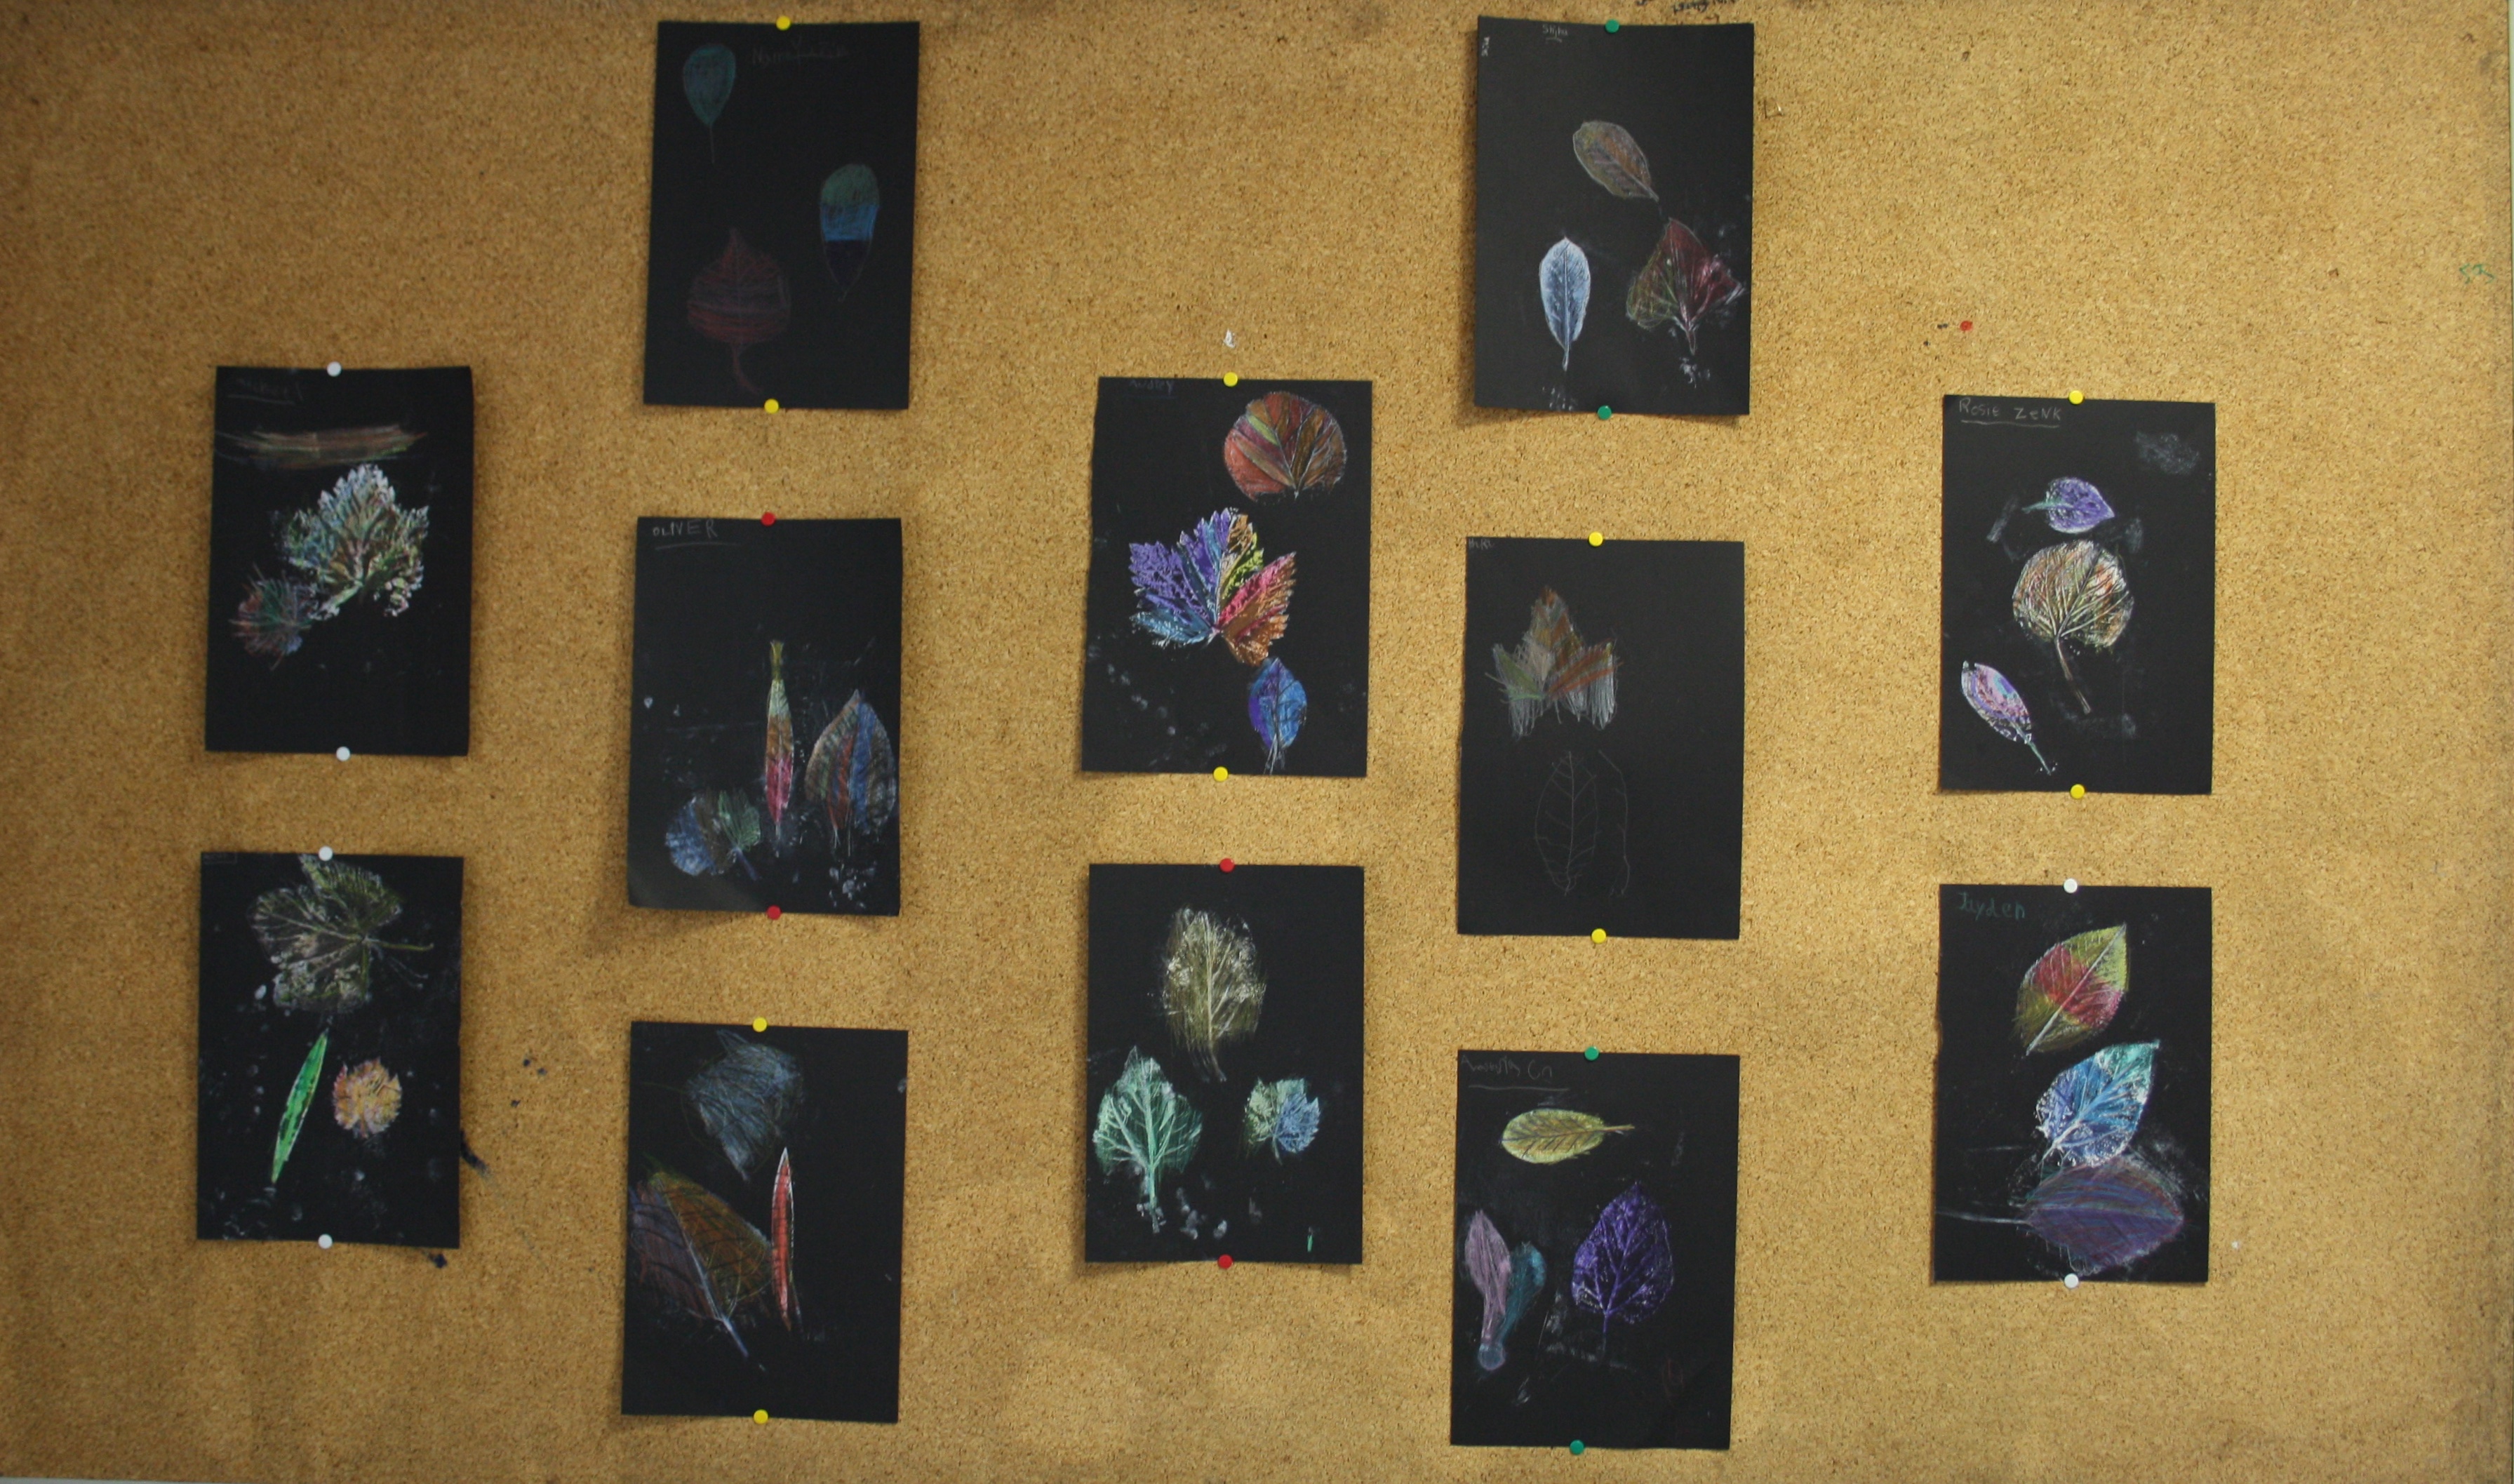
This was a two part project. The first day, I had the students create observational drawings of leaves (I am fortunate to have many tree options on my way home from school!) One by one, they each had a turn to make 3 leaf prints using white printing ink on black paper. The next class, we talked about warm and cool colours. I had them colour the details in the leaf prints, 1 leaf using warm colours and 1 using cool colours. For the 3rd leaf, it was up to them to choose which colours to use.

img_1096