I am back teaching in Turkey for the semester after a long hiatus! I greatly missed this city and my students. It is a blessing to return, I feel refreshed and renewed for this next season. This semester, I am teaching elementary 3rd and 4th grade. I have not taught this group of kiddos for two years… they have grown up so much since then!
I have taught this project before, but as is true in teaching, you never teach the same thing twice! It HAS been a challenge starting out with these groups, who are split according to their language ability. One group of 3/4’s have higher, near-native English language proficiency, whereas the other, larger group of 3/4’s are English language learners (or ELLs).
Teaching ELLs in the art room has never been a huge challenge for me, as there are usually enough peer models around, and the nature of art class is very visual! Students usually do not have problems following along, even if they do not understand all of the directions for a project. I also have some background in teaching ELLs during my student teaching in Canada- I think integration of the content of art, alongside language is a perfect scenario for students to learn English!
I have found that since the two classes are grouped according to language ability, I am teaching them very differently. Keeping both groups on the same page (in terms of content) while making efforts to emphasize content language learning… this all takes a bit more thinking and additional planning!
I first showed the classes a video of how porcelain Ming vases are made, from start to finish. This sequencing is important, especially as we are moving onto clay for our next project!
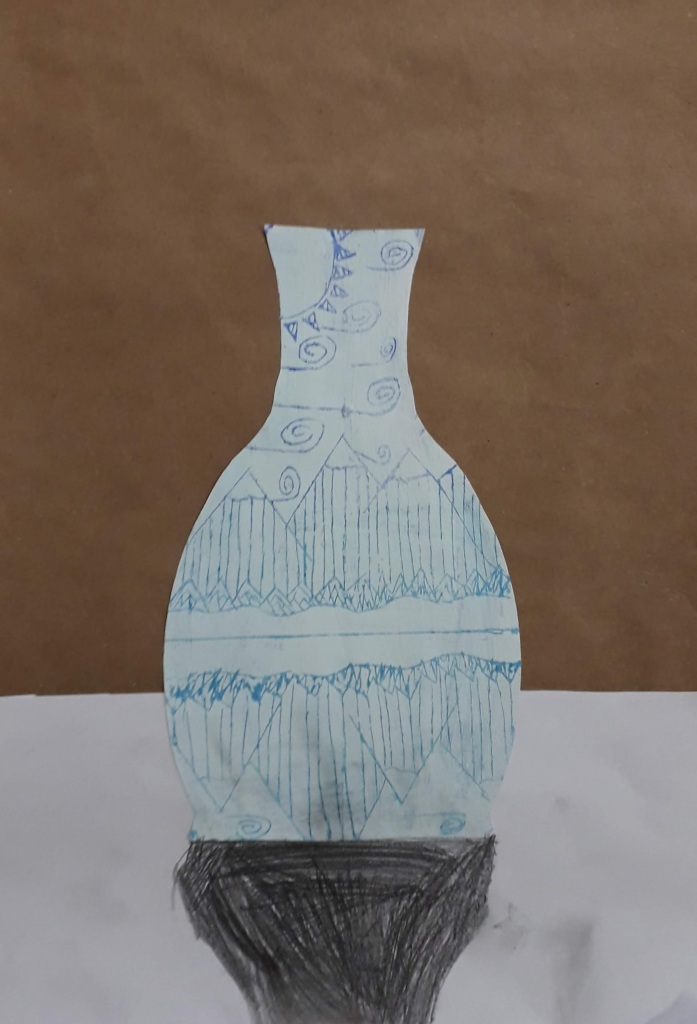
We started off with looking at different vase shapes, discussing the forms and symmetry of the different designs. I demonstrated how to create a symmetrical vase shape on A4 paper – making a hot dog fold, drawing along the edge of the fold to create an outline and cutting it out so the two sides of the vase are the same.
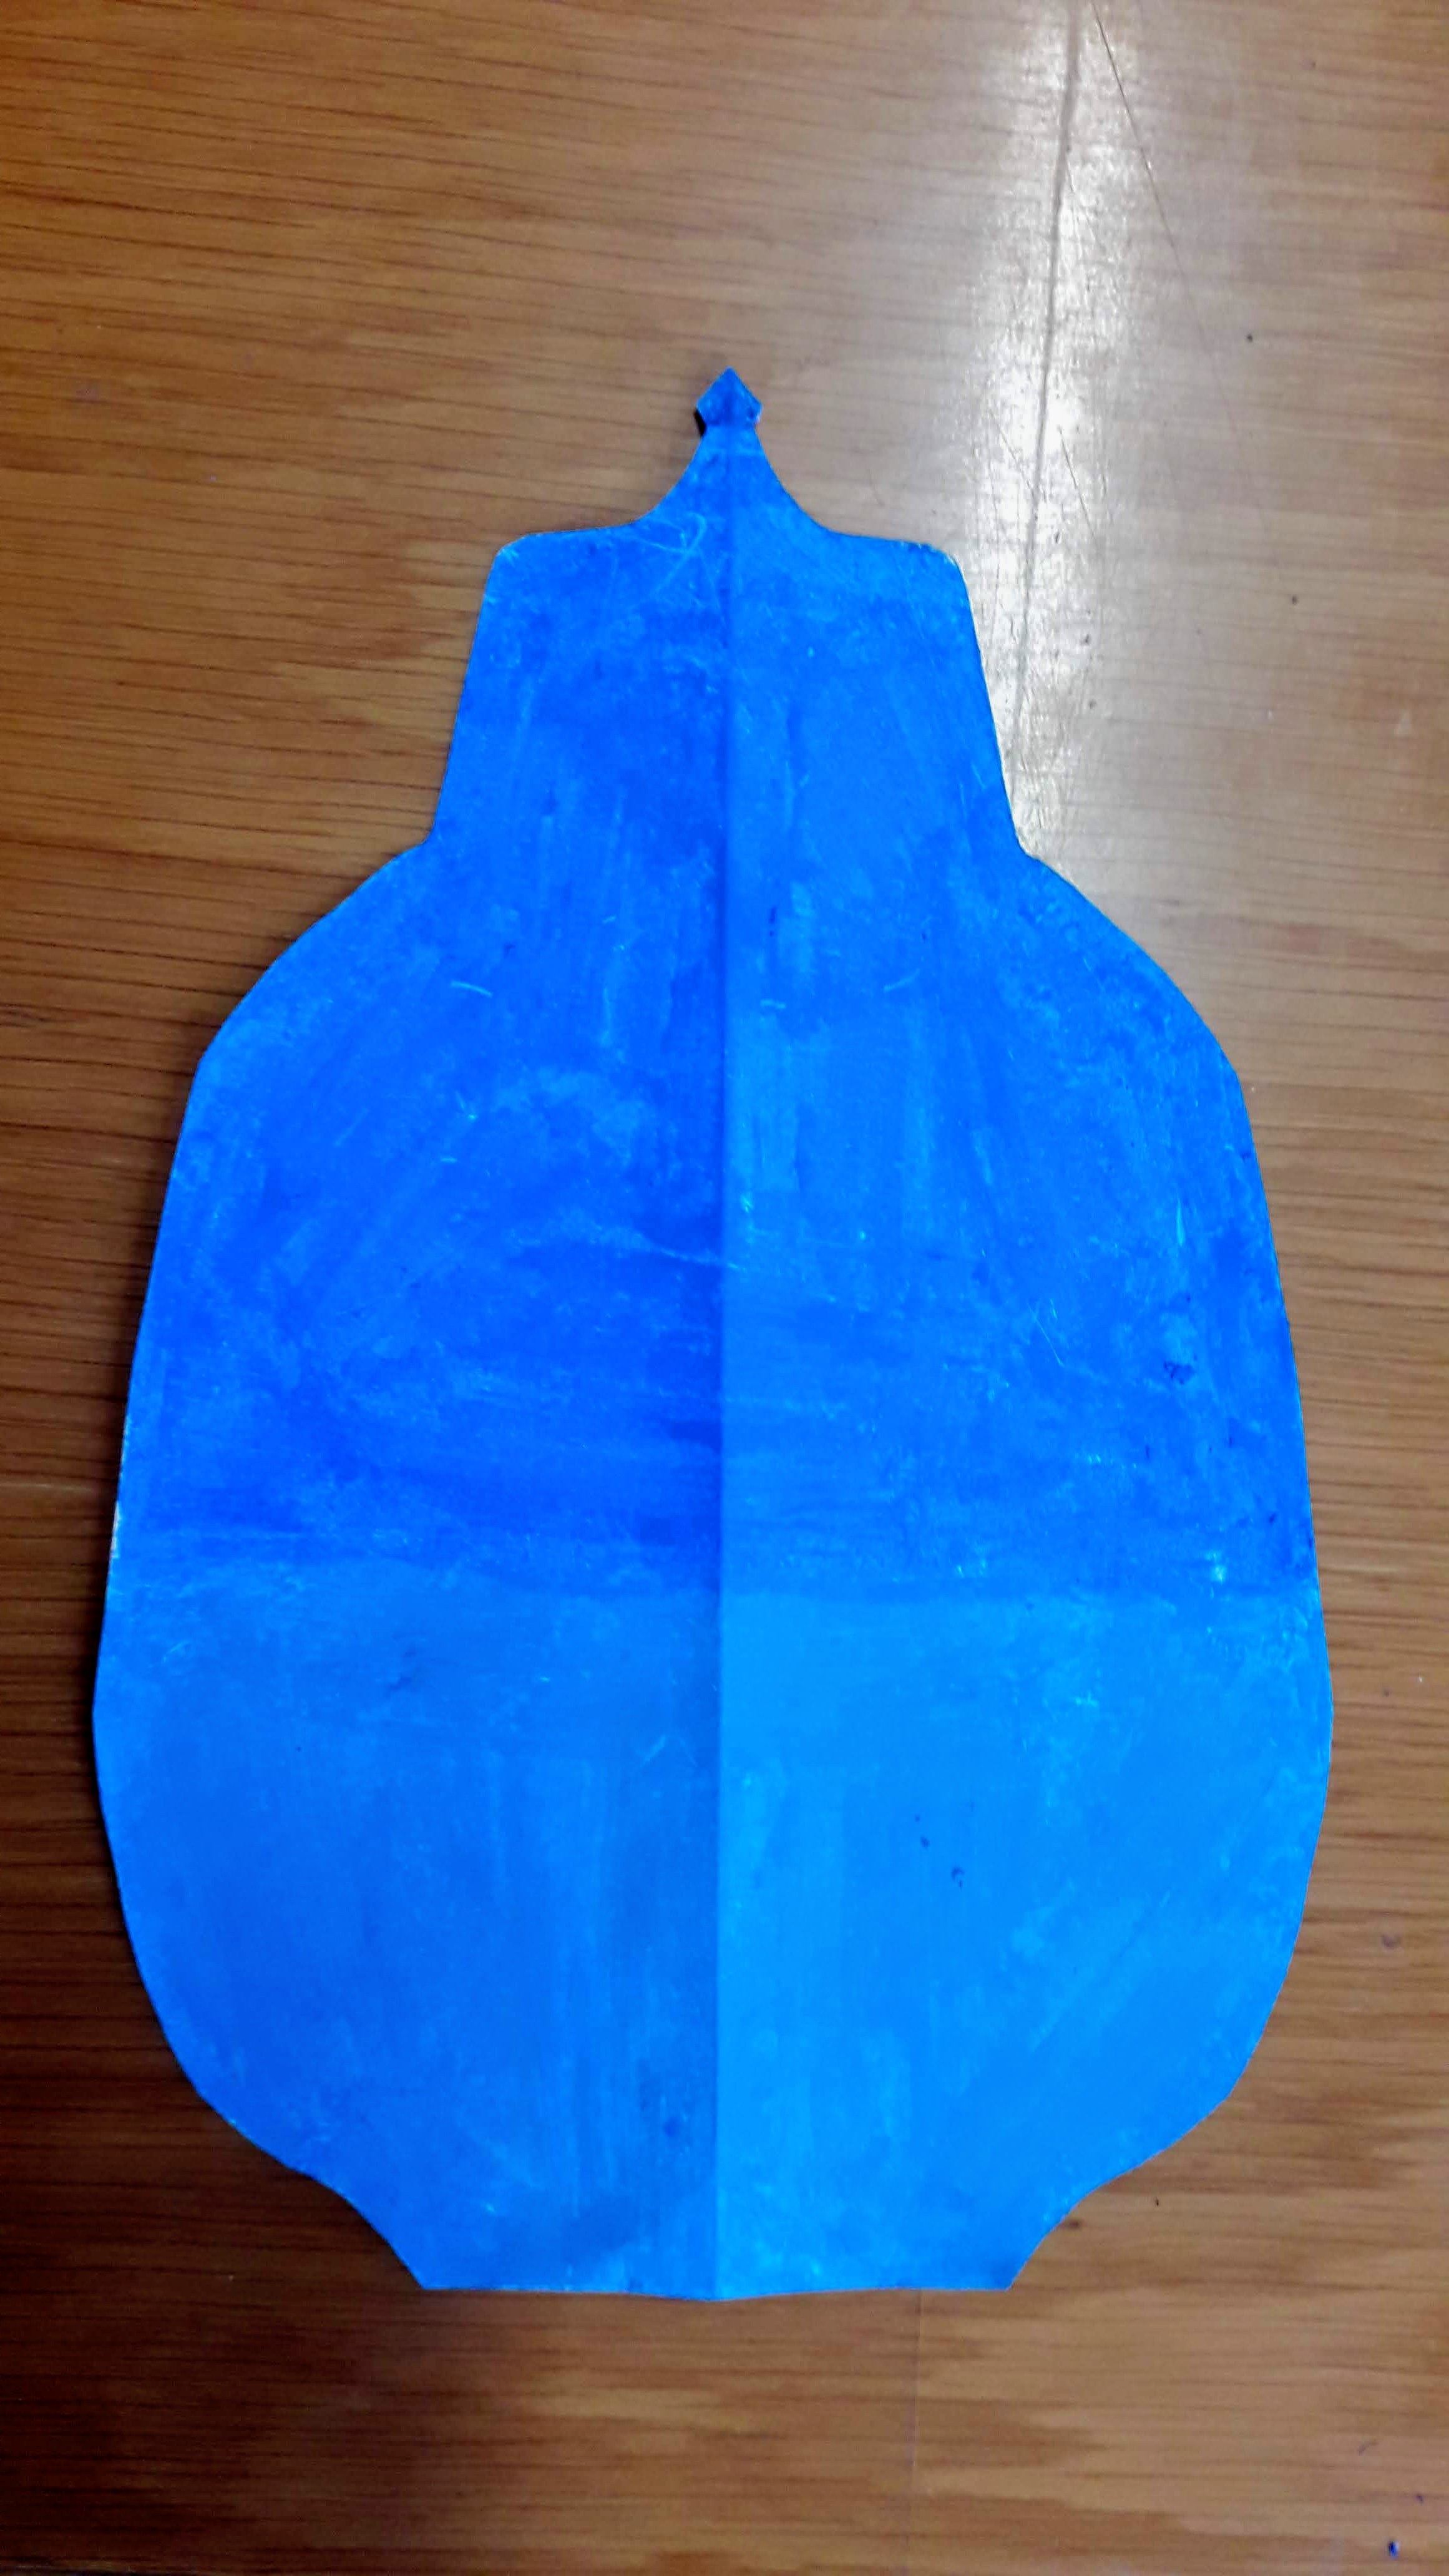
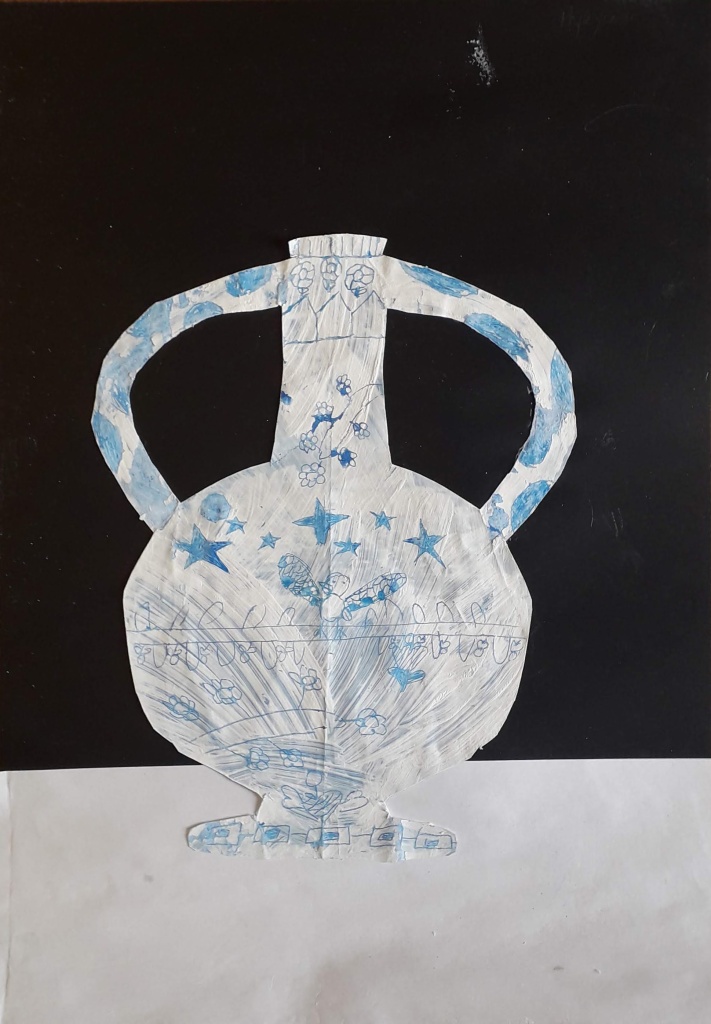
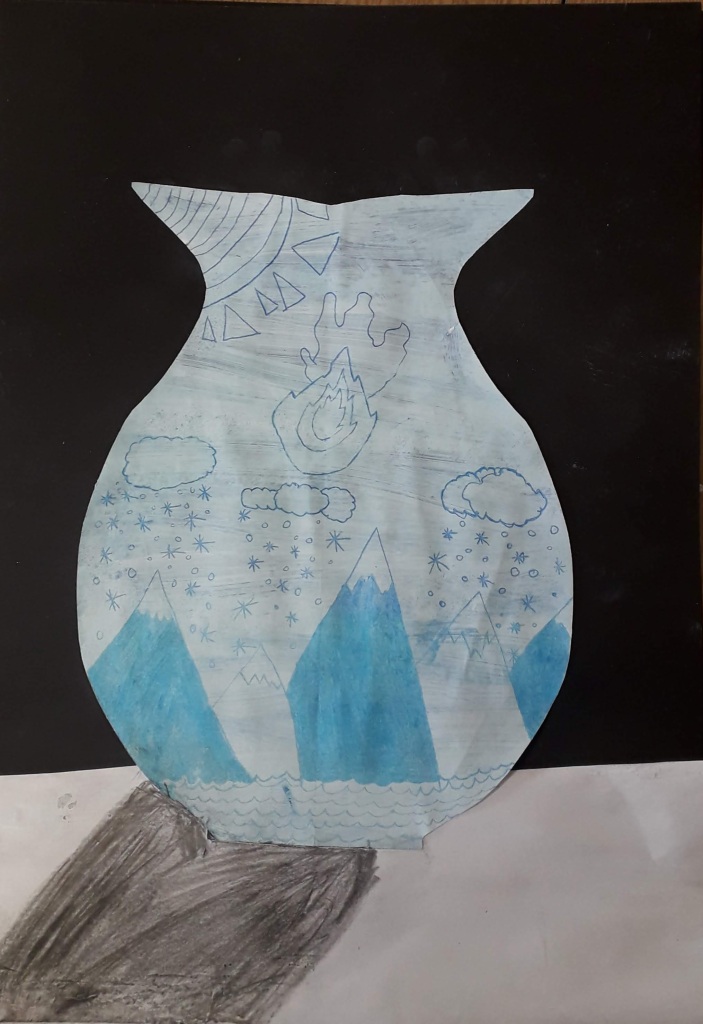
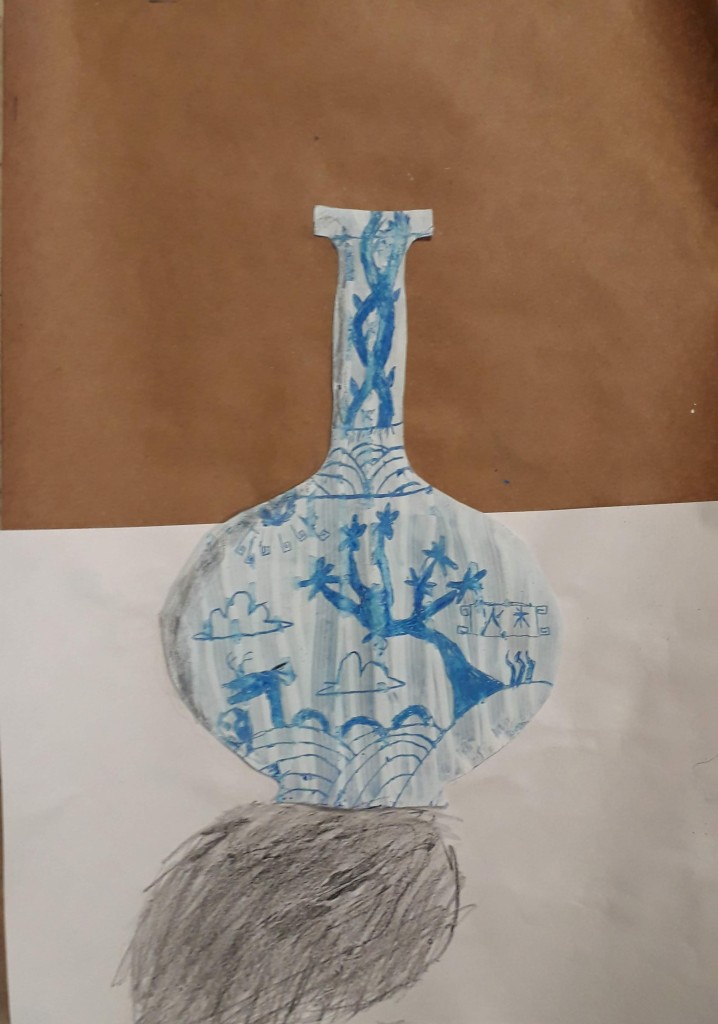
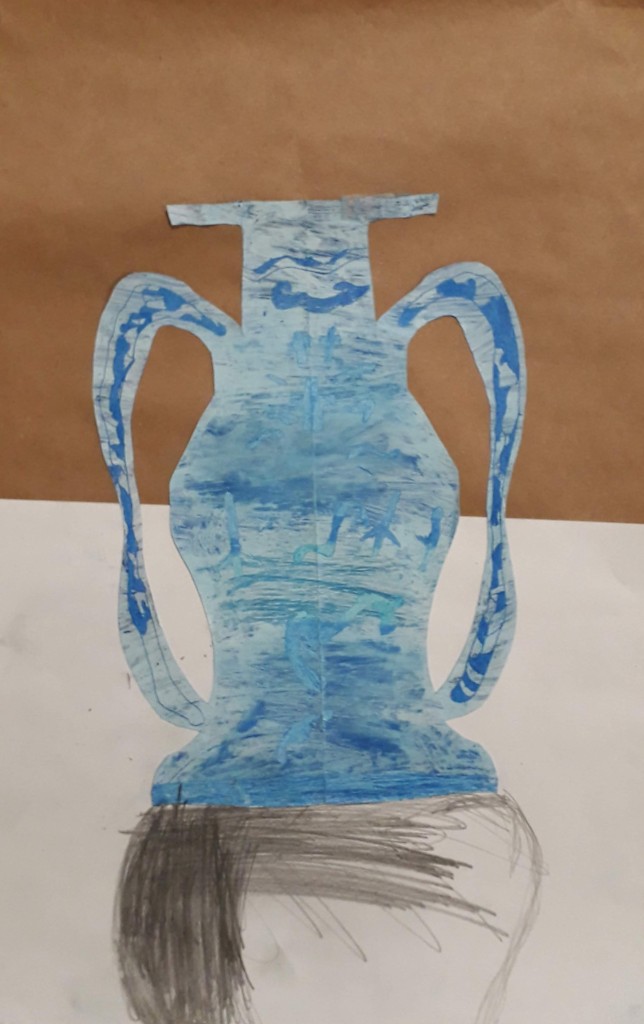
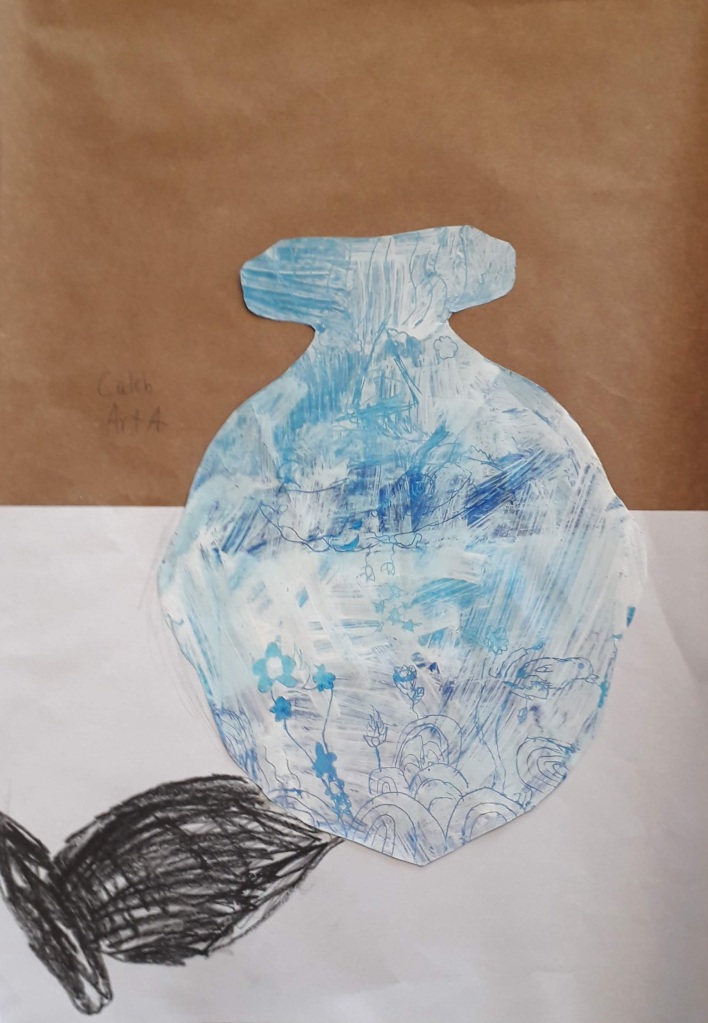
- Step One- Fill in the silhouette shape with different values and shades of blue oil pastel
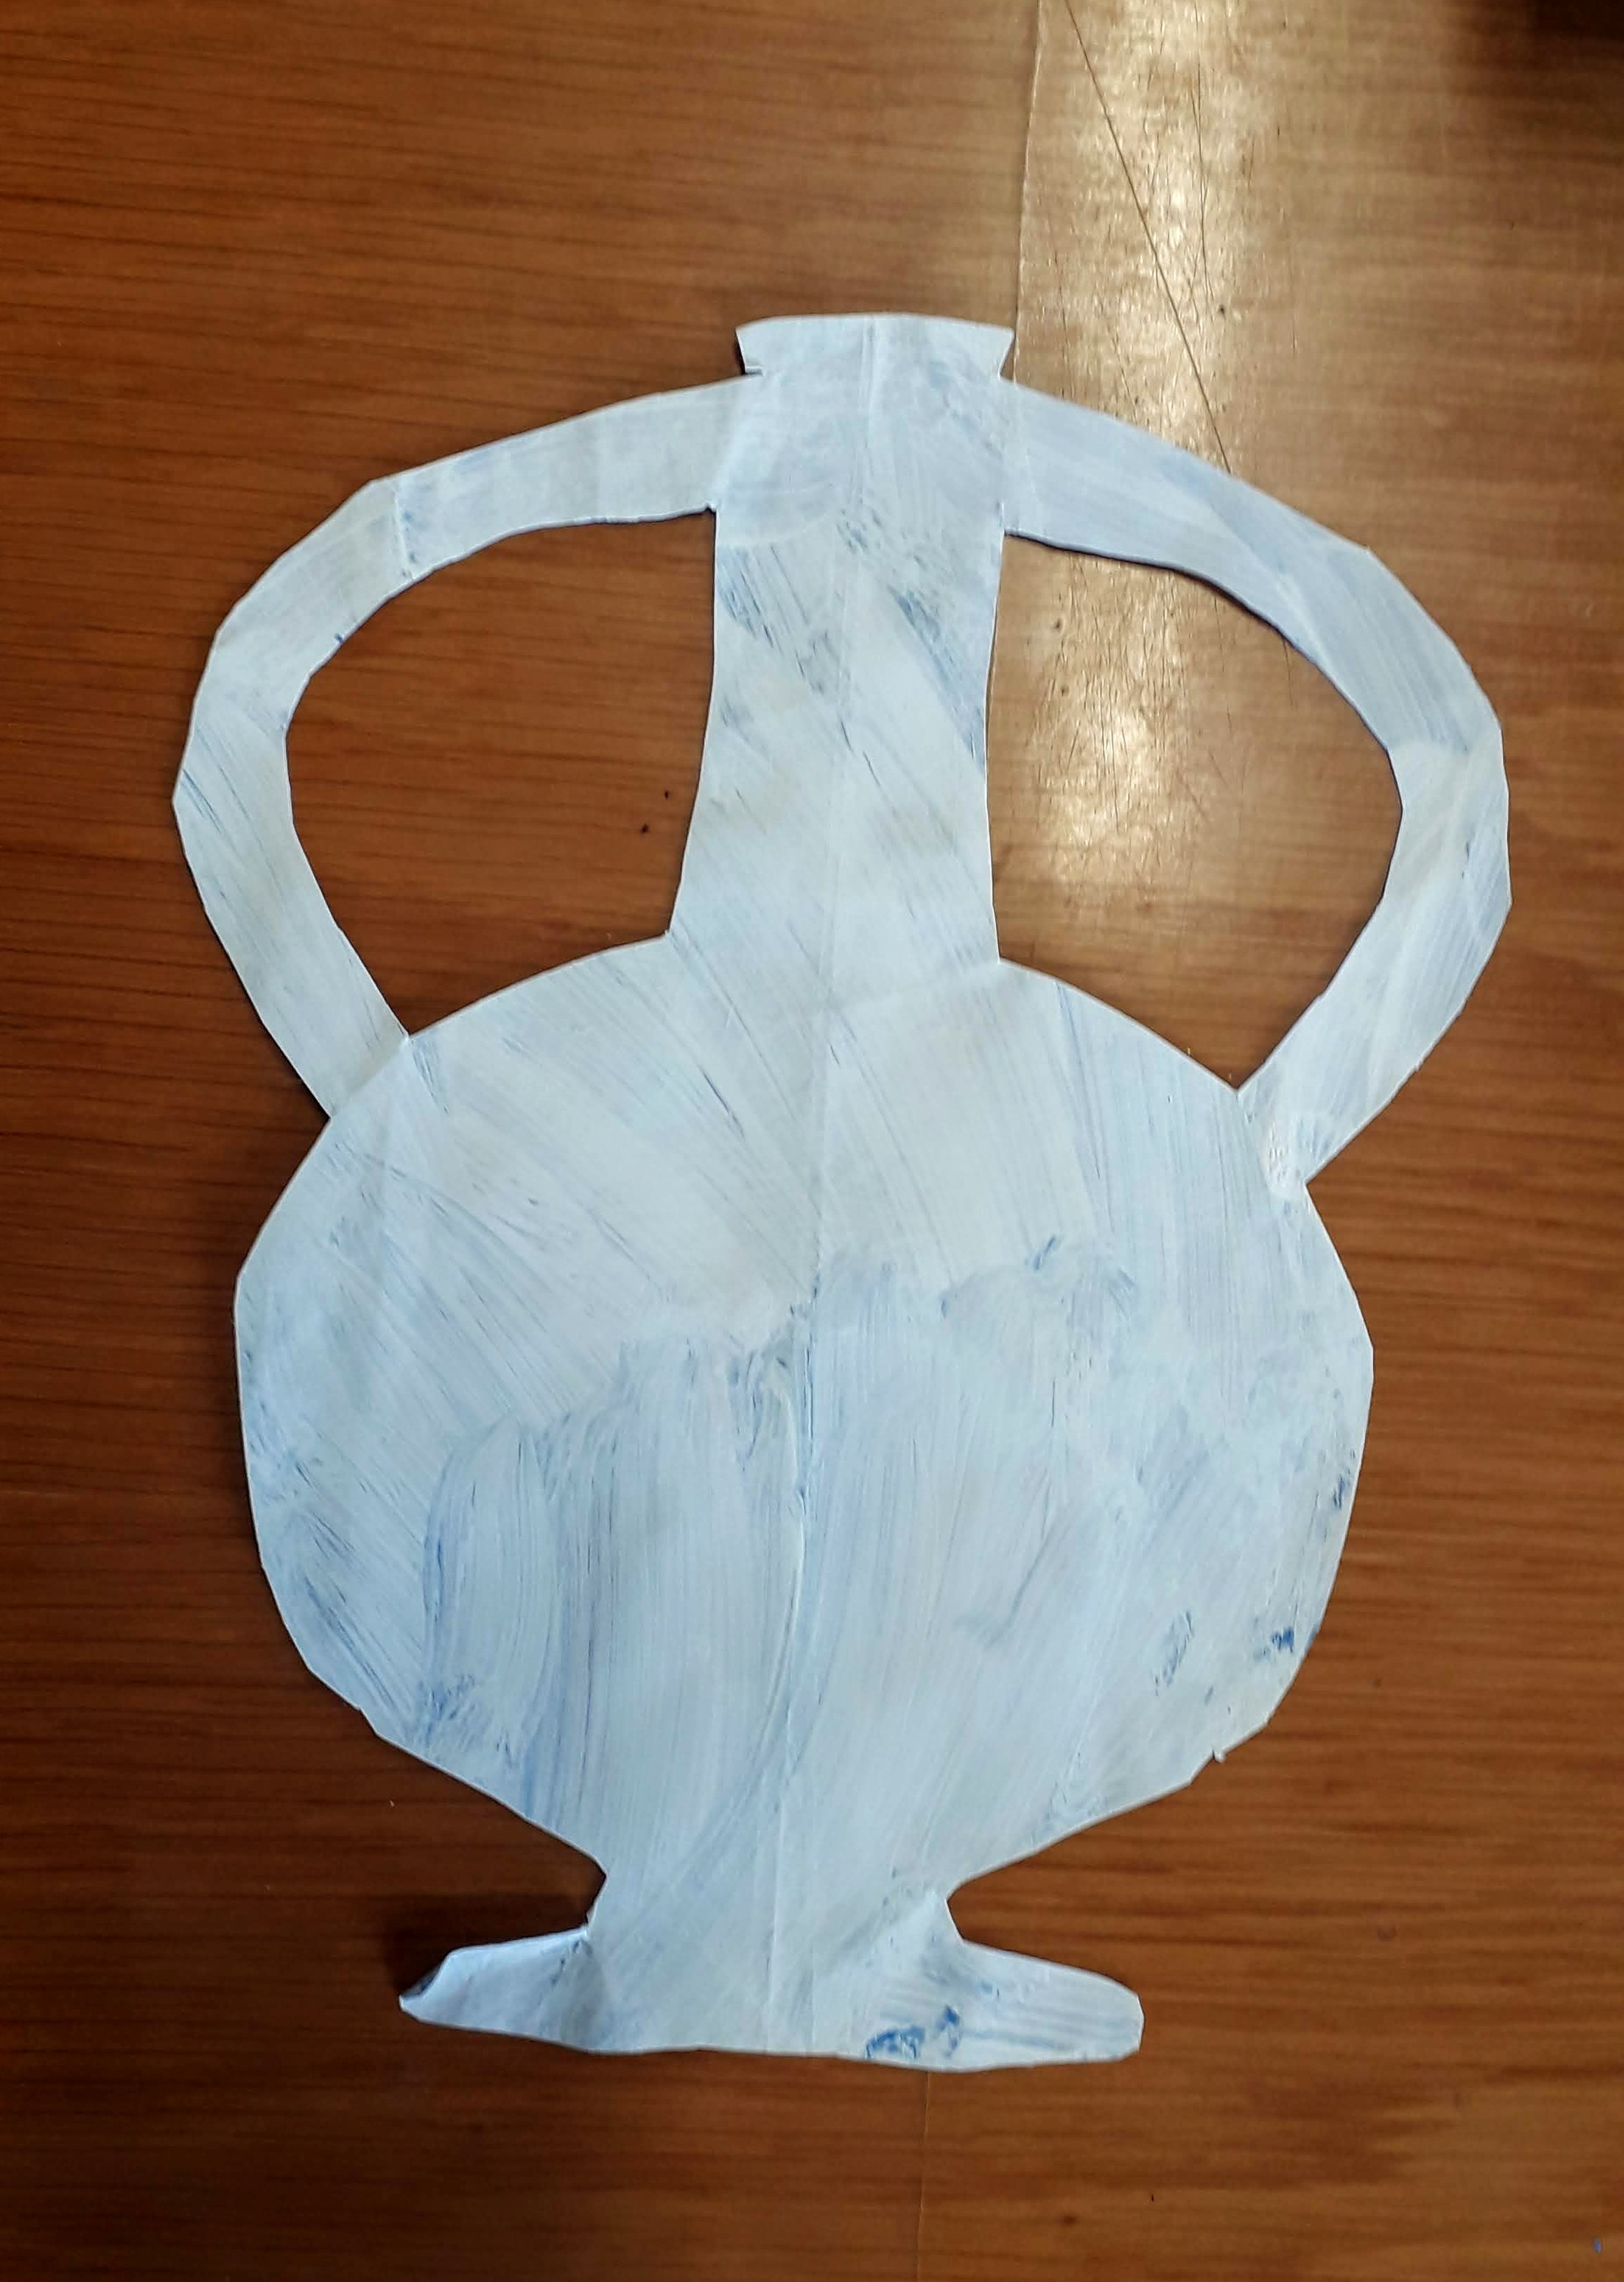
- Step Two- Paint overtop of the blue with a layer of white tempera paint mixed with soap (this is so the paint sticks better to the oily pastel layer)
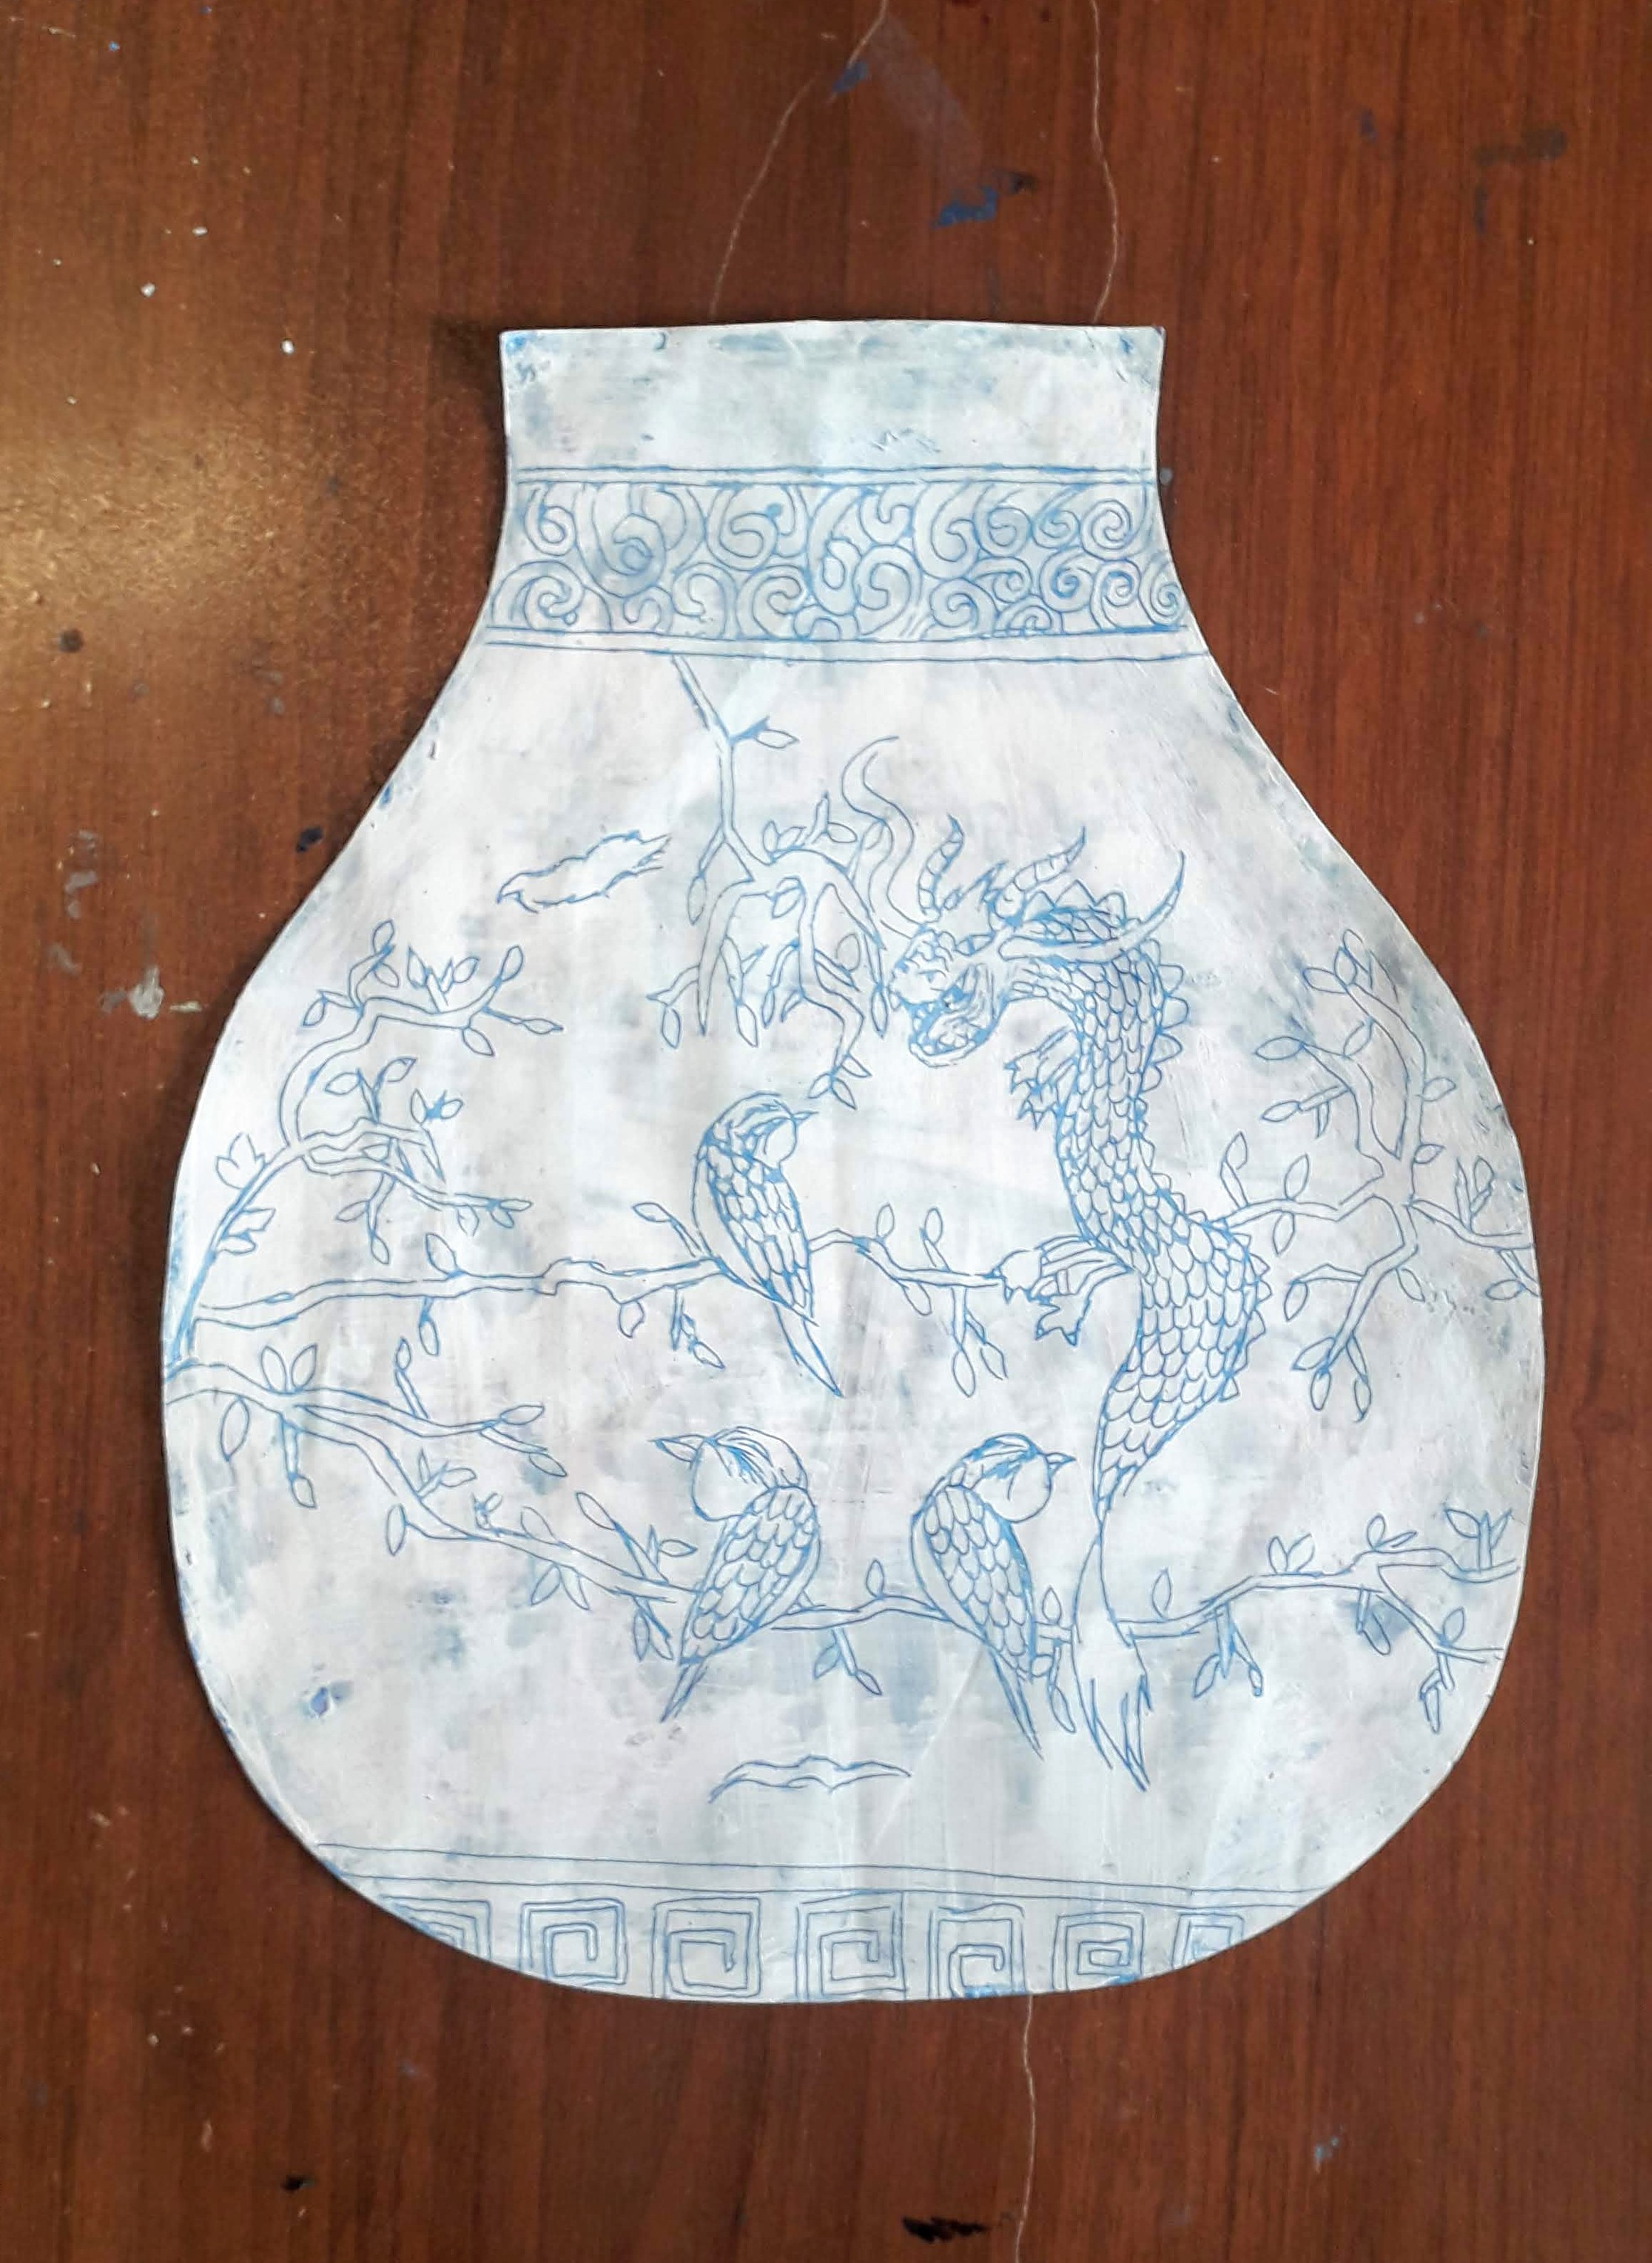
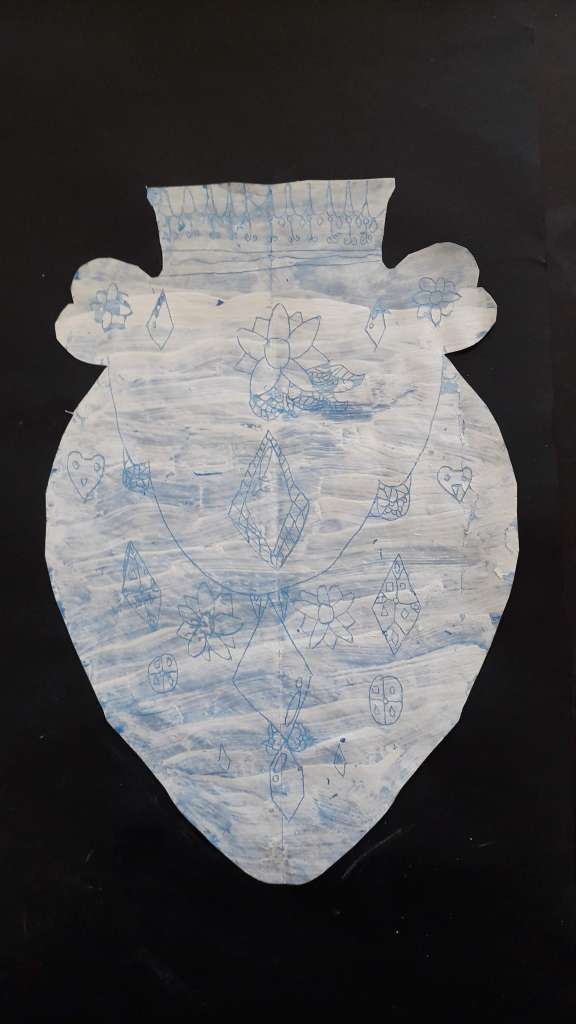
- Step Three- Scratch a design through the layer of white paint and reveal the blue underneath
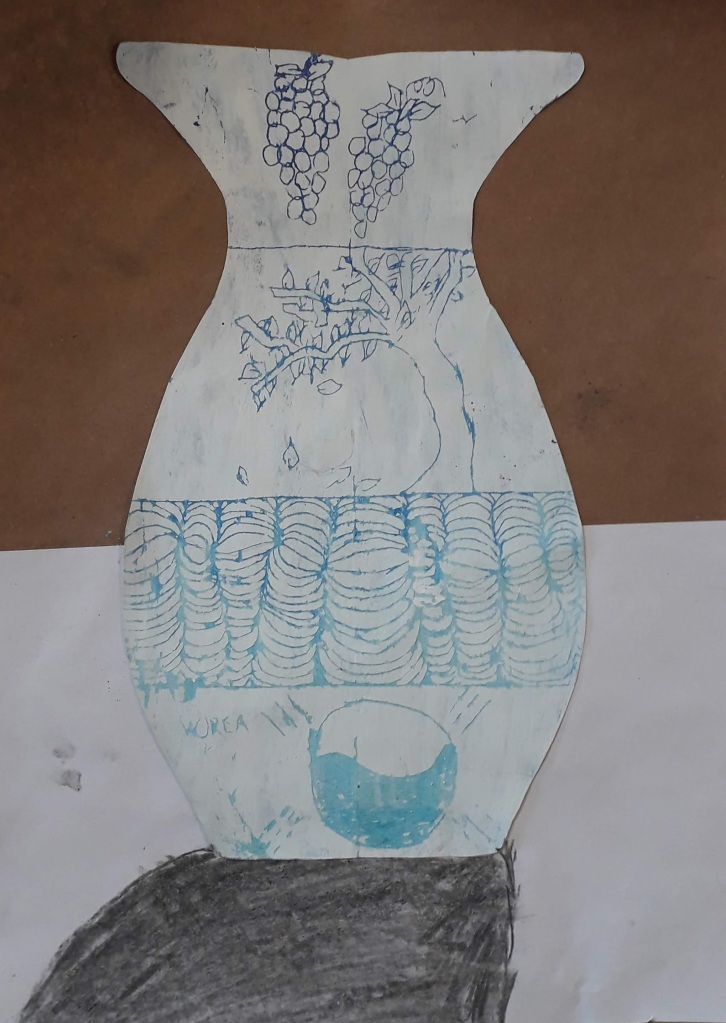
We spent some time looking at and discussing the different imagery used to decorate Ming vases. We talked about symbolism and possible big ideas that are being communicated through the work. We learned that the artisans use cobalt to draw onto the vases before they are fired, and only after coming out of the kiln do the designs turn out blue!
After planning in their sketchbooks, students began scratching their designs onto their vases. Finished designs were mounted onto black or brown paper. Another challenge I am facing now more than ever, is having students all on very different steps of a project. Early finishers had the opportunity to add a table surface and an indication of light and shadows on their vases. They drew in the shadows using graphite. I did not give them very much instruction on this, it was insightful to see how they all interpreted this differently on their own!

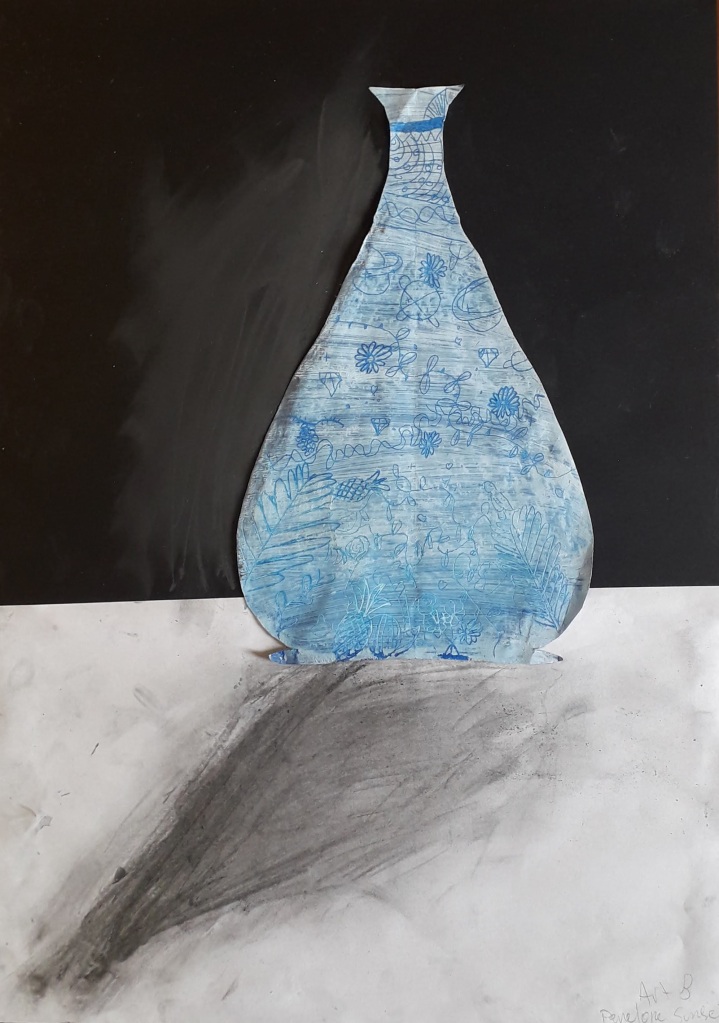
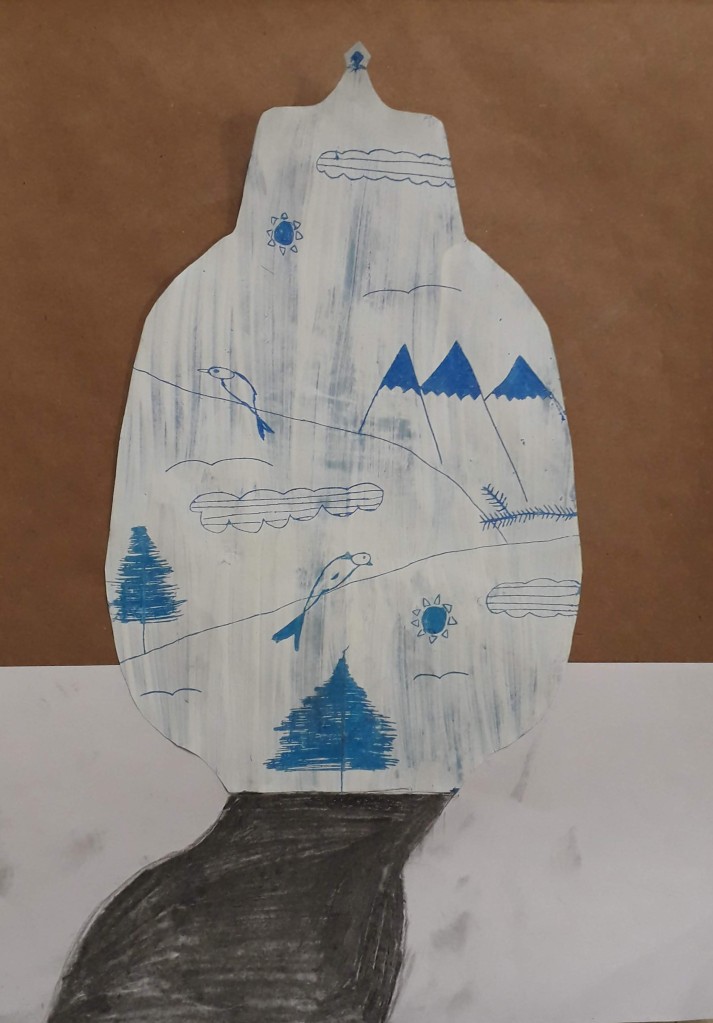

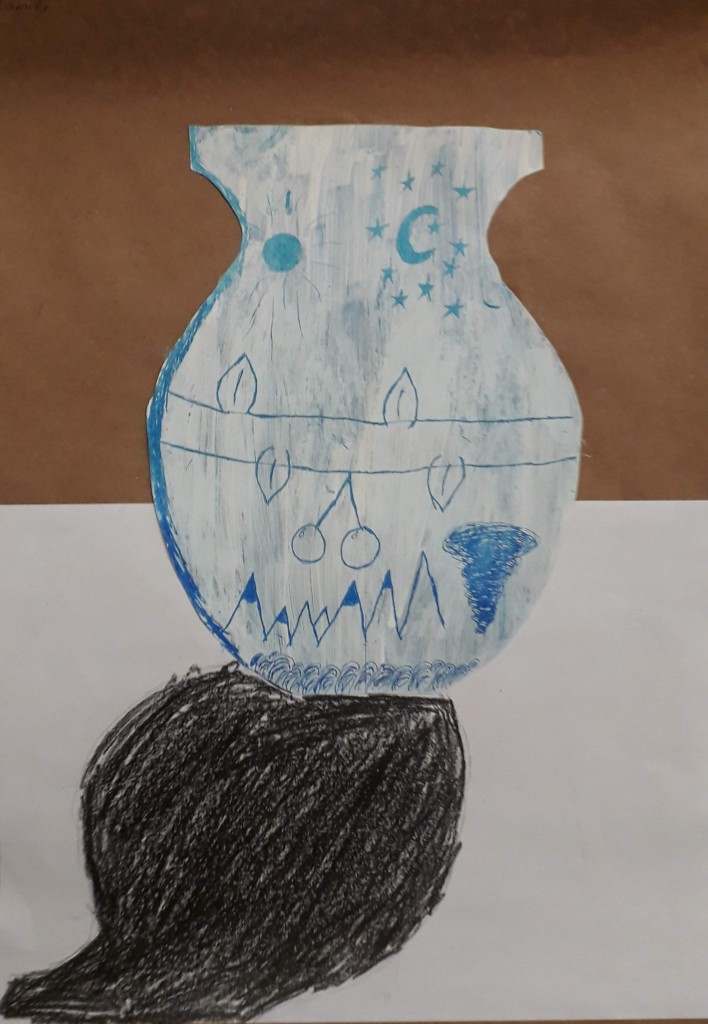
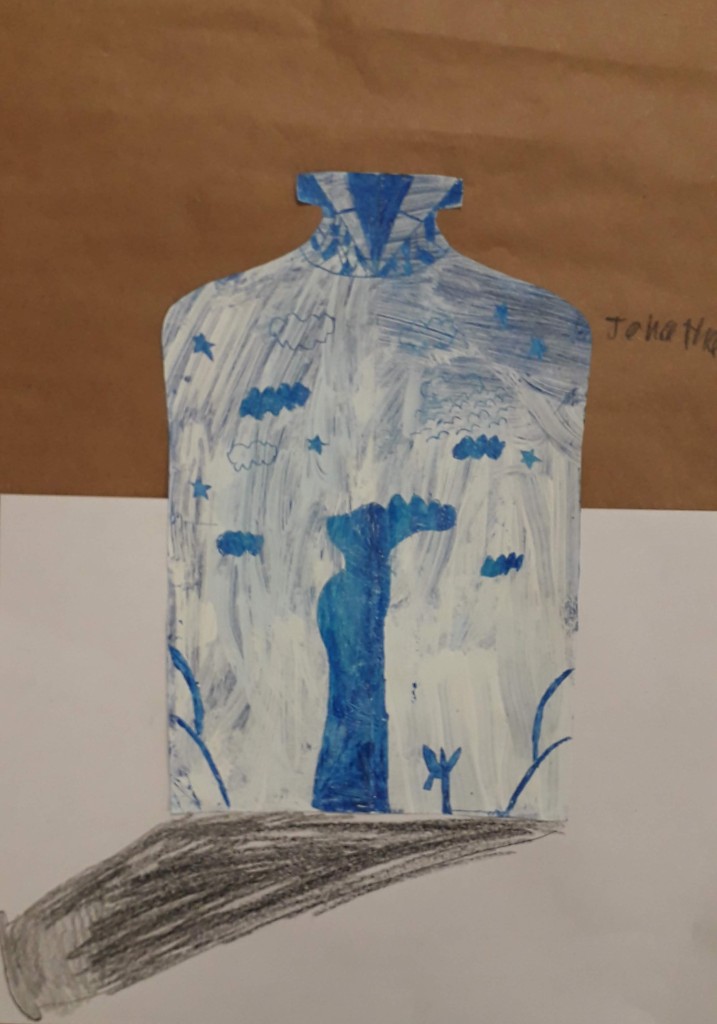
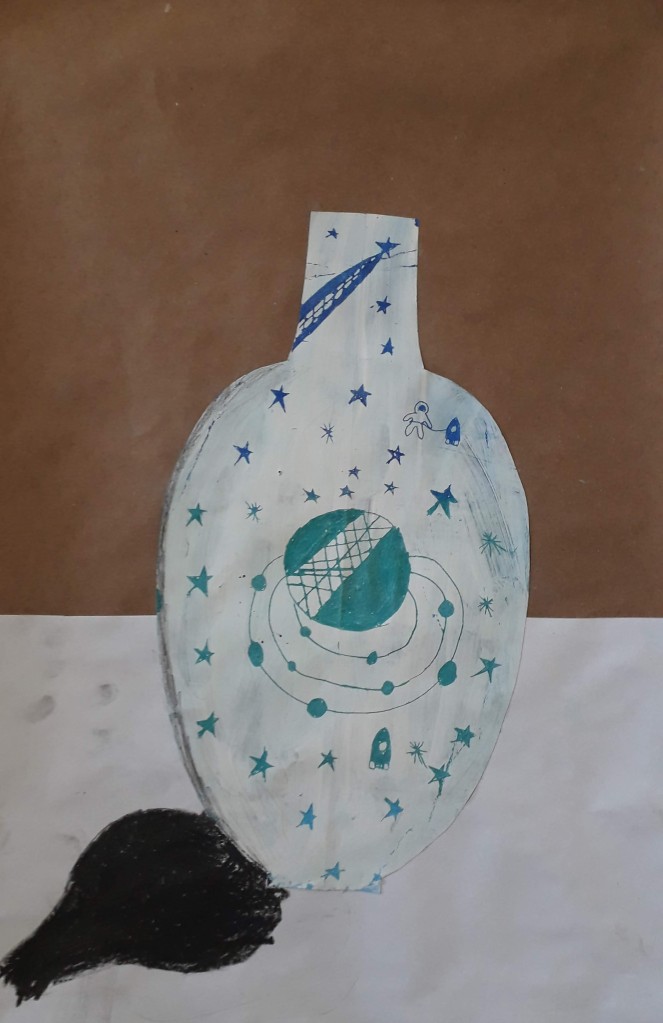
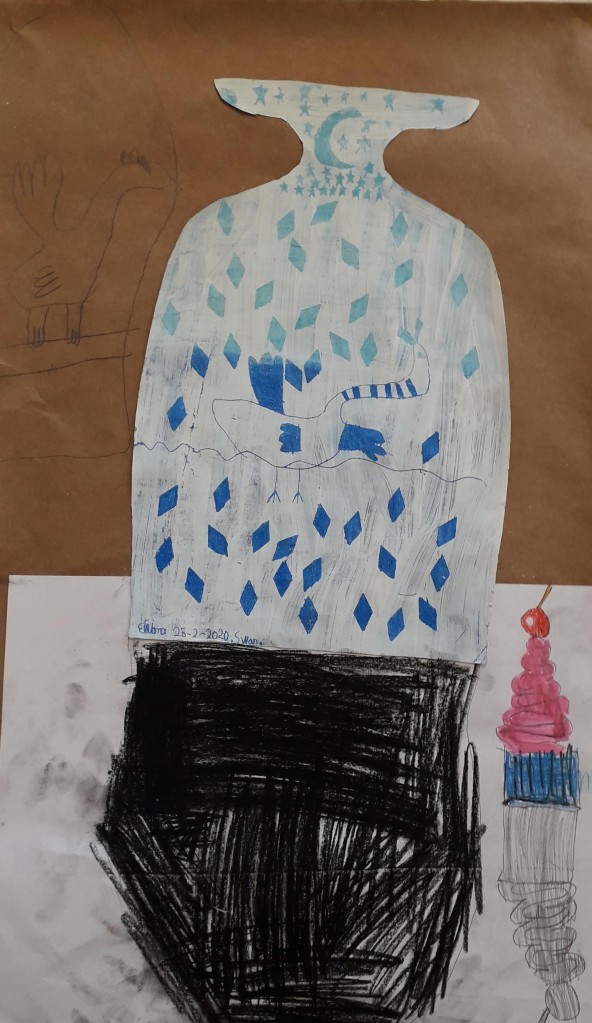
This student does not know it yet, but their creative addition helps connect this piece with our next project! 
WOWWW!

Very often I’d like to be a kid in your classes. Drawing, sketching, making things fits the need in my life to play!
LikeLiked by 1 person