Careers in Art

The last three weeks of school, we explored different careers in the arts and students again had a choice of projects:

Interior Designer

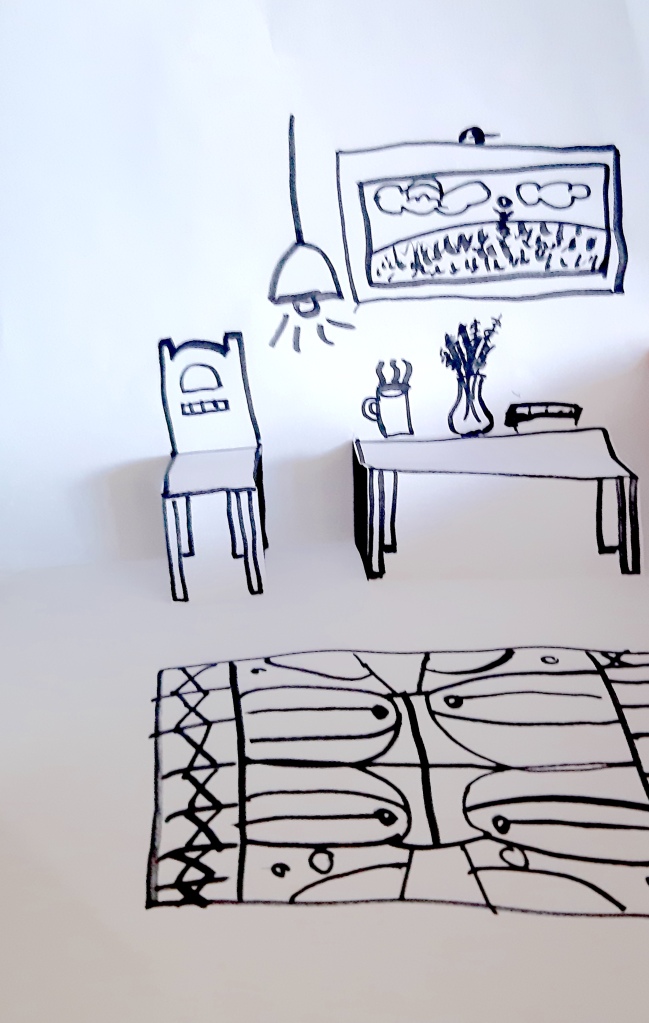
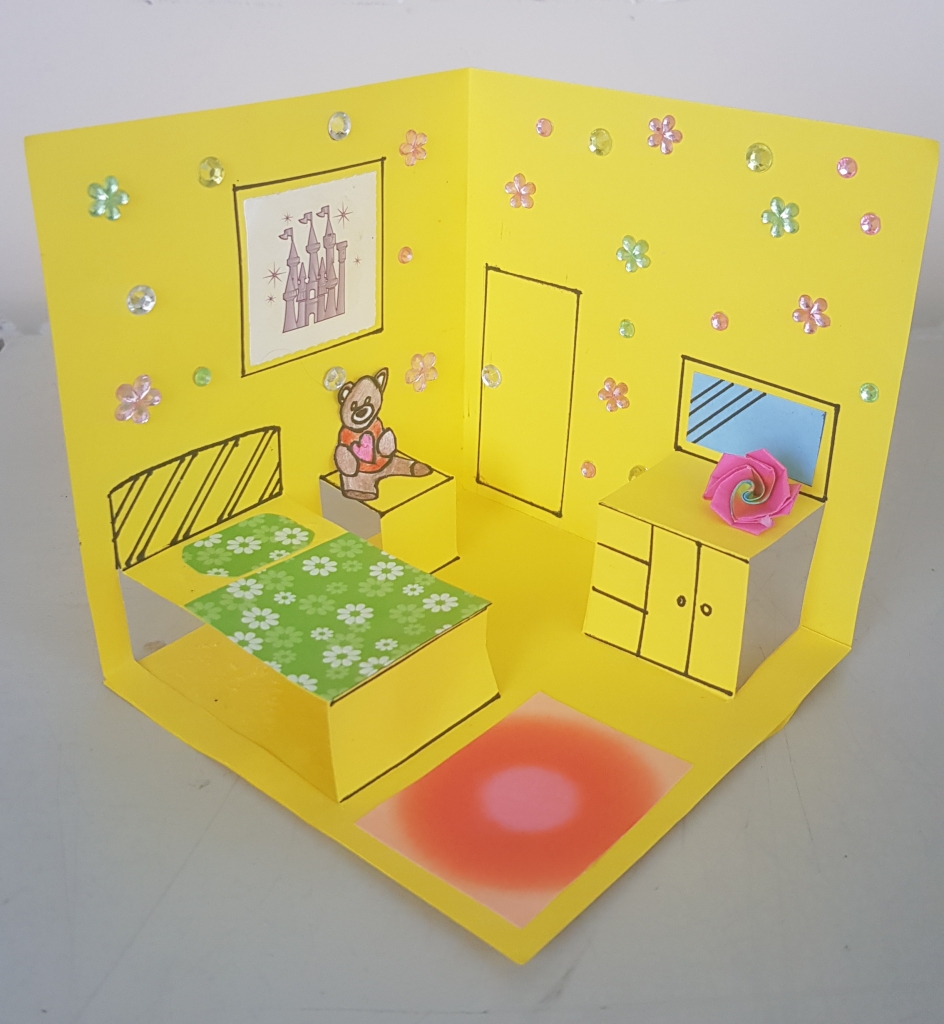
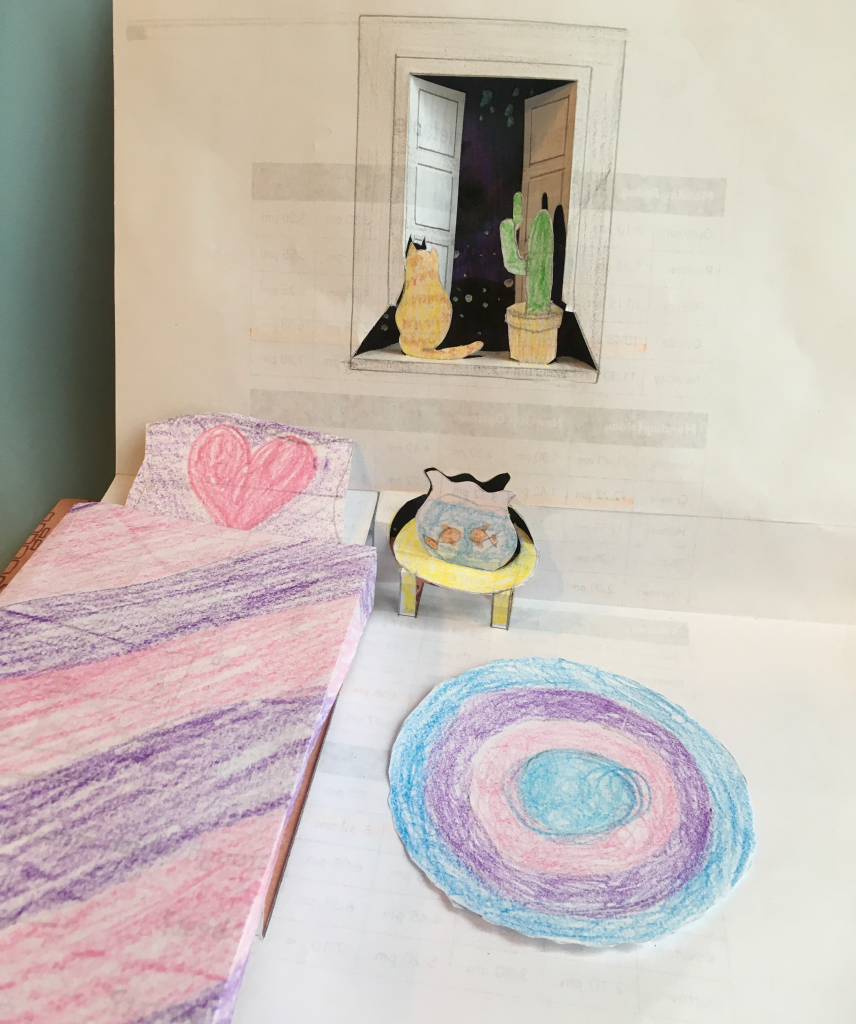
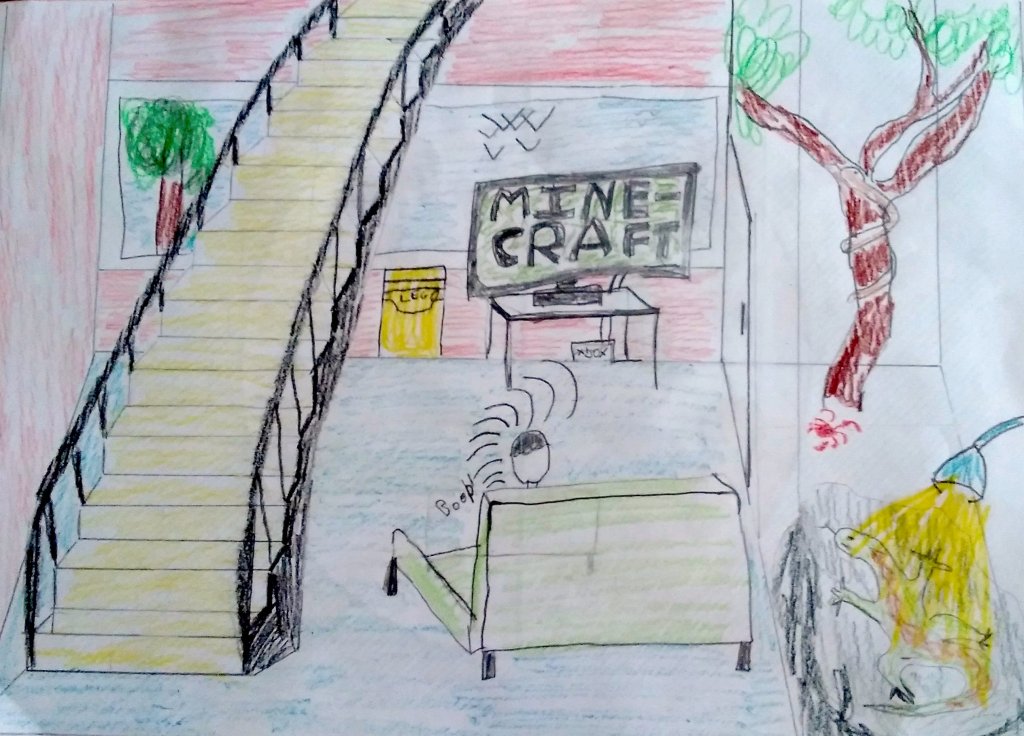
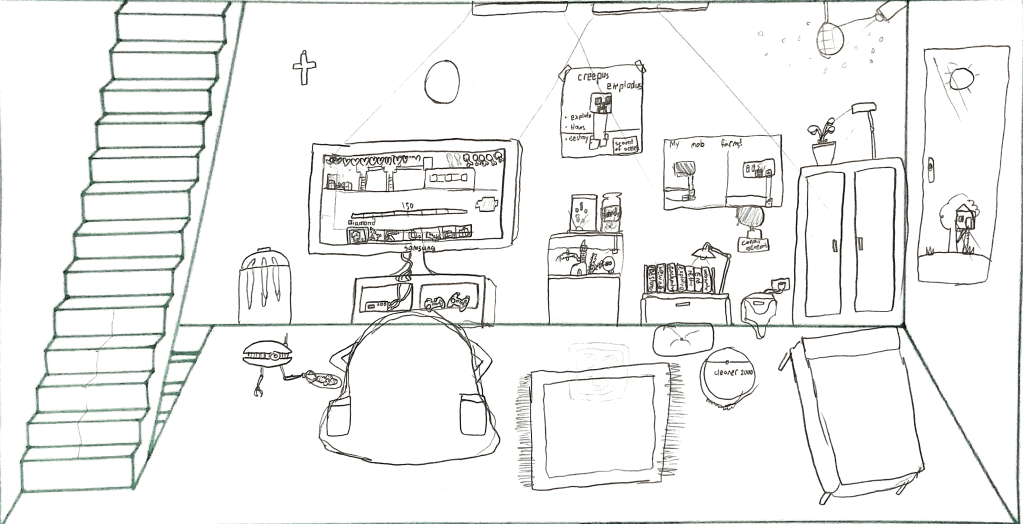
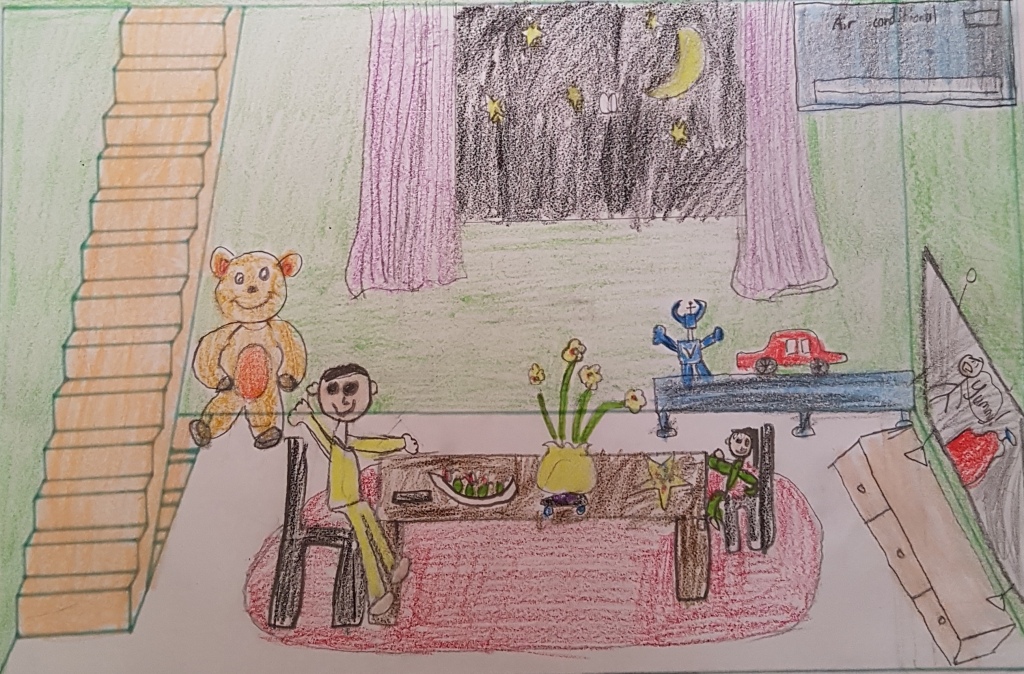
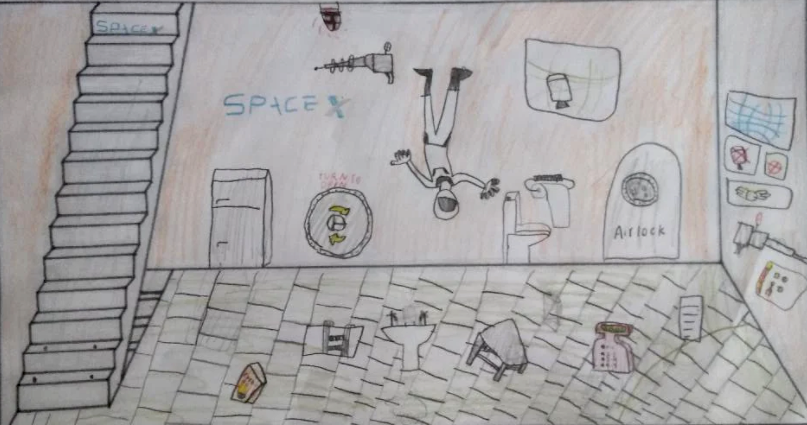
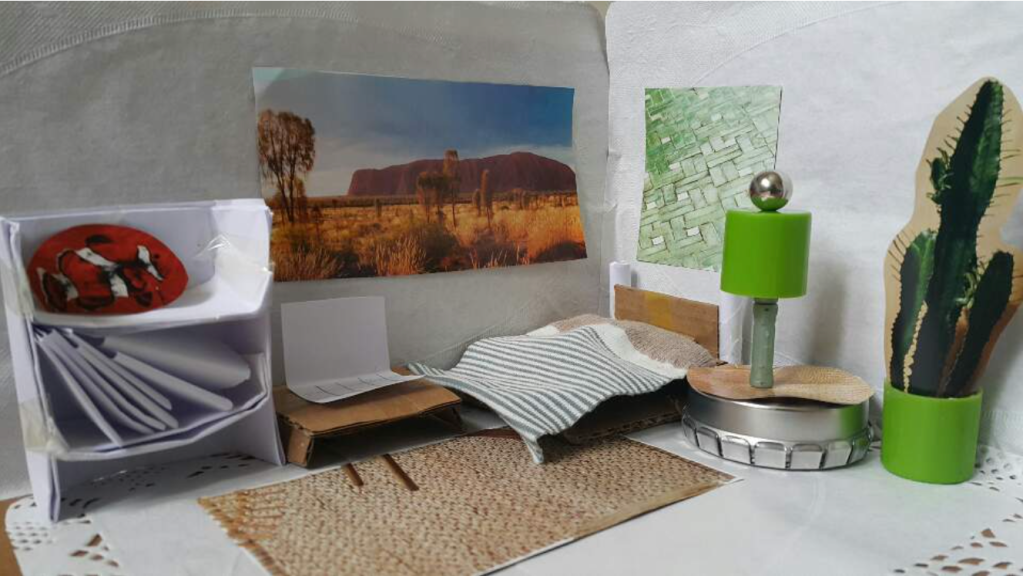
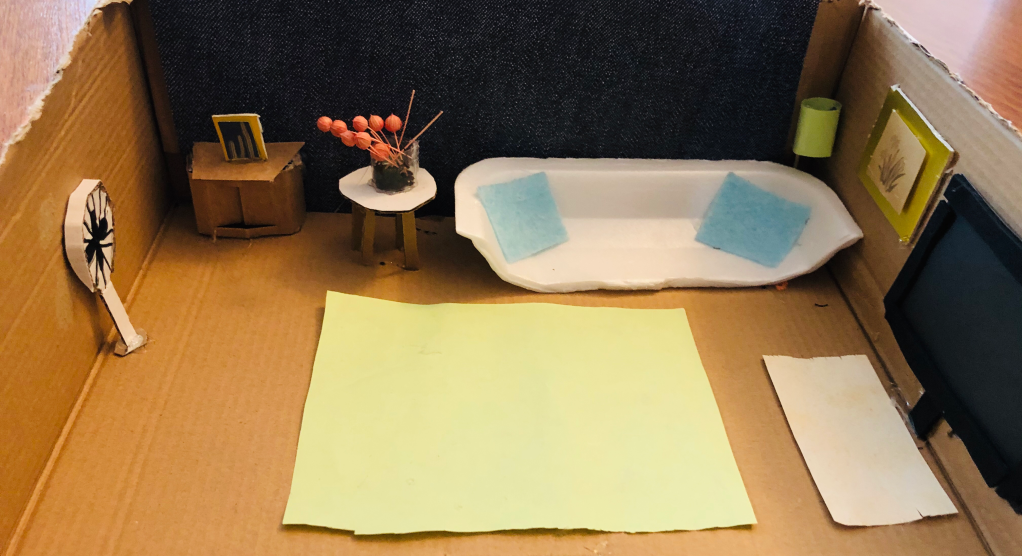
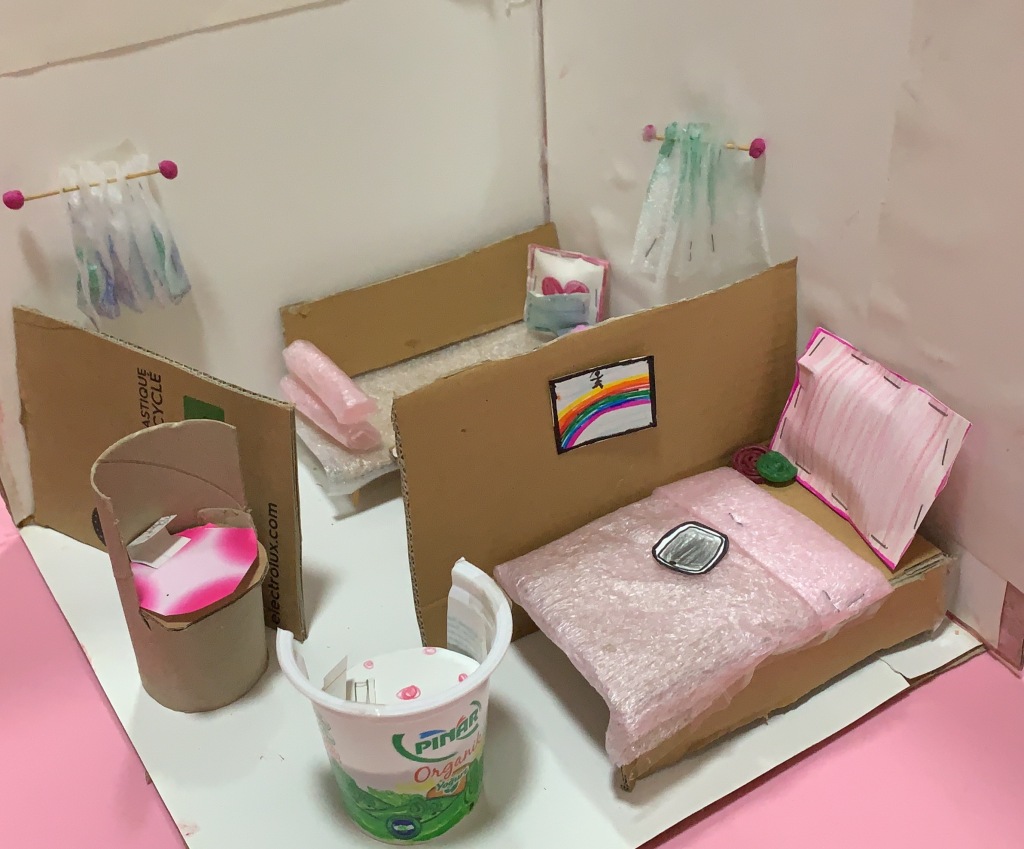
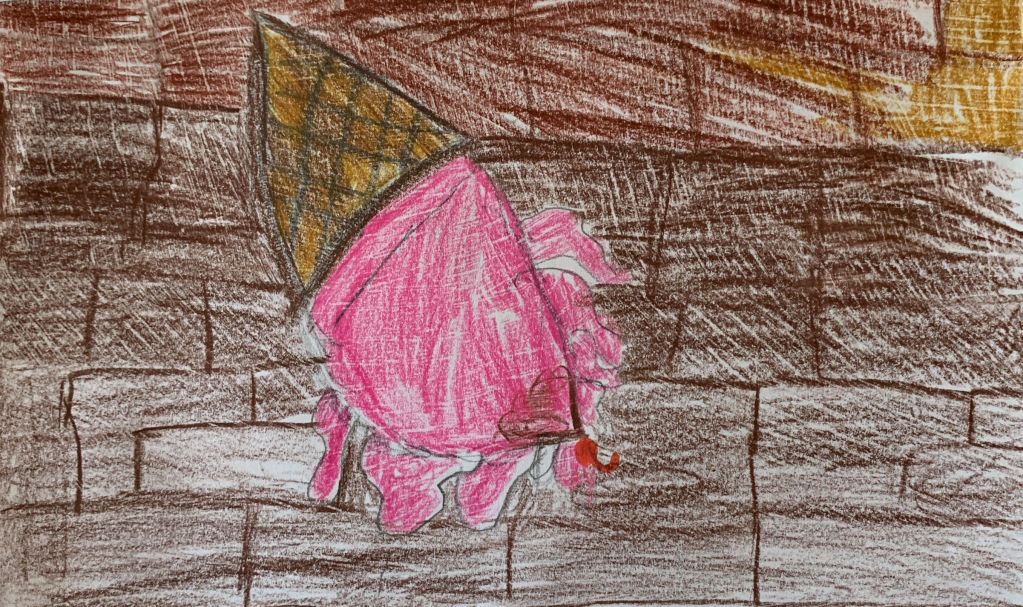
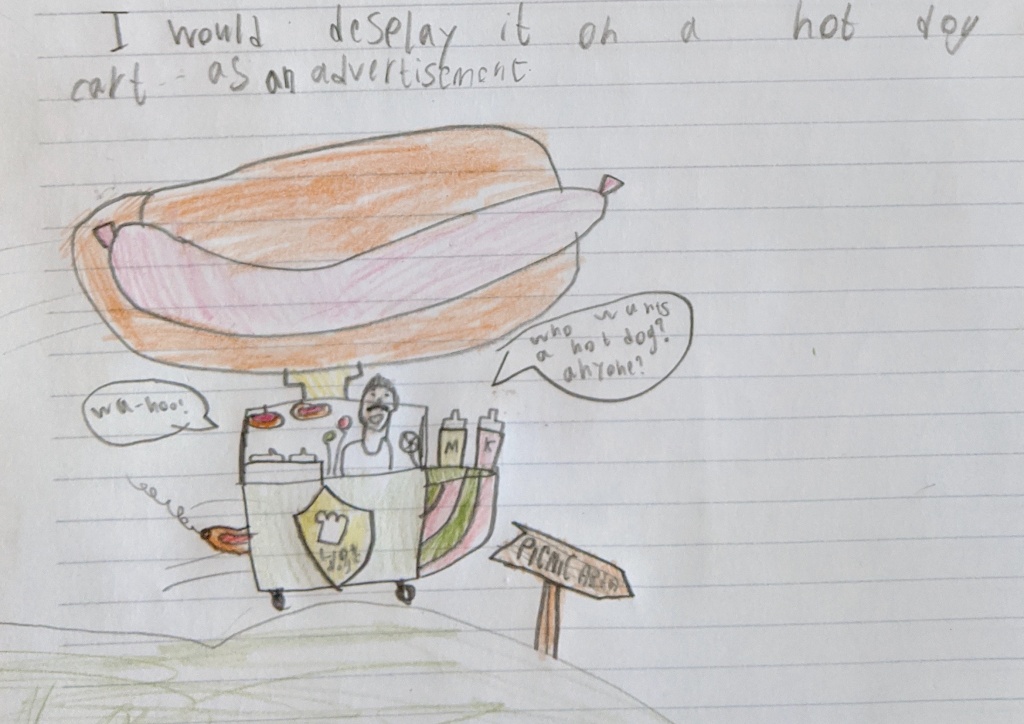
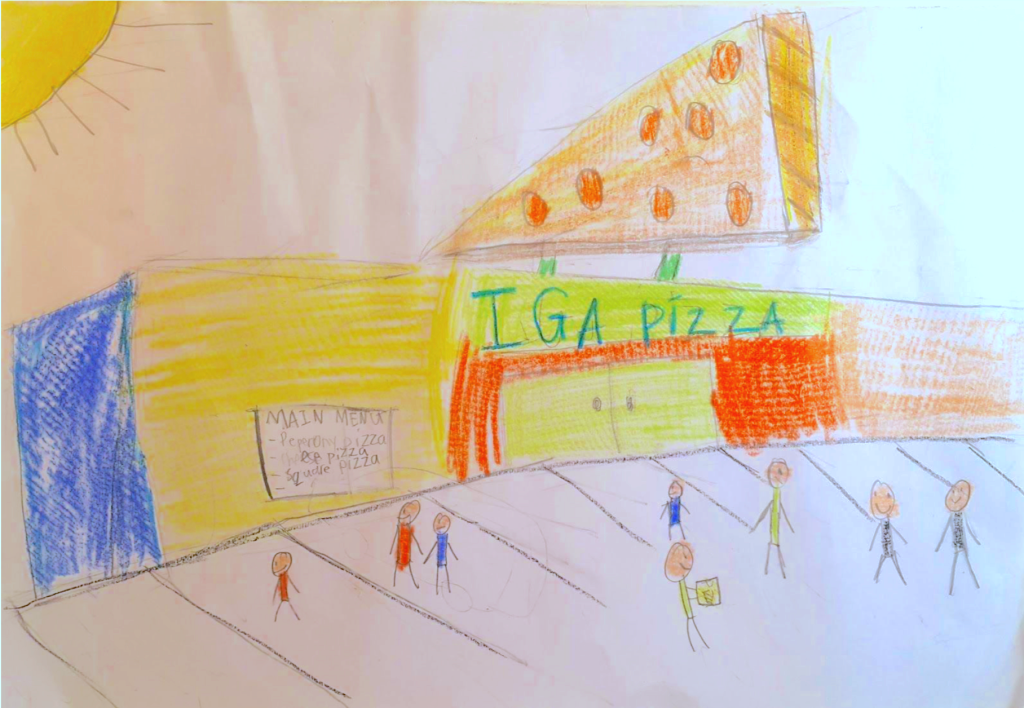
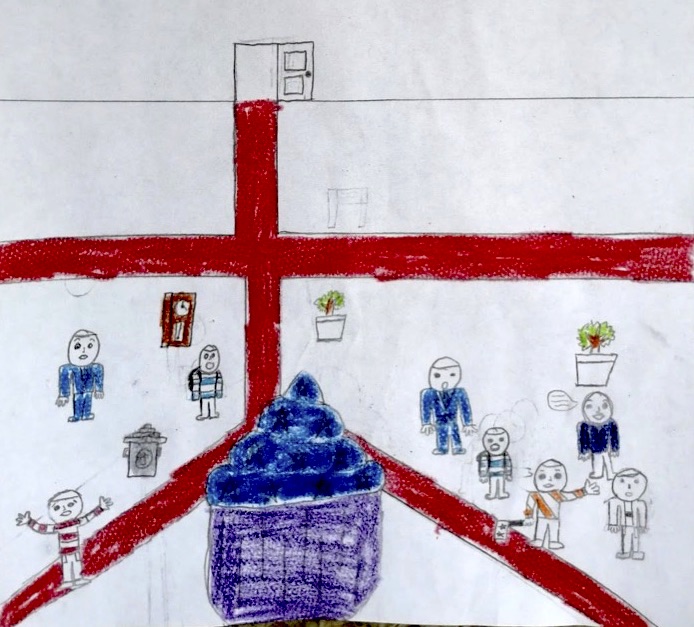
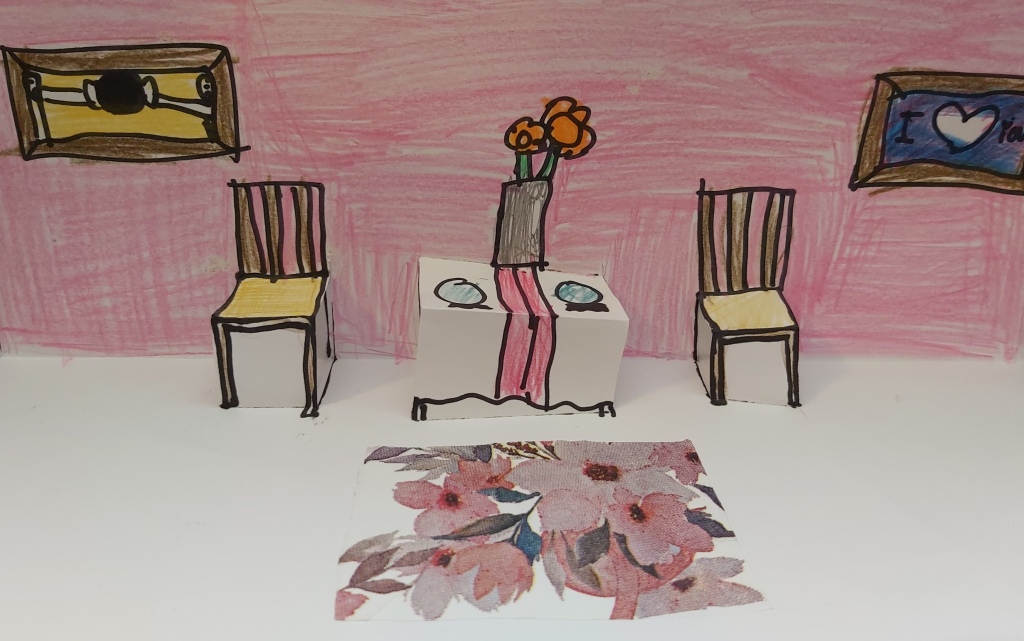
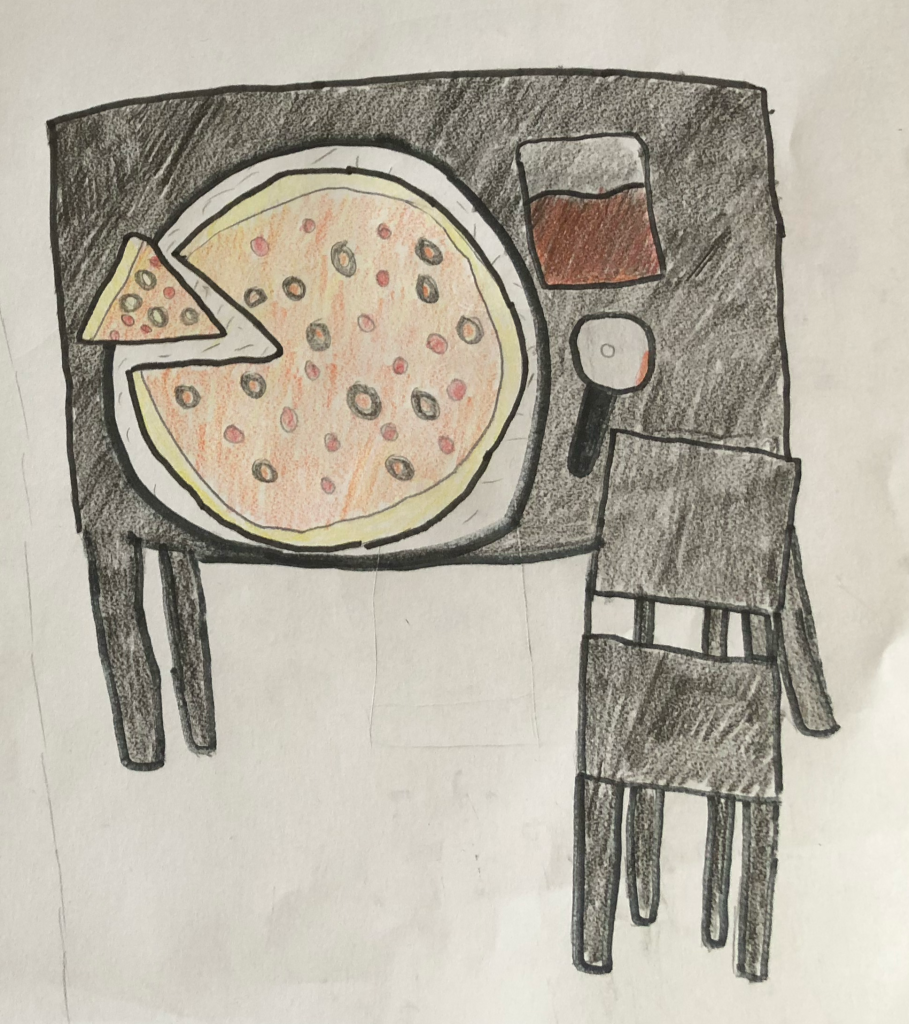
For the first week, we explored Interior Design. Students had the choice to 1) create a pop up room design drawing, 2) create a drawing of their ideal quarantine space (part of a worldwide collaborative drawing project) or 3) create a 3D miniature model. You can see further project details here.

Graphic Designer
Quaranzine

Fashion Designer

Photographer

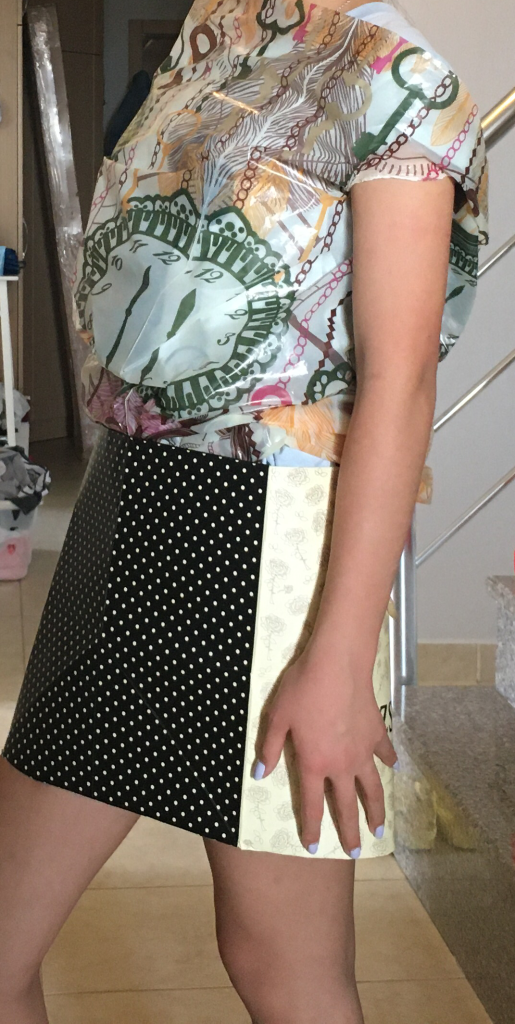
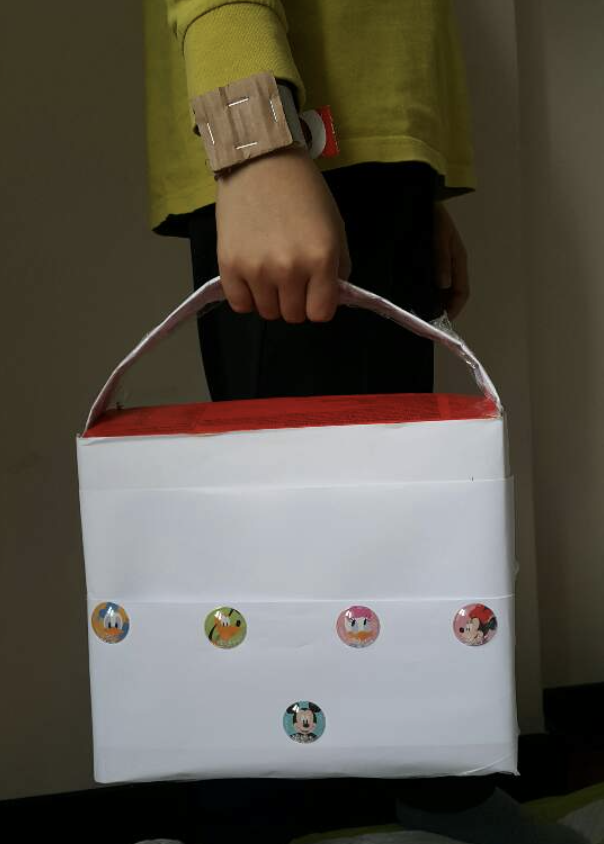
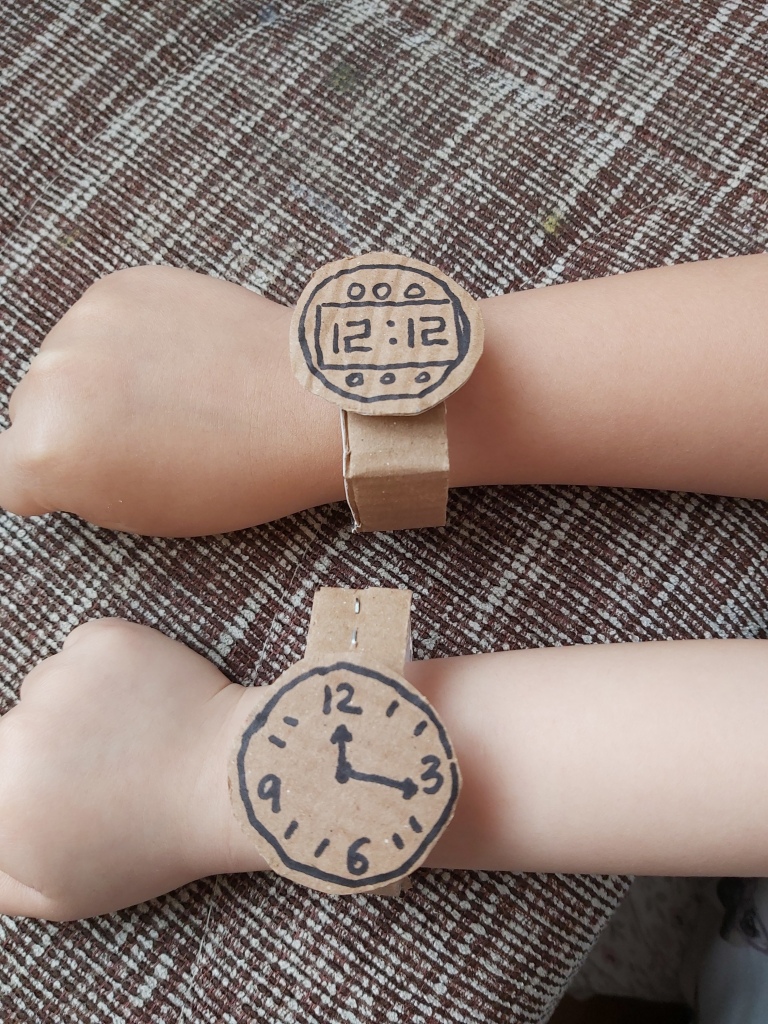
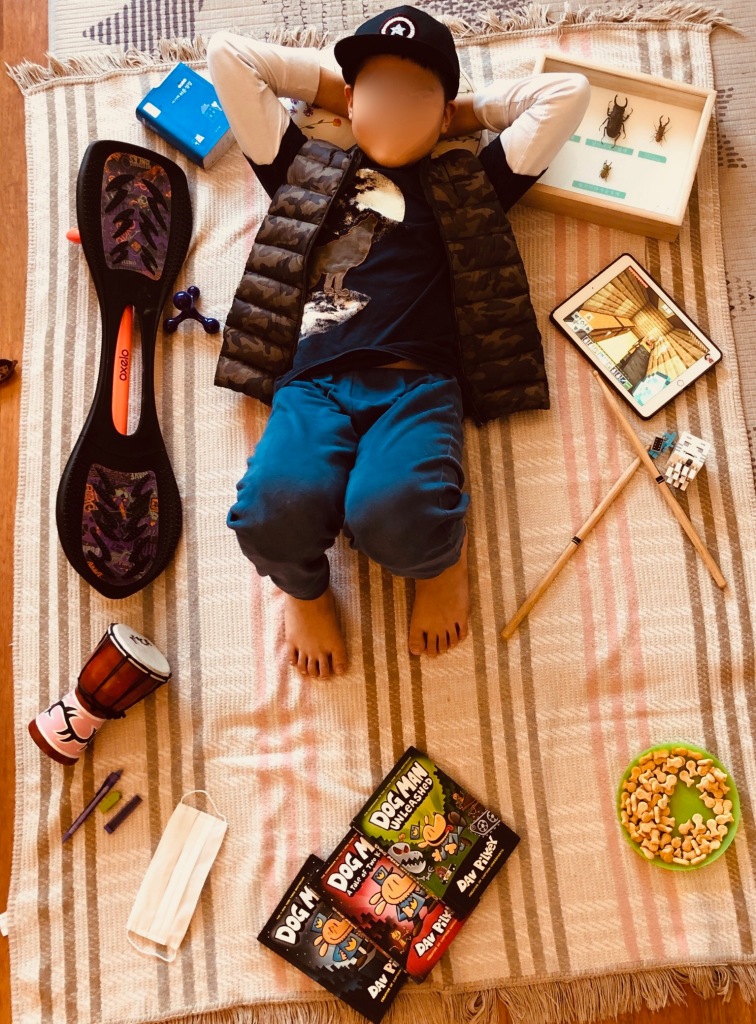
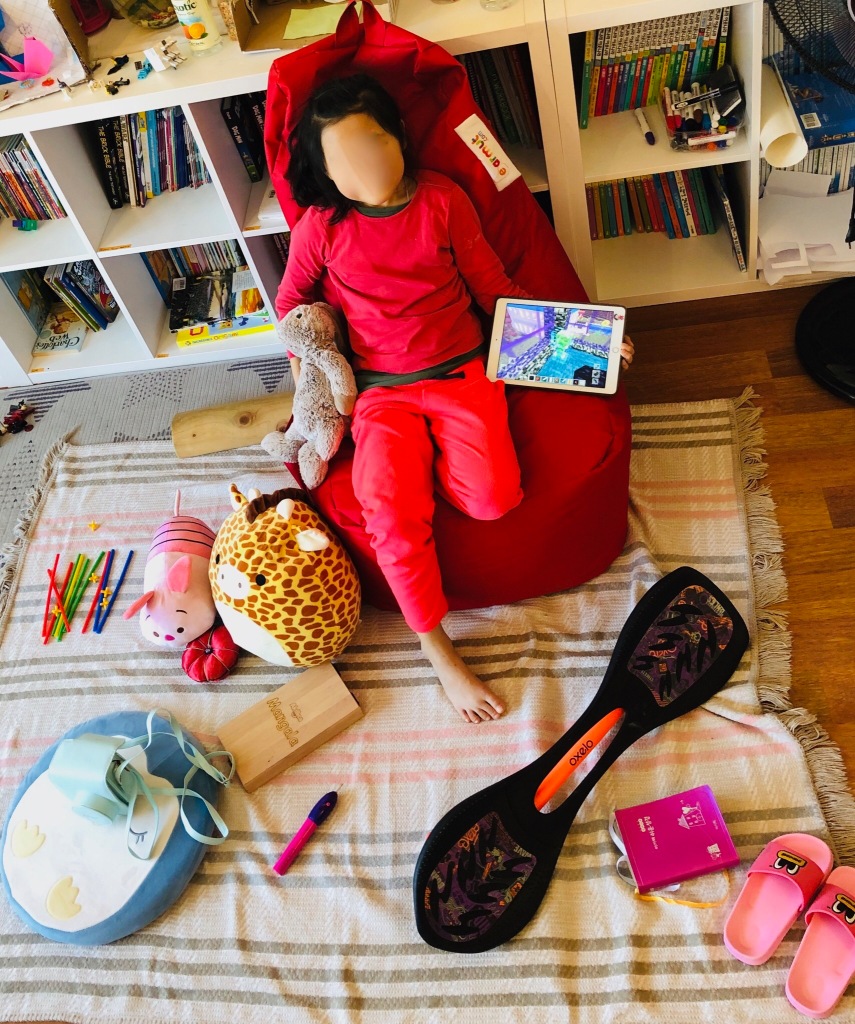
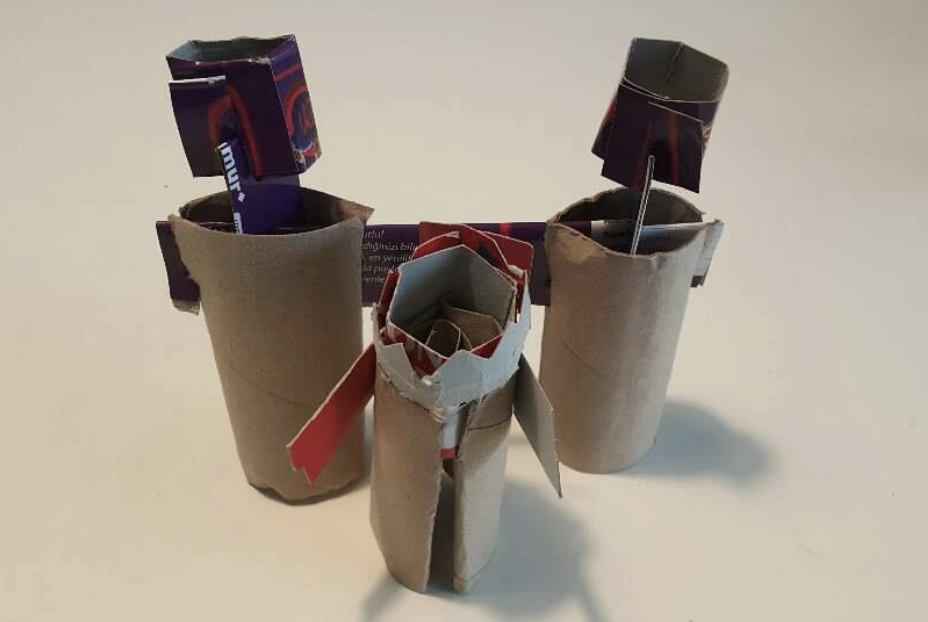
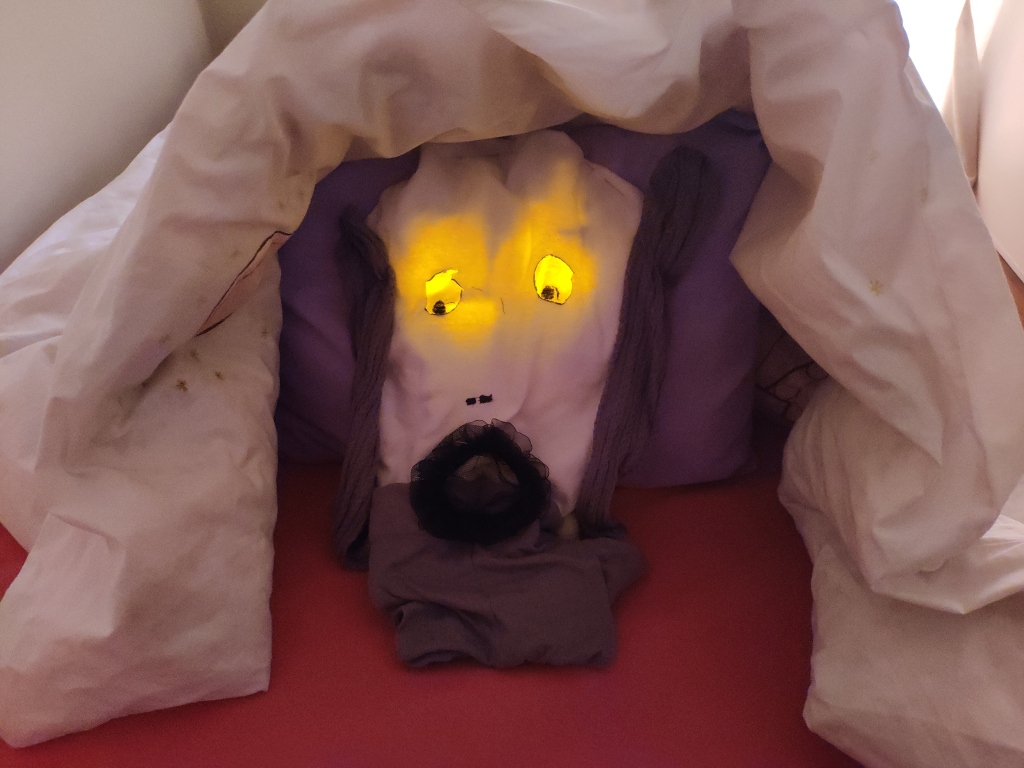
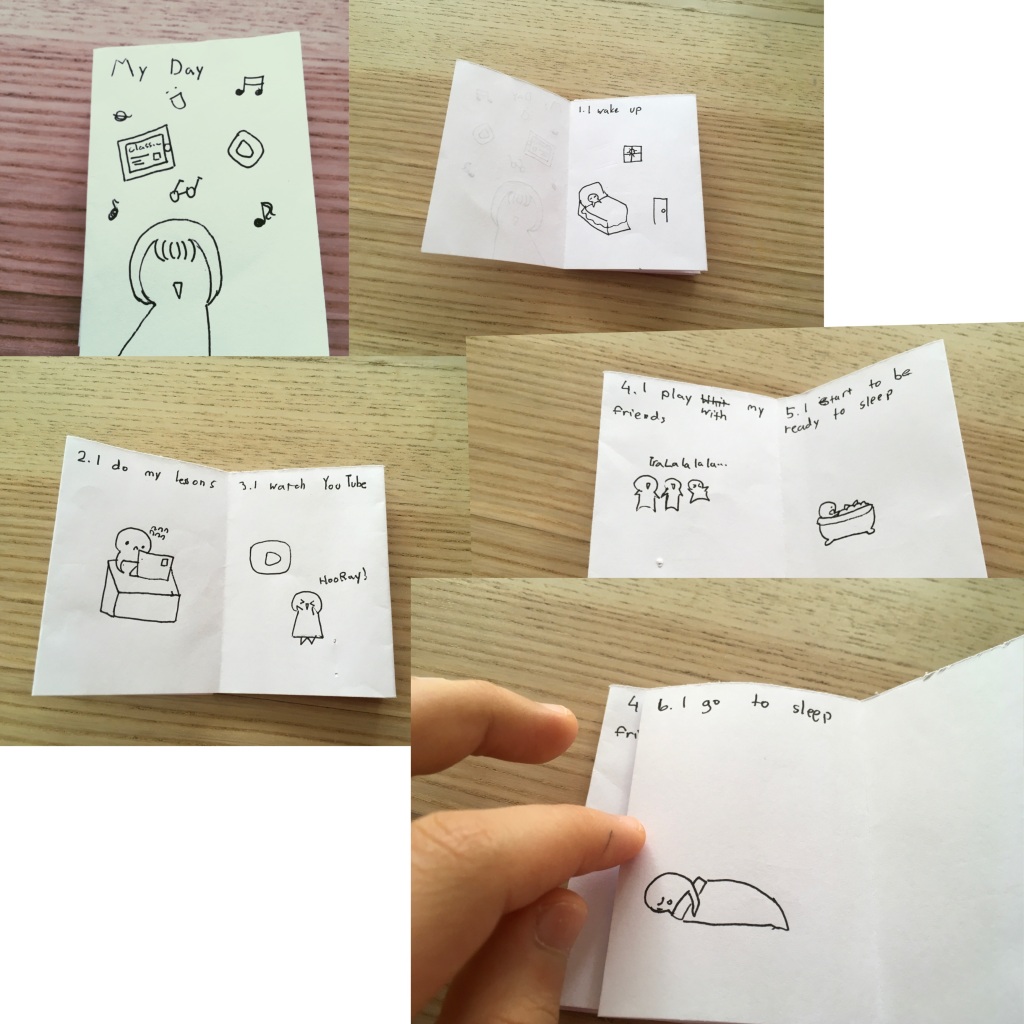
For week two of Careers in Art, students had the choice to take on the role of either a graphic designer, a fashion designer or a photographer. As a graphic designer, the task was to write and illustrate a self published zine, or Quaranzine; including both images and text in a handmade book made from one sheet of paper. To explore fashion design, students were challenged to create a piece of wearable art. This could be an accessory, such as a bag or watch, or an entire outfit. The only limitation was that it should be made from recycled materials such as paper or cardboard. To explore photography, we took inspiration from photographer Gregg Segal and his portrait series called Daily Bread. The task was to first collect items that have been important to students during quarantine and at home learning, to arrange these items around themselves and have their photograph taken. See further project details here.

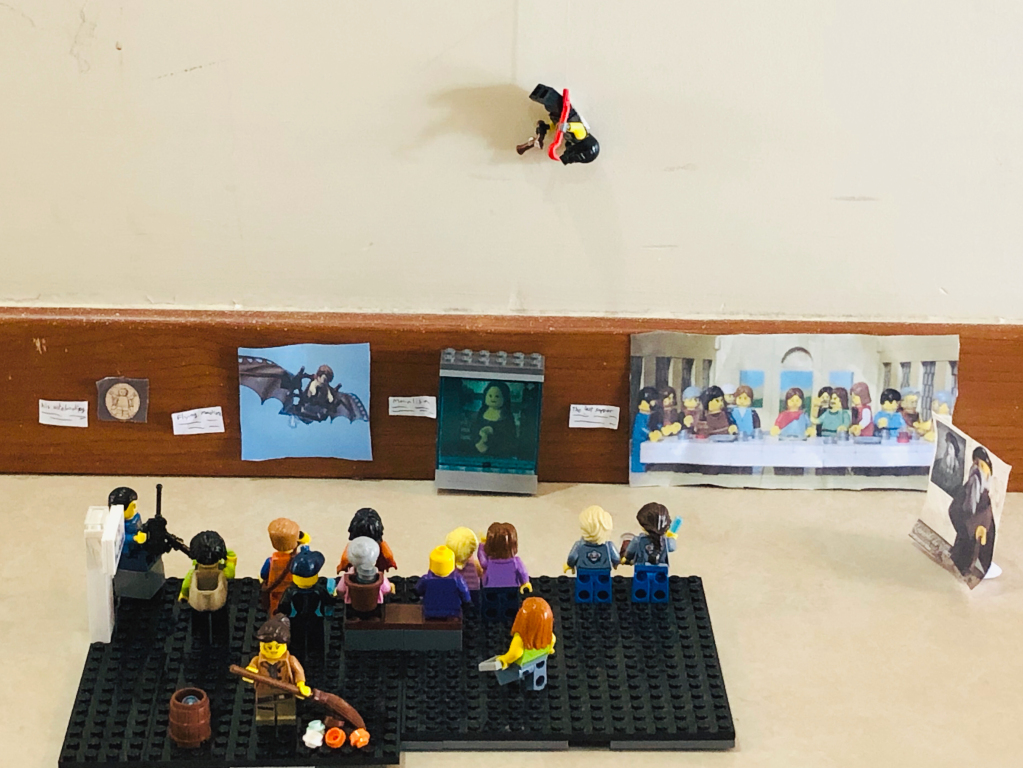
Curator

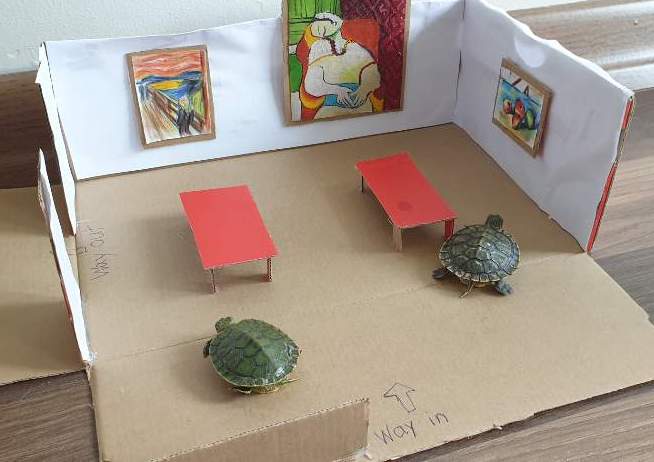
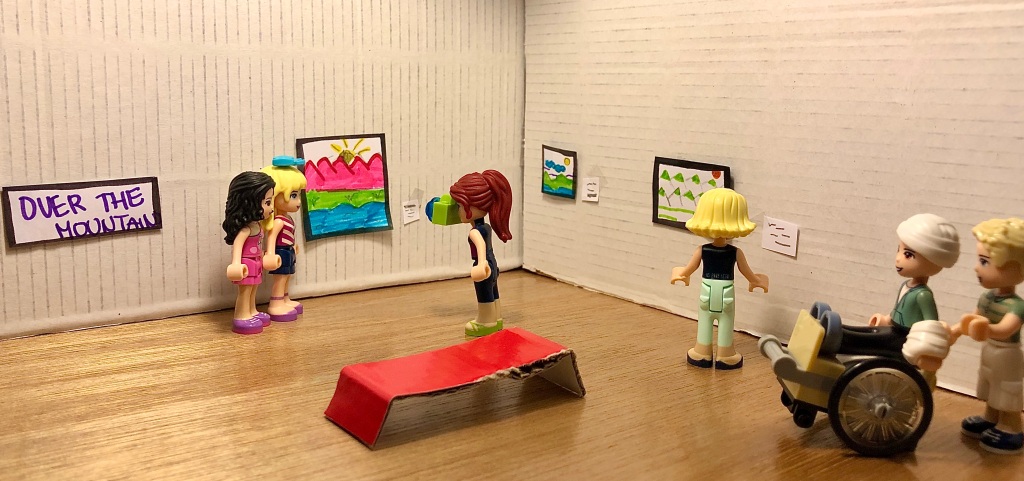
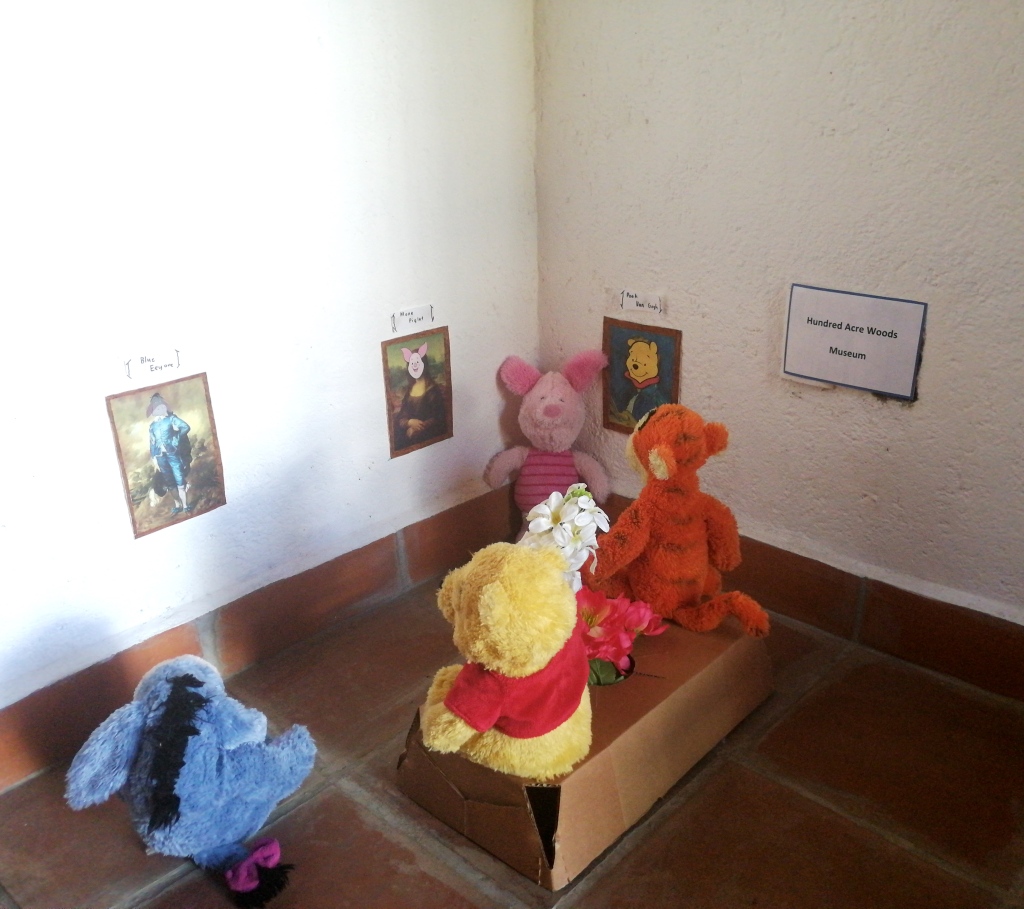
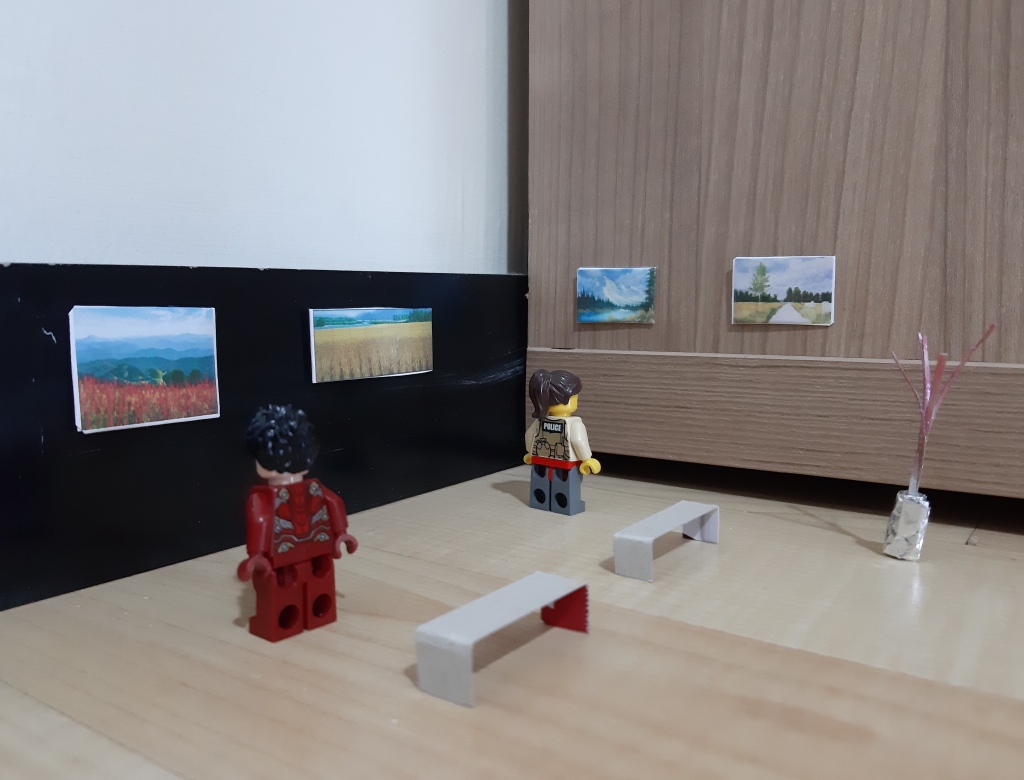
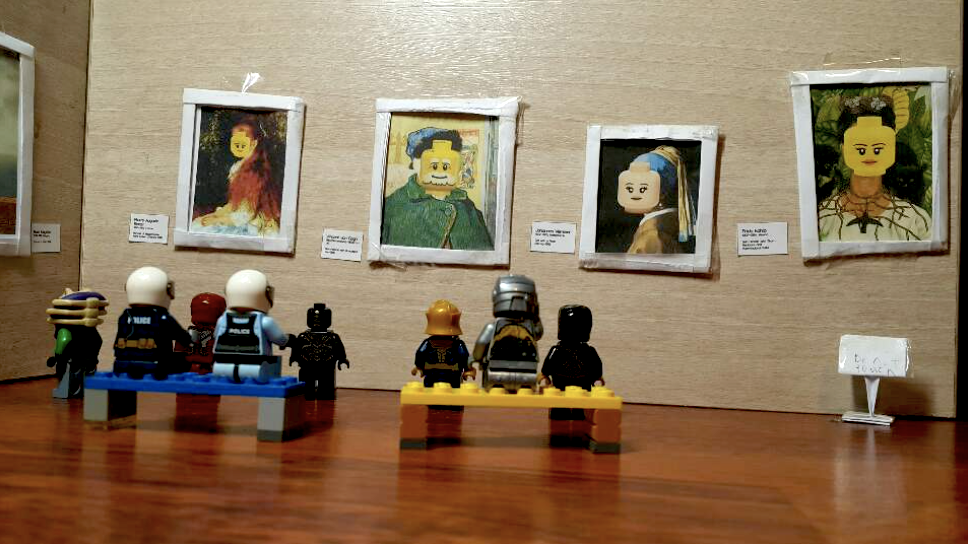
The final project was first to create a collection of miniature artworks that showed unity, and secondly, to organize and present this collection for display to an audience. The details for this project can be found here.

I am so proud of all of the work my students achieved during at home learning! I learned new ways to incorporate technology into my art curriculum and my students stayed engaged and participatory throughout each new weekly challenge, learning many new techniques and processes. I really enjoyed seeing the work they turned in each week, though I missed watching the creative process at work in the classroom.

Here’s to the end of the year, and the end of a season. A job well done, for everyone!
Choose Your Own Adventure: Sculpture

We managed to do TWO sculpture projects this semester! I am so glad that my students can have the experience of 3D creating, even with my limited knowledge- we learn together and they always LOVE it!
Just before we moved to online learning for the remainder of the year, my students had finished (but yet to be painted) pop art clay sculptures- here is the same project from a few years ago.

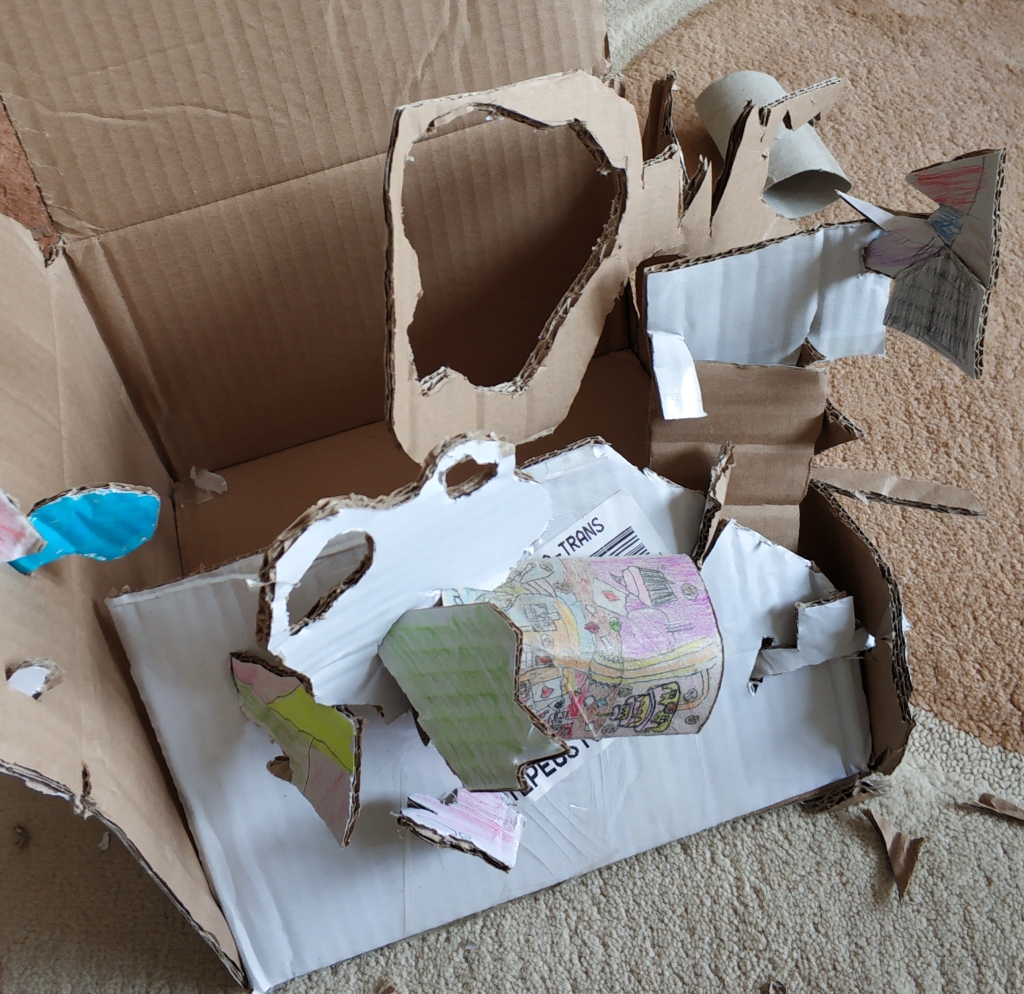
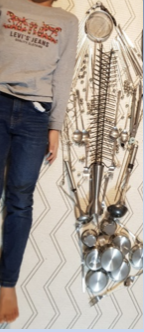
As part of our art processes exploration, I decided to give them an abstract sculpture challenge using recycled materials. Like always, they had the choice based on whatever they had around the house, and I included several artists for inspiration. See the project details here.

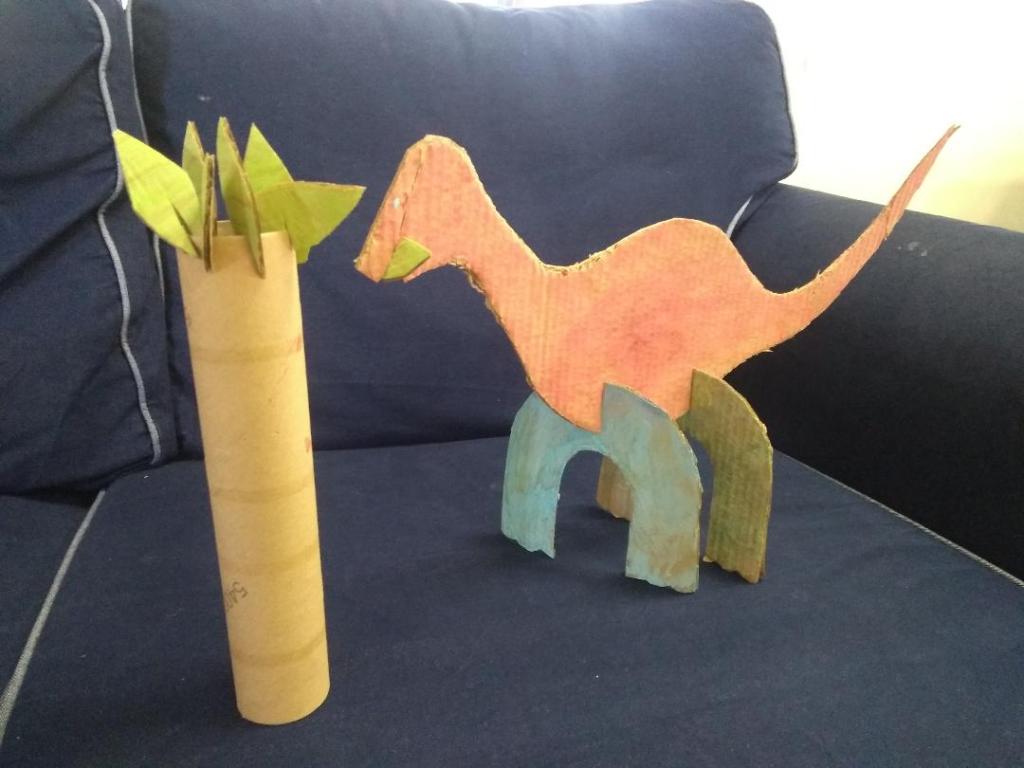
Cardboard • Alexander Calder

Cardboard was by far the most popular choice, likely because it is the easiest material to work with! As you can see, we had a variety of different results, from abstract to more representational.

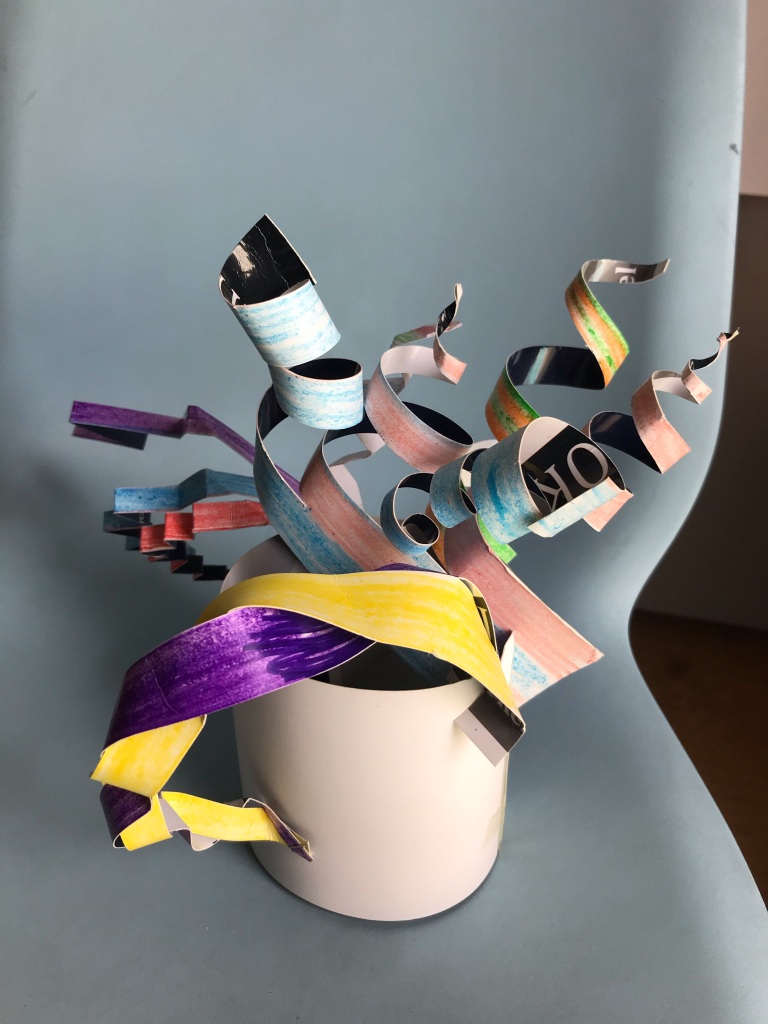
Plastic • Dale Chihuly

Plastic is a difficult material to work with- I have always wanted to try a Chihuly inspired project but it felt to craft-like for my classroom. I was excited to see a few students attempt it, despite my pitiful results in the demo video. I would like one day to try a version of this using Shrinky Dinks!

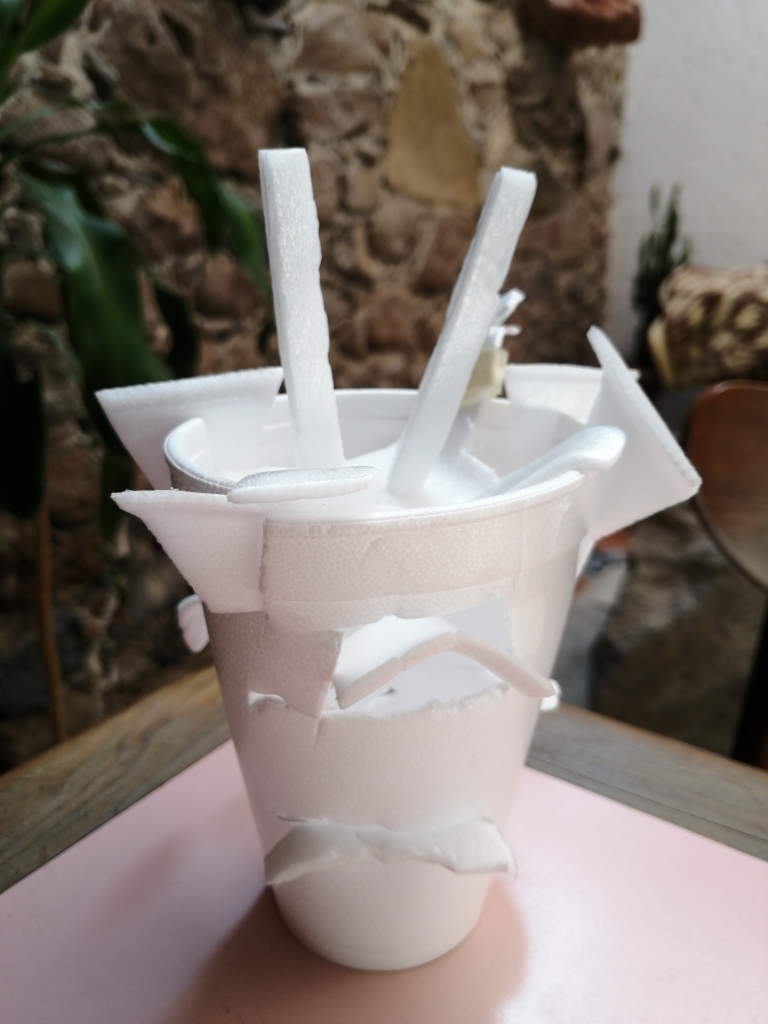
Styrofoam • Jules Vitali

Styrofoam is also tricky to work with (I am having flashbacks to yet another undergrad sculpture project!) There are many artists who have found inspiration in the form of styrofoam cups, either drawing on them or, like Jules Vitali, creating intricate 3D works cut from one piece. I am proud of this one student’s effort in trying it!

Choose Your Own Adventure: Assemblage

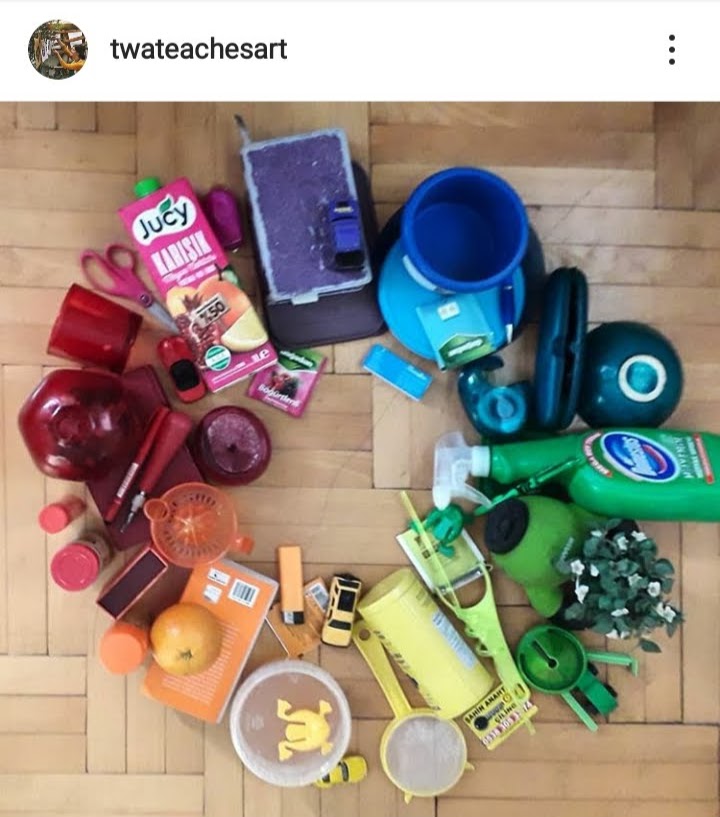
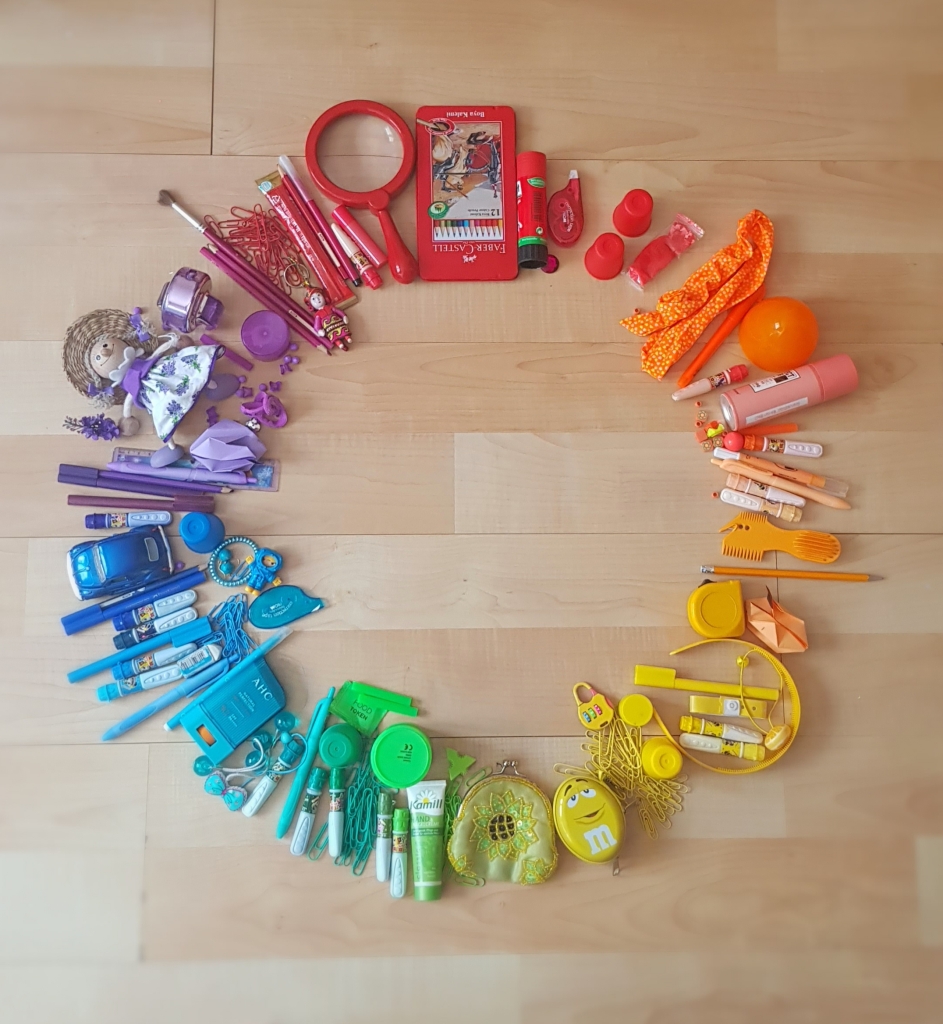
As we move into a new normal of teaching remotely, I have been inspired by all of the resources out there and the many art teachers sharing their great lesson ideas! In planning projects, I want to account for kids with little to no resources at home, and think of what they could use to make art, perhaps in a different way than we do in the classroom. With so many creative ideas circulating, I decided each week to give students three choices in how they could create, with differing levels of difficulty, thought and creativity involved. I had so much fun creating my example, I thought they would too!

I was surprised at the number of responses and how many of my students turned in work. I was also happy to receive at least one student example for each of the prompts I provided.

Follow me on Instagram @twateachesart

If you want to try the project for yourself, see this link for instructions… and send me a photo of your finished product!

Online Week One: Imagined Environments

It is hard to visualize how a display of our artwork will look to the public- it is even harder to have to draw without looking at our finished sculptures!

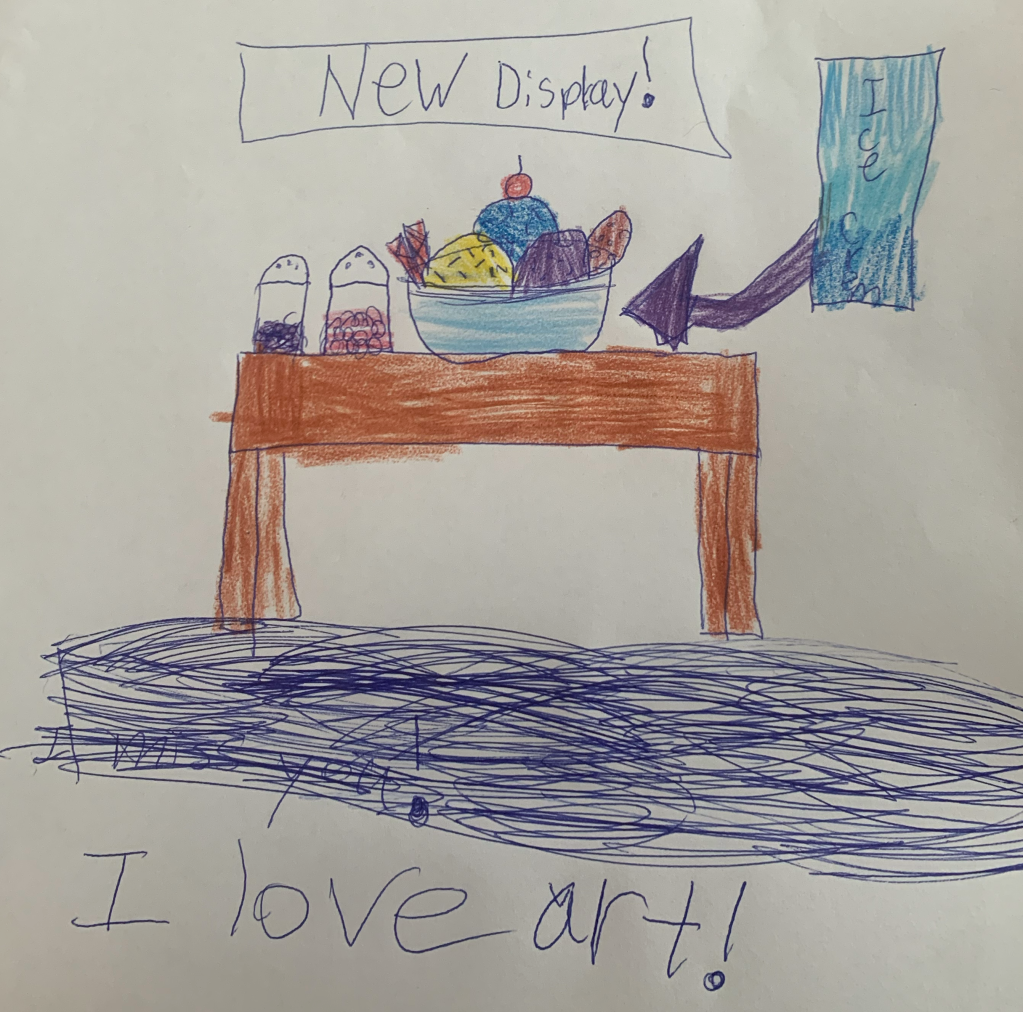
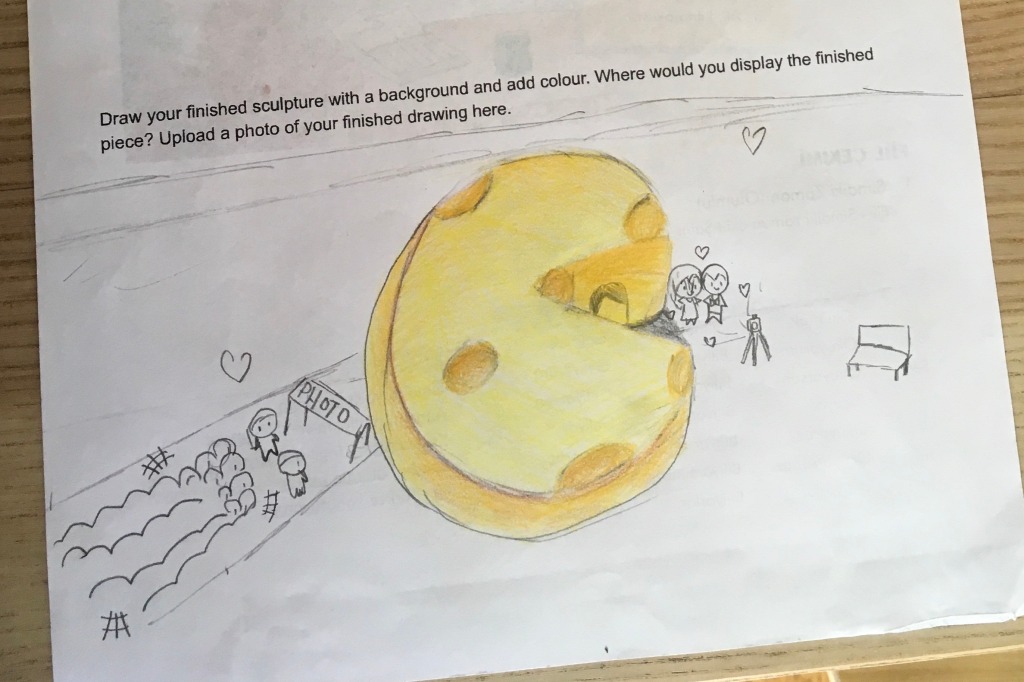
In third and fourth grade, we managed to finish our pop art clay sculptures JUST before we moved into our first week of online school. The last part of the project is to draw an imagined environment for our sculpture, thinking about how we want visitors to see and interact with the finished work at a larger scale. We looked at the work of Claes Oldenburg to get out-of-the-box ideas for this.

I managed to get photographs of the finished sculptures on my last day at school, in hopes it would help students look at and record smaller details in their drawings. Here are a few drawings as a summary of week one, and a fairly straight-forward assignment. Stay tuned for next week and see how I attempt to teach collograph printing from home…

Figures in Imagined Environments

I still have not grown tired of this project, even after four years and looking at the 70+ sculptures from this quarter! This is such a fun unit to teach, enjoyed by many (if not most) of my students; and I continually have new ideas of how to reinvent it each time.

This year I had my students draw a background to add meaning to their sculpture. We thought about what pose each figure was conveying, where we might see this pose being made and where we could imagine displaying the finished sculpture to add to its meaning.

The sky was the limit! I watched the ideas take off with the addition of props to enhance a pose, and the development of imagined environments through drawing.

This slideshow requires JavaScript.

see past figure sculpture projects here and here

Oceania Masks

Our school celebrated international cultures week mid-April. Within the student body, we have representatives from 24 countries! It was a busy and exciting week with a whole-school assembly, musical performances, cultural games and a potluck lunch. Amidst the flurry of special activities throughout the week and the themes of celebration and diversity; we looked at masks.

We talked about the reasons why people wear masks and where they get their inspiration from. We looked at masks from Papua New Guinea, discussing the colours, shapes, patterns and textures we observed. We also discussed the differences of symmetry and asymmetry in the designs.

Everyone started with a cardboard base. We talked about building a relief using different textures, shapes and layers.

Once the masks were complete, we painted them. The final step was to add pattern and detail with pastels.

This slideshow requires JavaScript.

Art and the Olympics!

This year I wanted a theme for elementary art. In Canada (and in my family) we get really excited about the Olympics, particularly in the winter. Living in a country that is cold and snowy for the majority of the year… it is a necessity to take part in winter pastimes! This year’s Olympic Games also were exciting to talk about since they took place in Korea! The majority of my students are of Korean descent, though many have grown up here in Turkey.

We started with talking about what the games are- when they take place, how often, the teams from each country, different events for summer versus winter, the medals…

We looked at the visual symbols for the Olympics- the rings in conjunction with the logo designs for some of the past Games. I had both my high school classes and elementary classes make new logos.

This slideshow requires JavaScript.

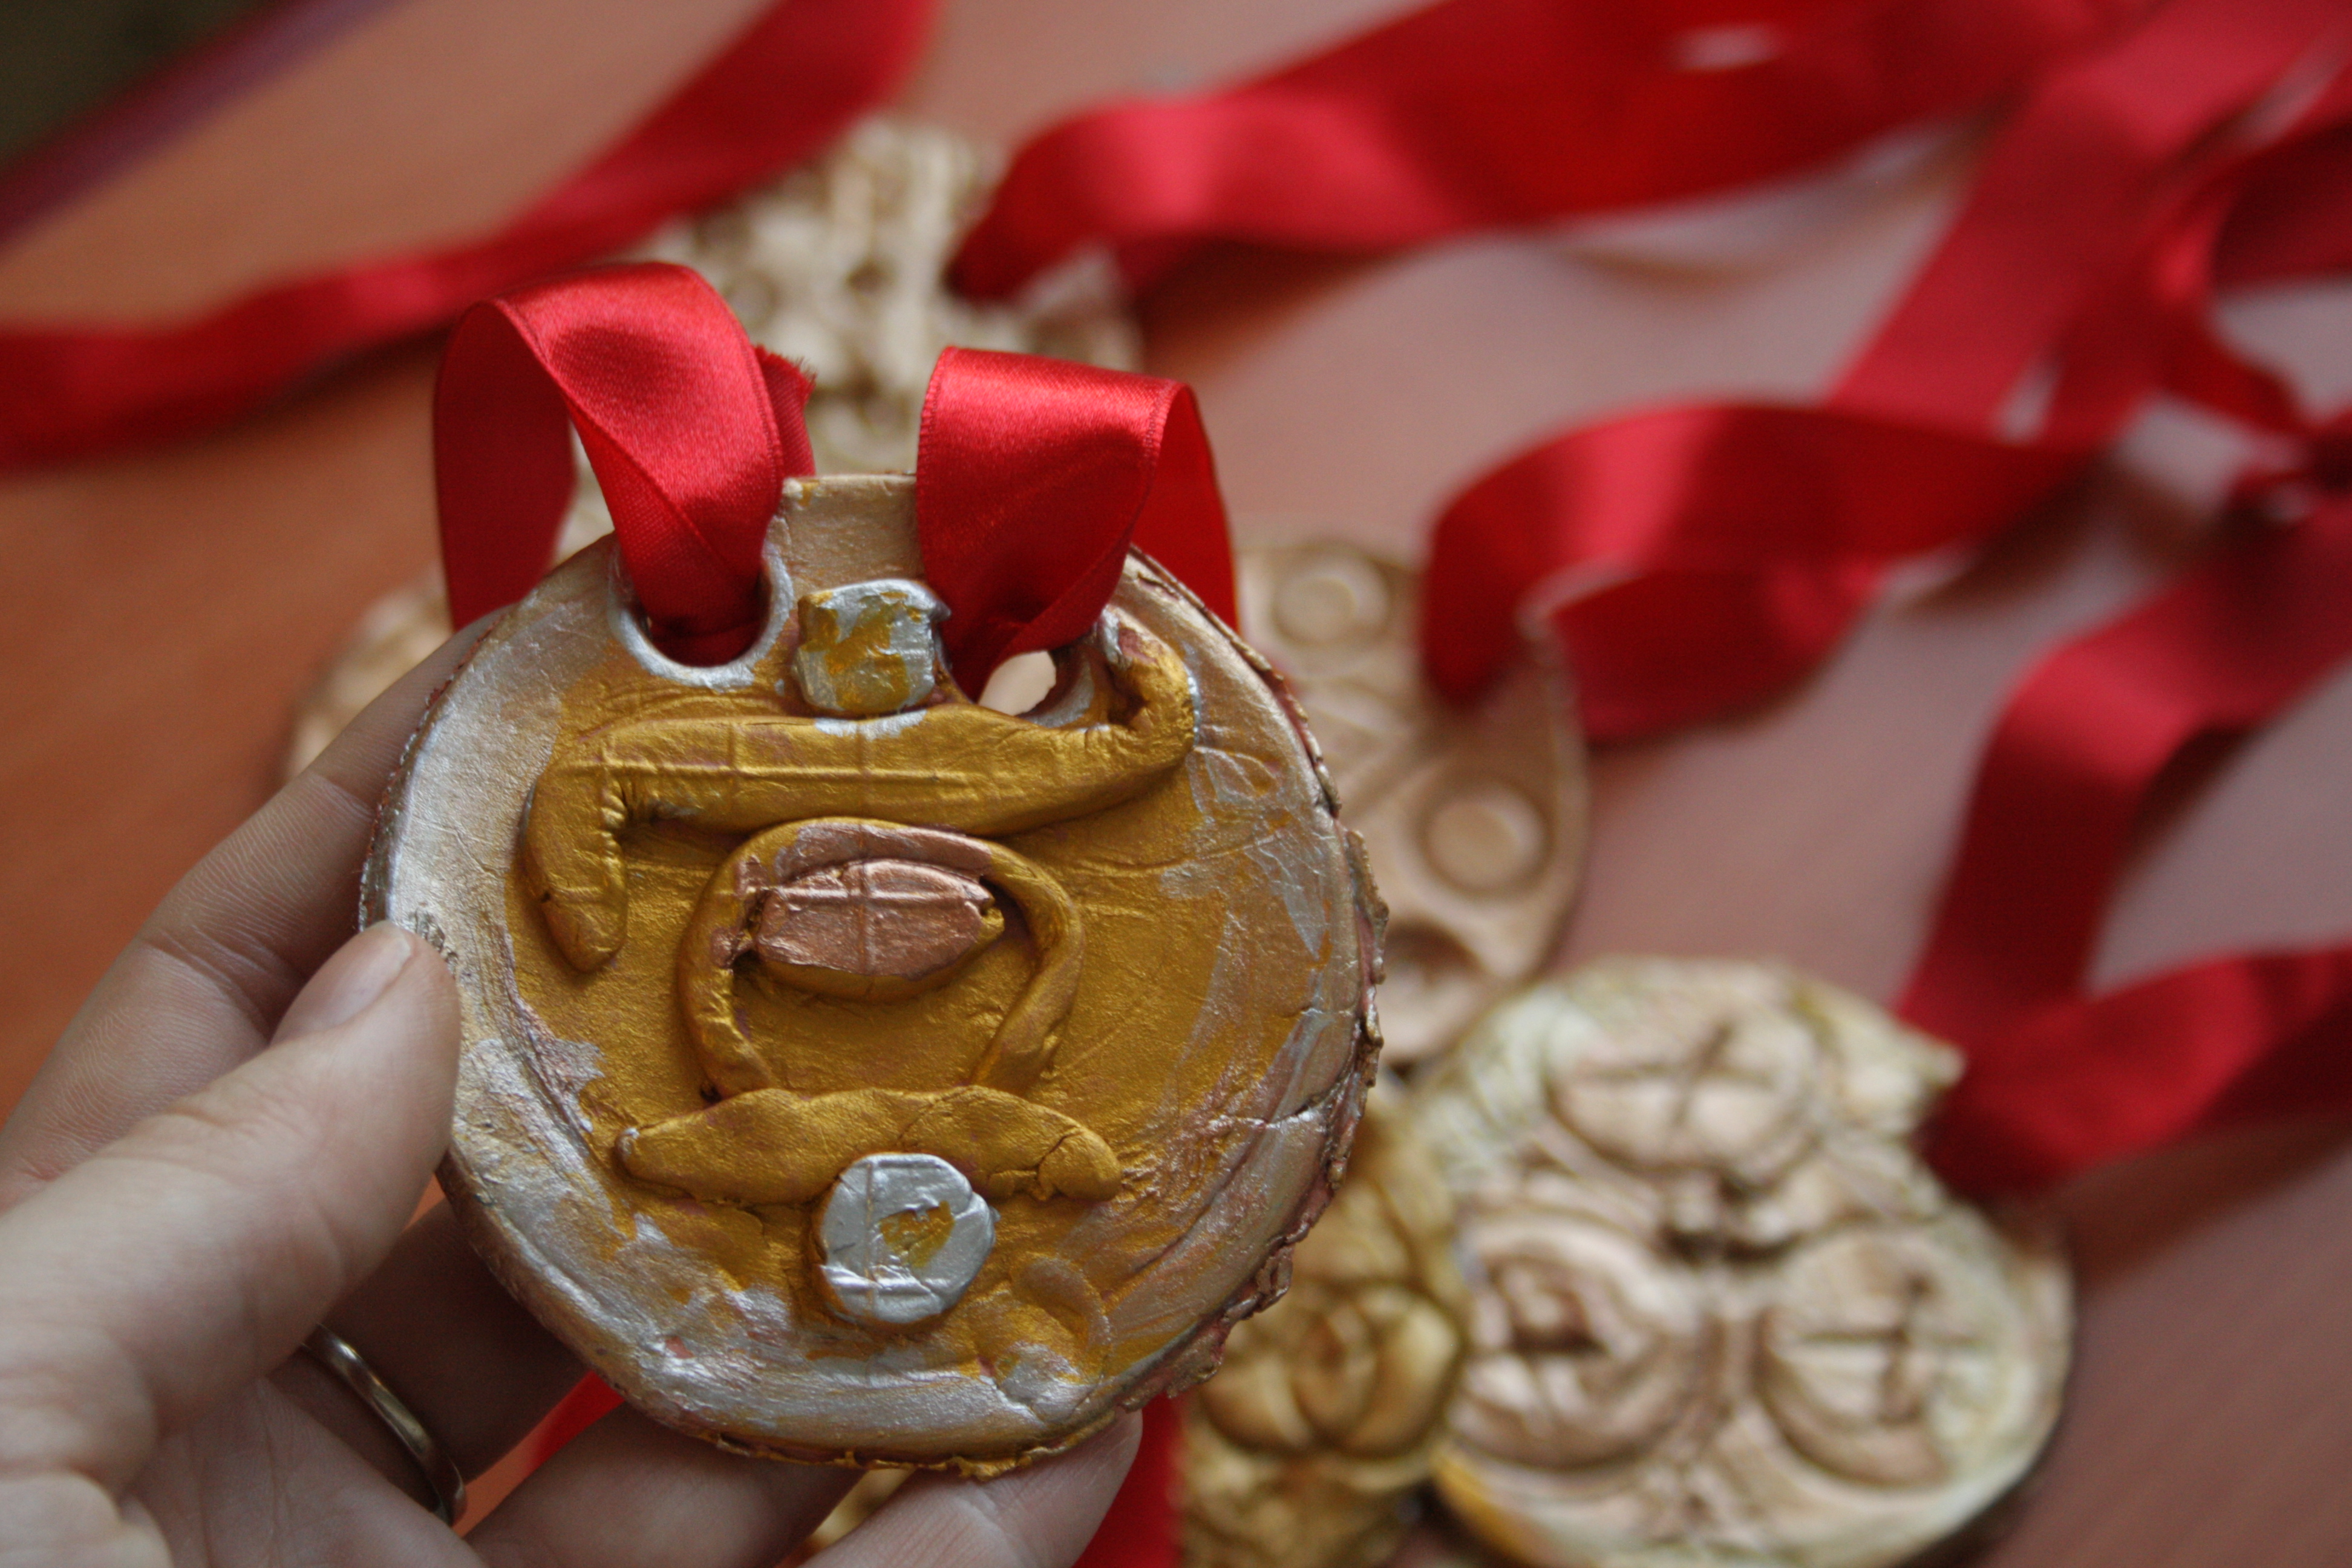
Next we worked on a sculpture. First grade designed medals, second and third grade worked on trophies depicting athlete action poses, and fourth and fifth grade designed and sewed mascot plushies!

IMG_5557

Then the Art Olympic events! I used these events as opportunities to assess/review what the kids knew about the Elements of Art. We spent more time in first and second grade with the various activities, but all students across the grade levels were part of a team and could earn points.

IMG_5425
Texture Hunt/Colour Pull Activity

Second Grade at the Olympics

For today’s art olympic events, I introduced second grade to the blind contour. I am amazed at the results! We did one blind drawing looking at the object and not at our paper, and one drawing from memory, looking at the paper and not at the object.

img_8001.jpg


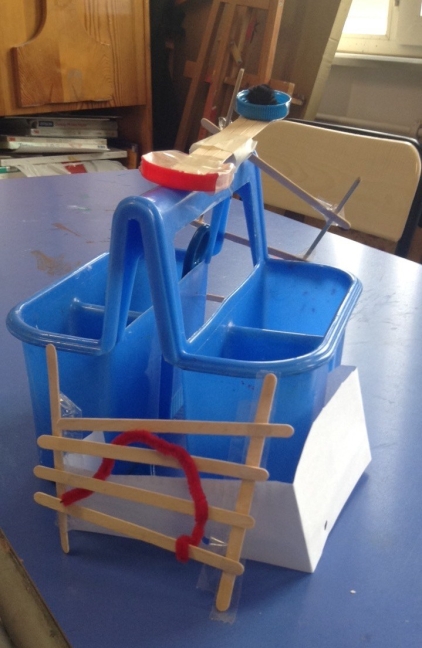
After drawing, we had a STEAM sculpture challenge. I gave each group an assortment of materials: paper, skewers, popsicle sticks, pipe cleaners and bottle caps. We discussed working as a team to create a group sculpture, with points given for teamwork and creativity. I was impressed with this group that created not only a functional machine, but used creative thinking to incorporate additional resources at their table- a castle with a working catapult!

Relief Assemblages


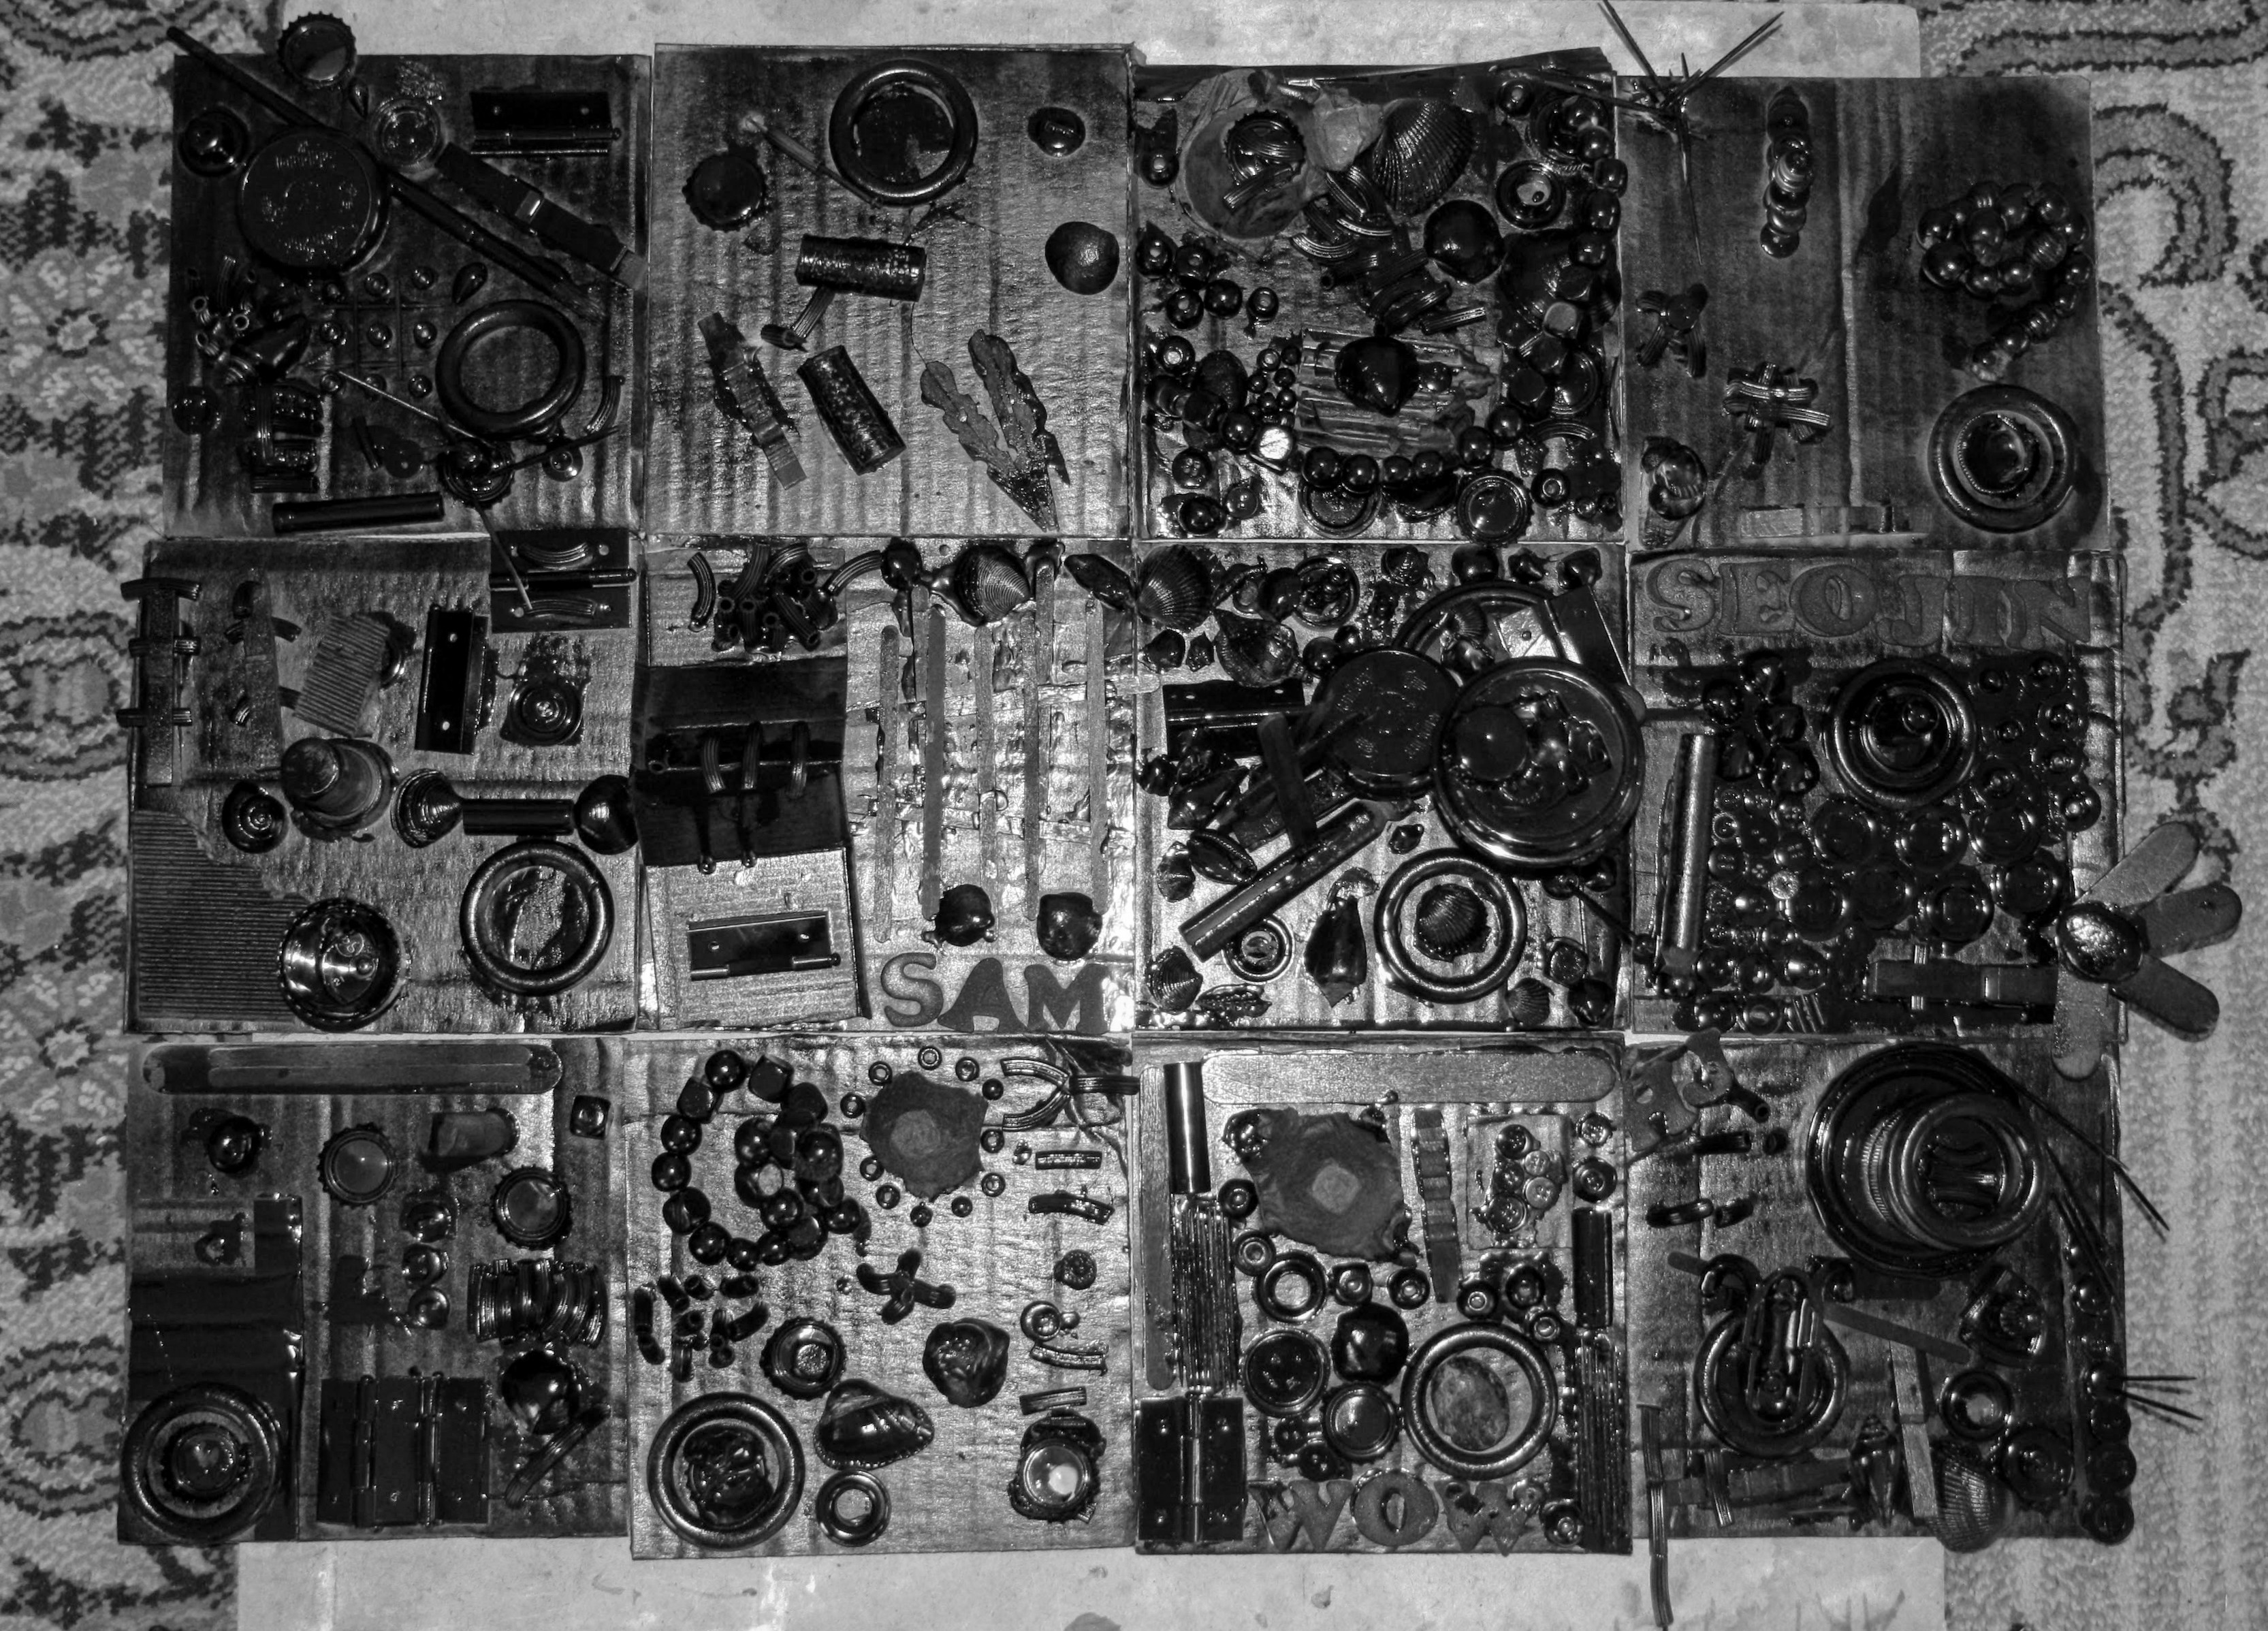
This was our final project in fifth grade, following bootcamps in the art elements and principles. We looked at Louise Nevelson’s work, trying to identify recognizable objects and discussed the idea of relief and assemblage (sculptures utilizing found objects). I gave each student a square of cardboard, asking them to fill it with an assortment of forms. This was a great way to get rid of those little bits I have been storing: popsicle sticks, bottle caps, pasta, shells etc. I asked them to make sure they filled the whole space, and had areas of both high and shallow relief.

The final step was to spray paint the pieces, unifying all the components together. I was able to get extra time to take the class outside so each student could paint their own piece. It was a lot more fun to have them involved than for me to do it myself. A few of the students said they felt so ‘cool’ spray painting, it makes me want to do a graffiti unit with them next!

This slideshow requires JavaScript.

I photographed each piece as it was drying outside. The paper backdrop with the paint remnants and shadows created an additional element of interest!

IMG_4717
The finished class arrangement of tiles

Bootcamp: Shape, Space and Form

This week, we reviewed line and texture and learned about the element of shape. We looked for examples of shape in artwork and discussed the differences between geometric and organic, positive and negative shapes. Students then worked on a collage that incorporated both coloured and textured shapes. Finally, we explored how a flat shape can become a form if it is “popped”, bent, rolled, twisted, folded and attached to a surface. First and second created their own abstract paper sculptures with form and texture, while the older students created one form to add to a collaborative sculpture.

Fifth graders used their previous work as examples for each definition.