This semester turned out to be a bit of a disappointment- I returned in January to find out I had a class of only two students. Then halfway through the preparations for our exam, we went online; only later to find out that the exams are cancelled altogether. To top it all off, this was my LAST chance to teach this class, which I love, due to our school no longer running the program.
Nonetheless, I was privileged to be a part of these students’ creative journeys and I am excited to see where it takes them in the future!
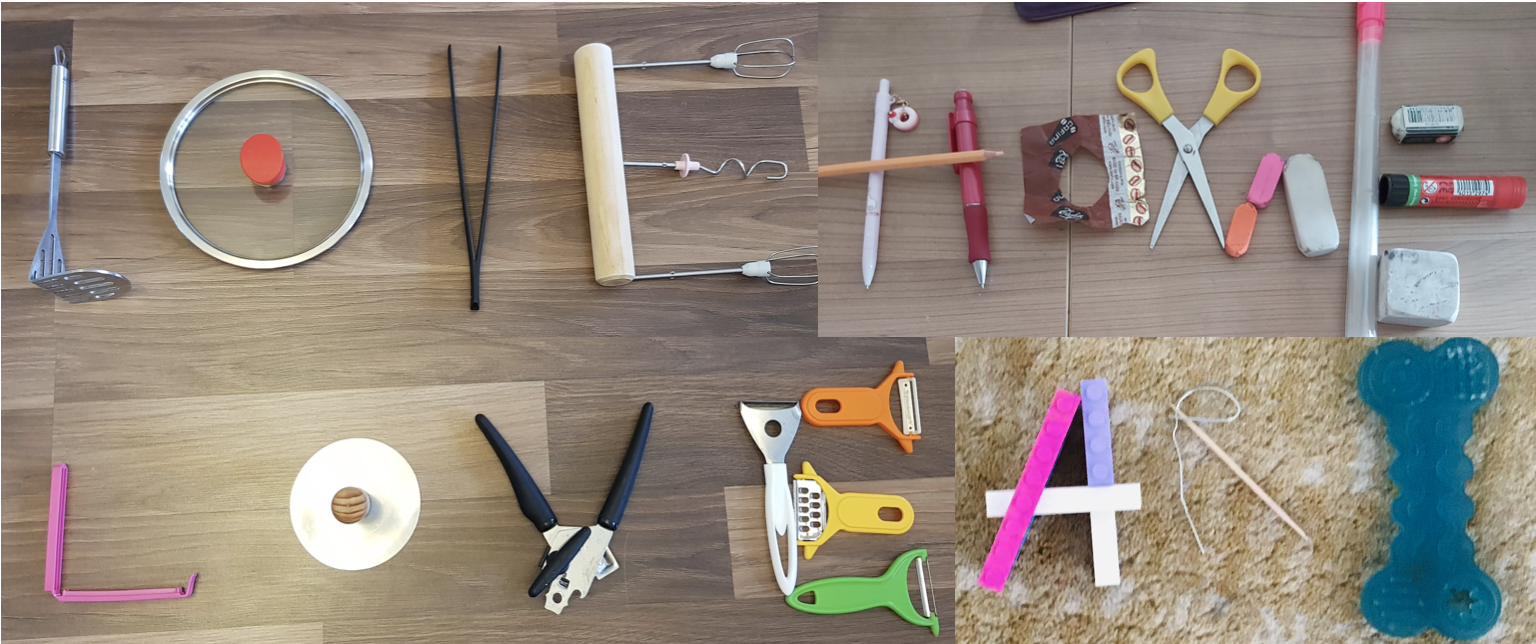
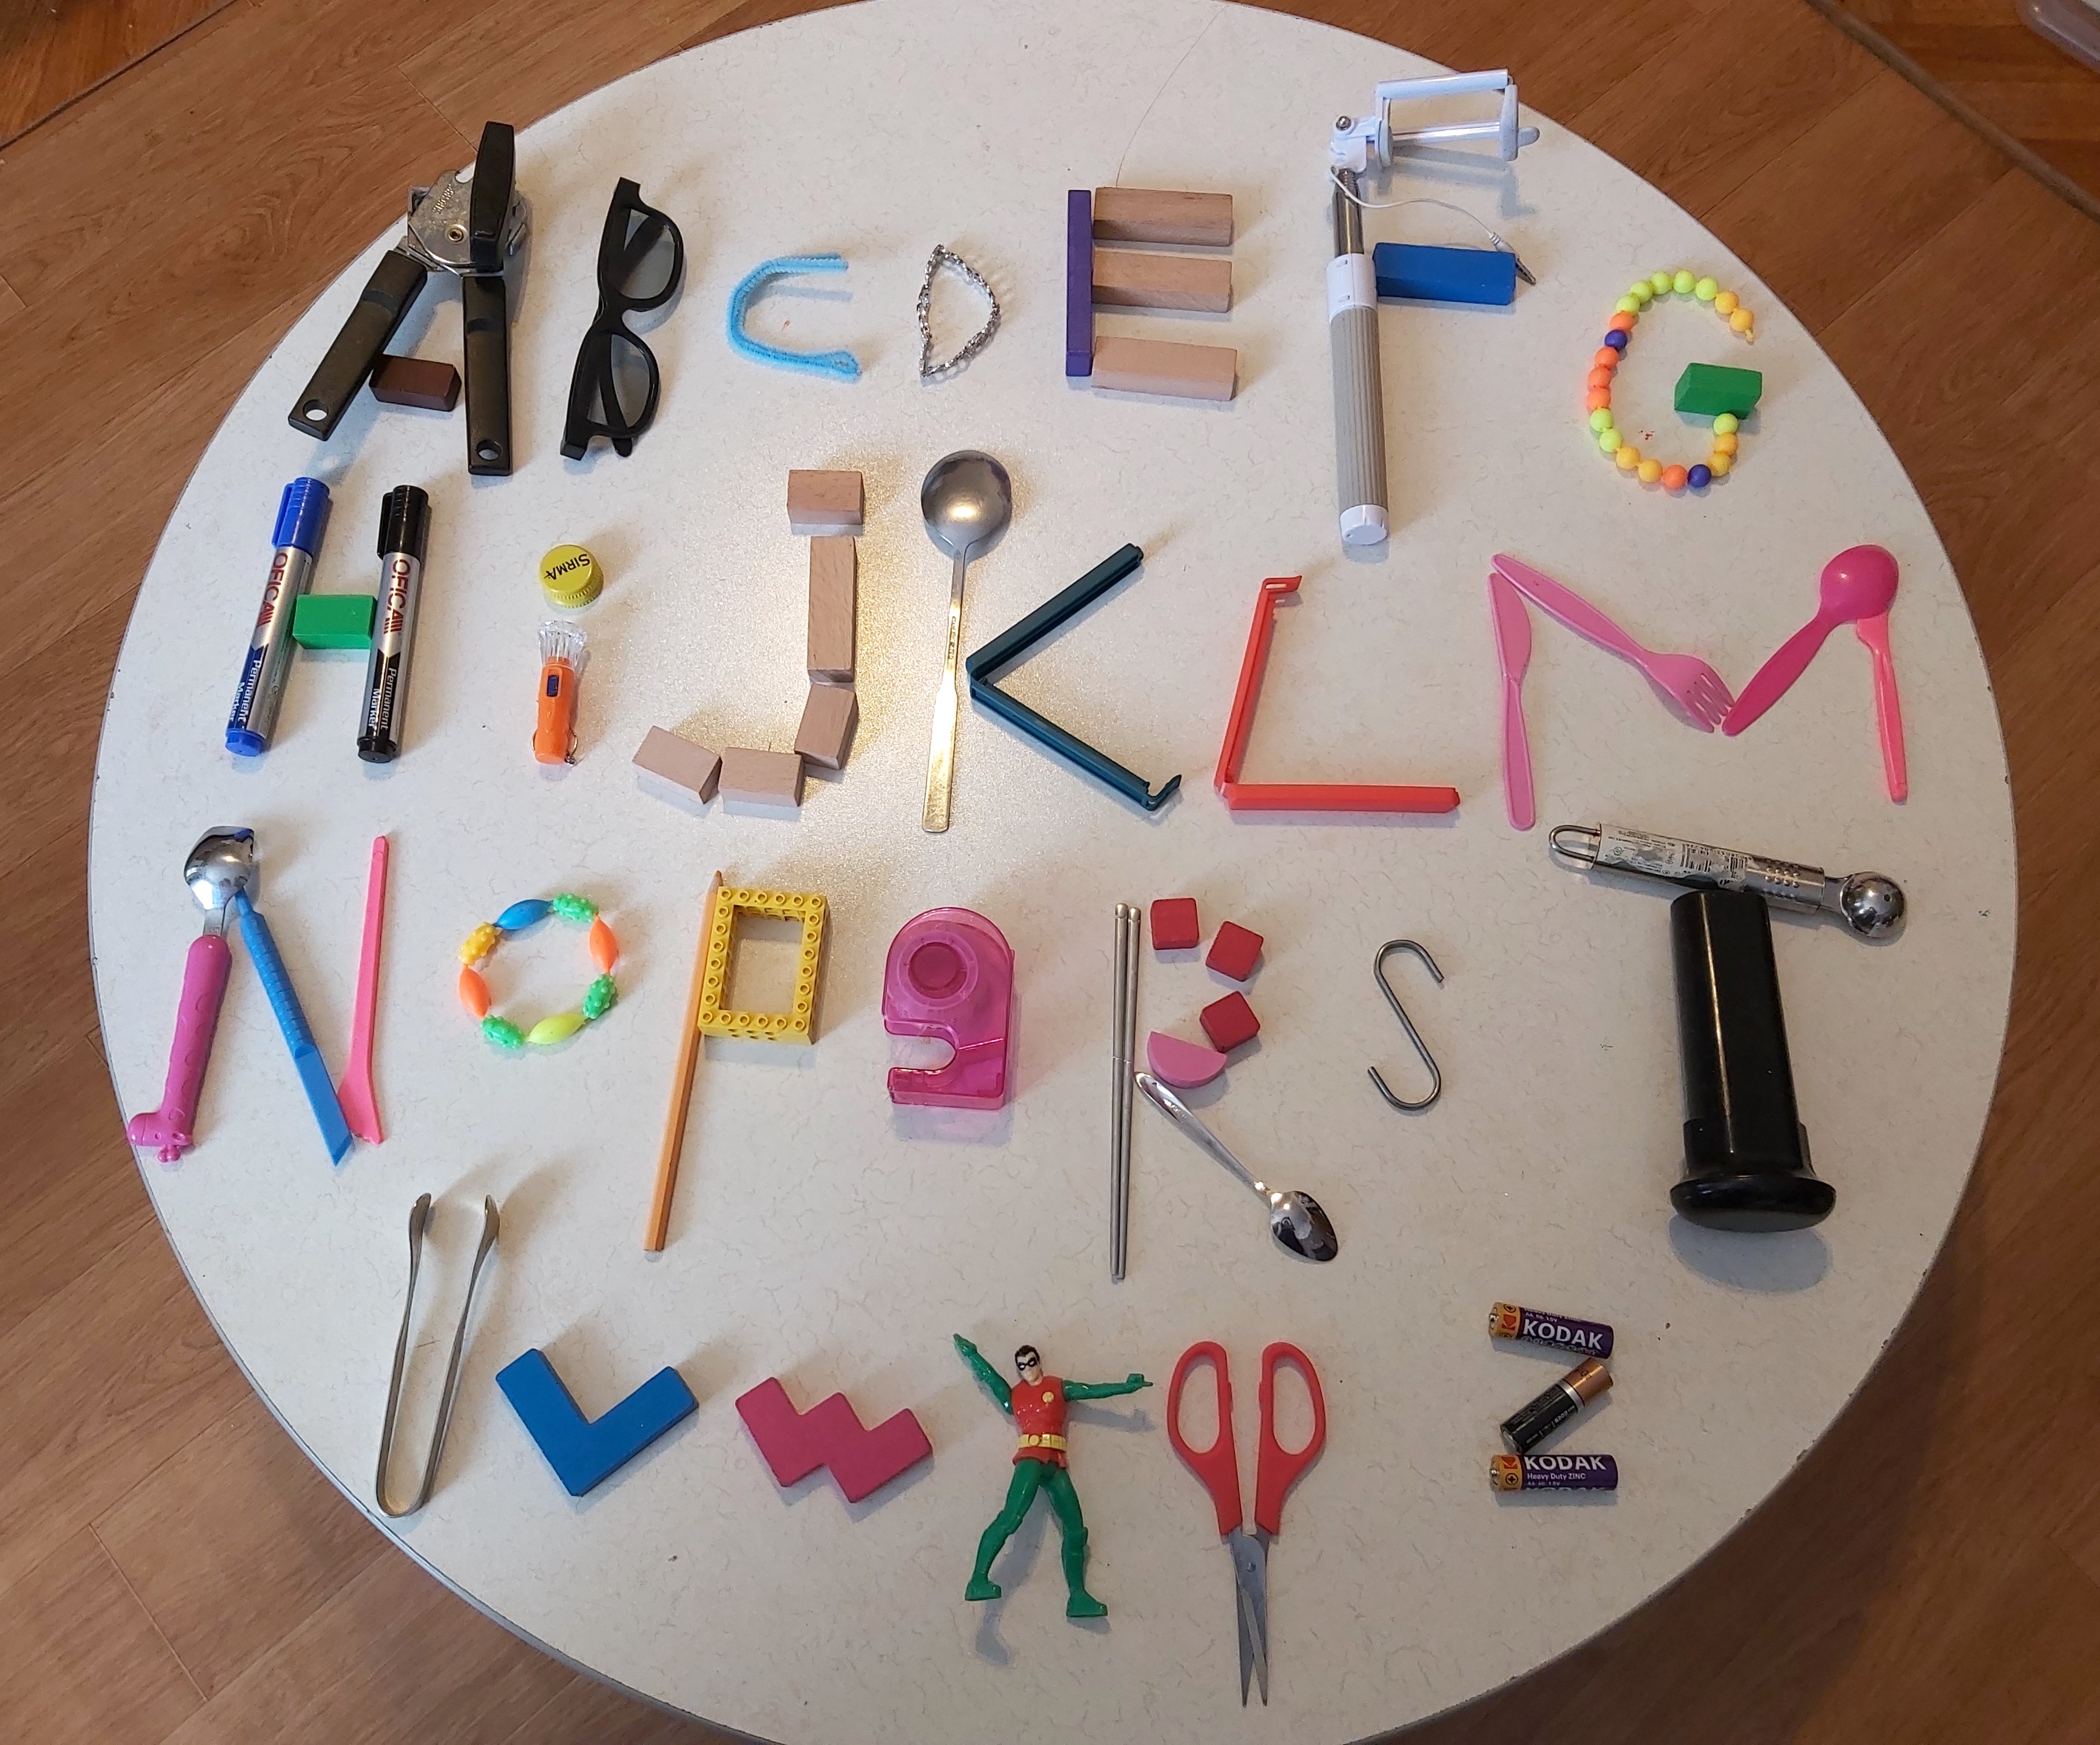
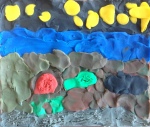
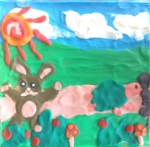
Making Art With Alternative Materials
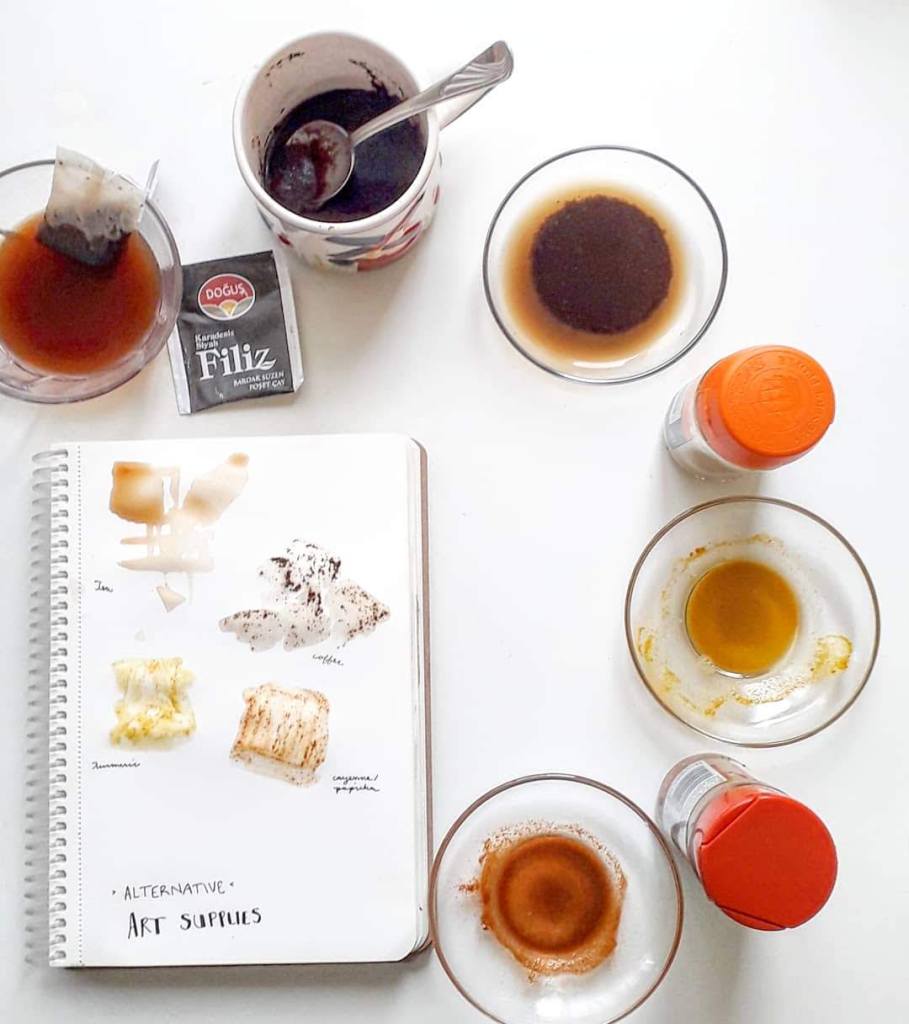
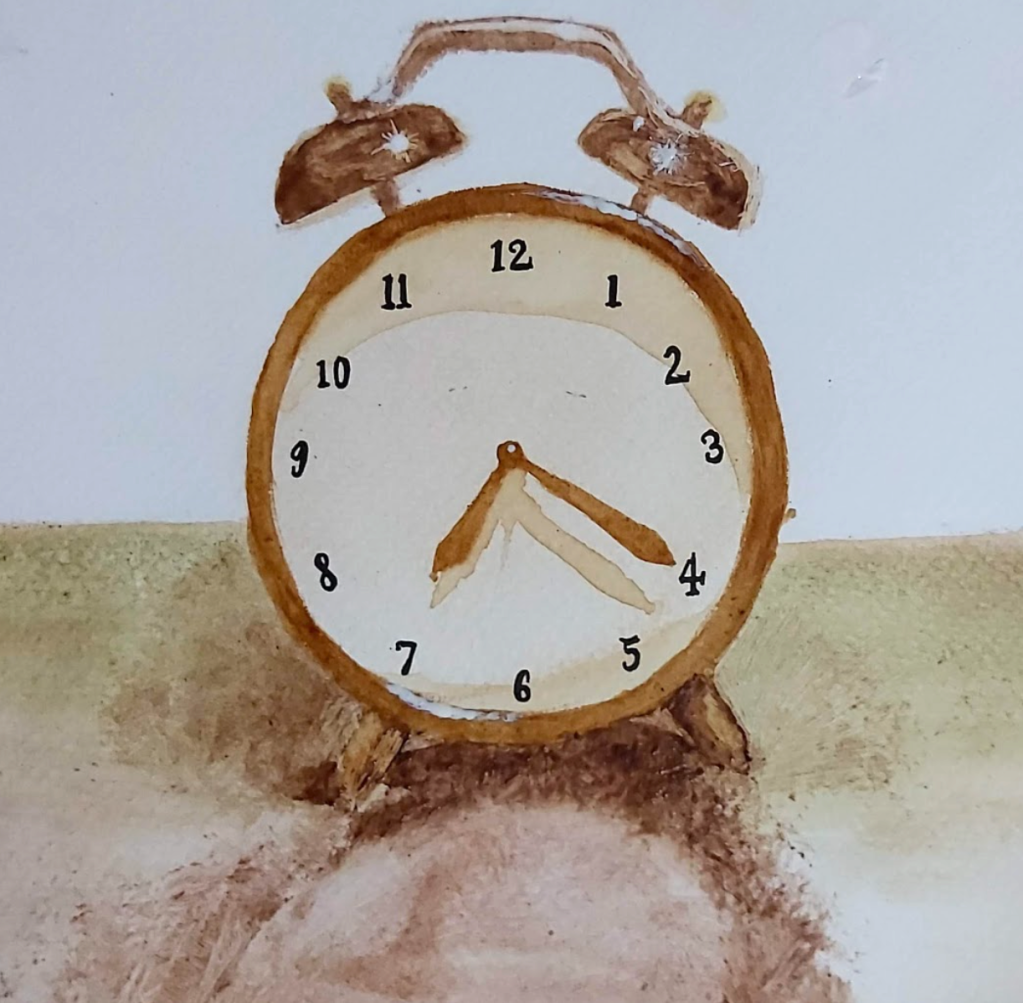
Student work created with coffee, cocoa, mulberry leaf powder and nail polish!
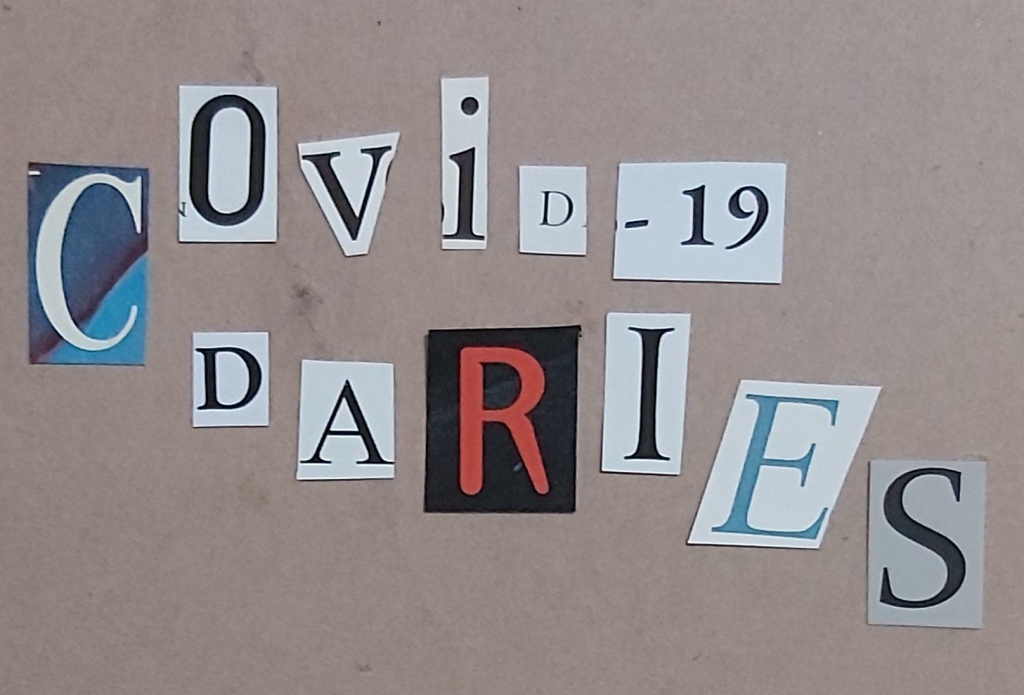
Bookbinding is typically one of my year end activities, in an attempt to recycle old drawings and paper from the semester. I saw artists all over the internet embarking on quarantine projects and thought it would be neat for us as well to create a collection of work from this time (not knowing that our at-home learning would last the entire fourth quarter!) After binding our own COVID Diaries, I gave the students two assignments per week, consisting of one sketchbook assignment (which they chose from a list) and one art challenge, which we started during our weekly class calls. Here are some of my favourite submissions:
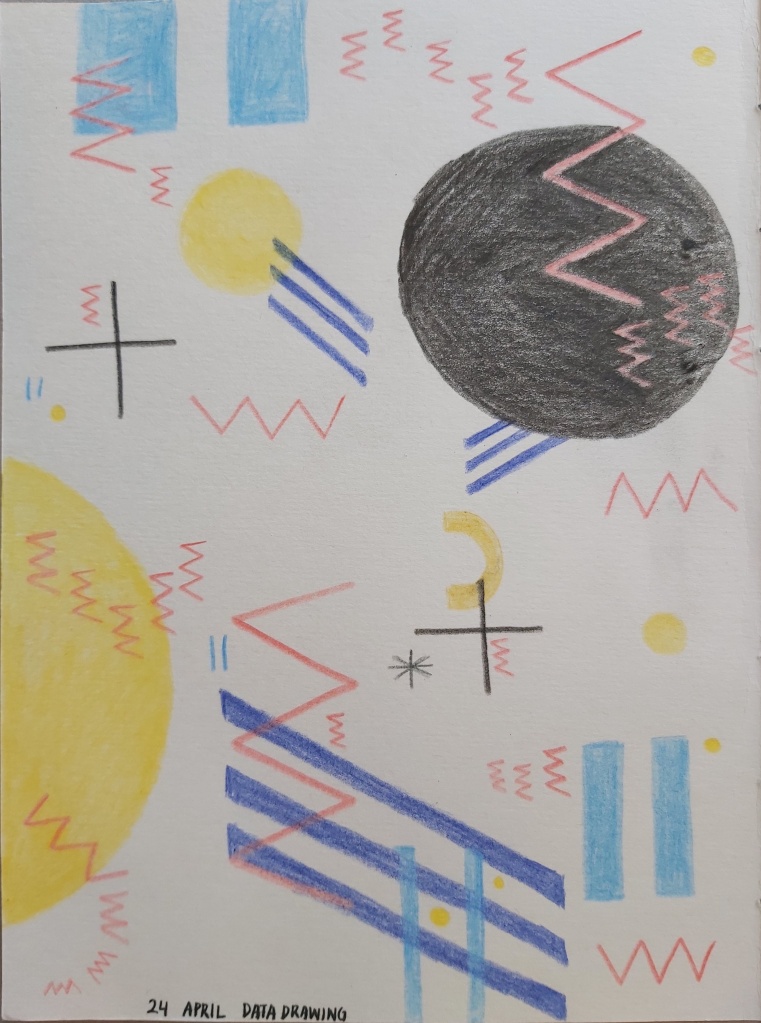
Data Drawing 
Coronavirus Inspired 
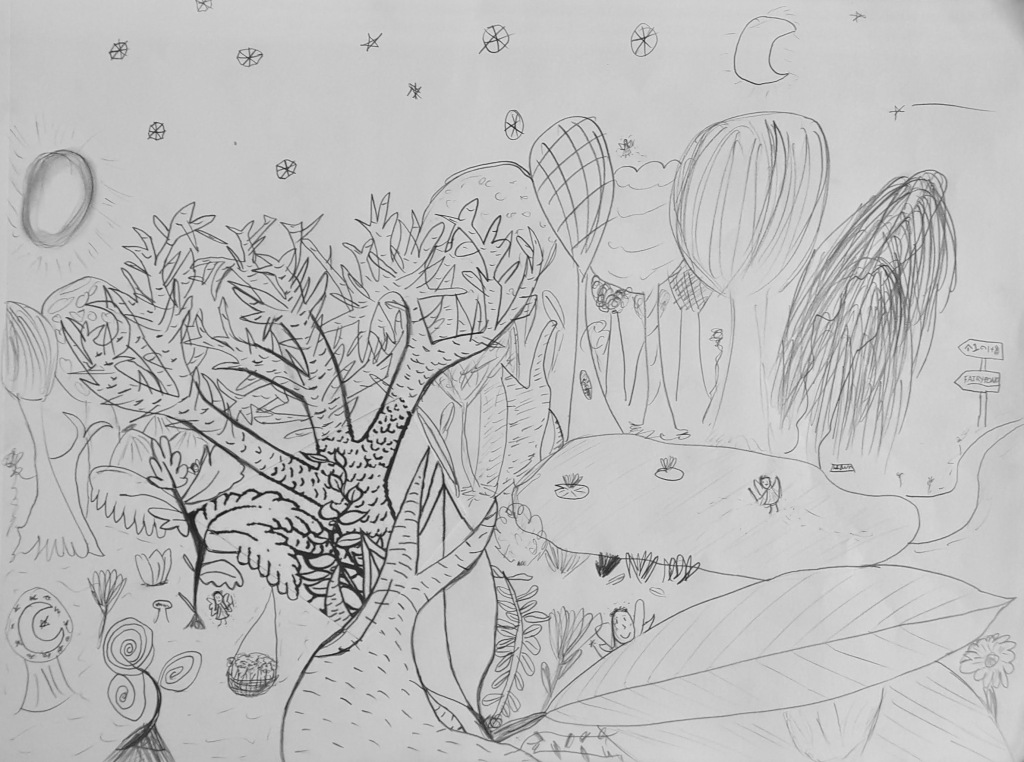
View Out the Window 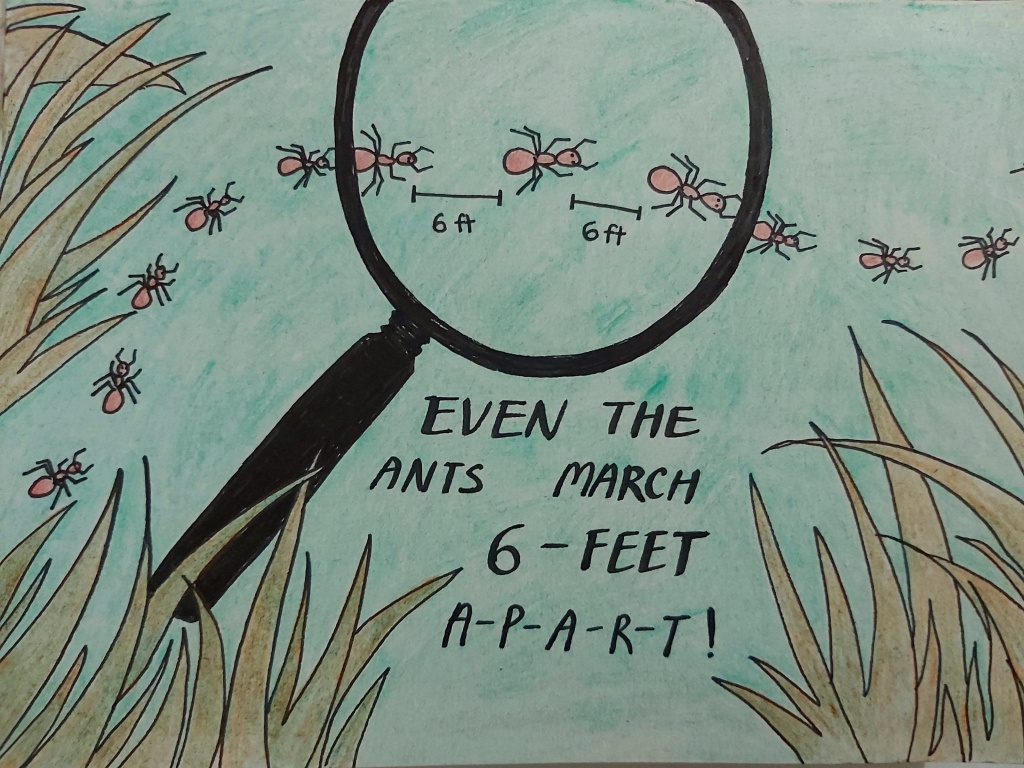
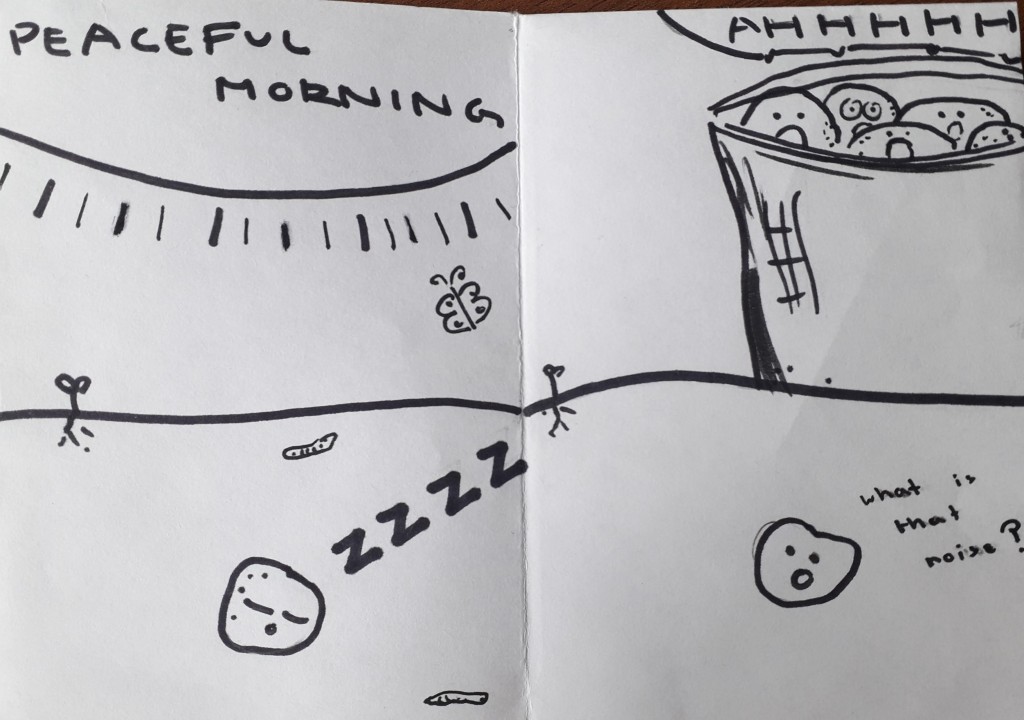
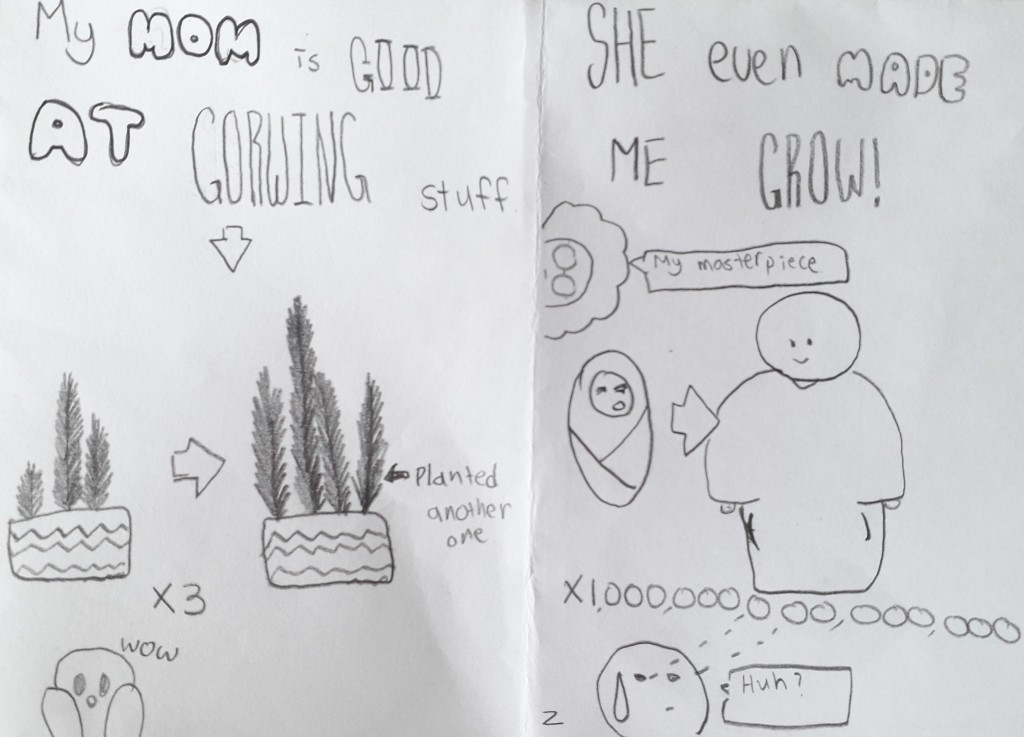
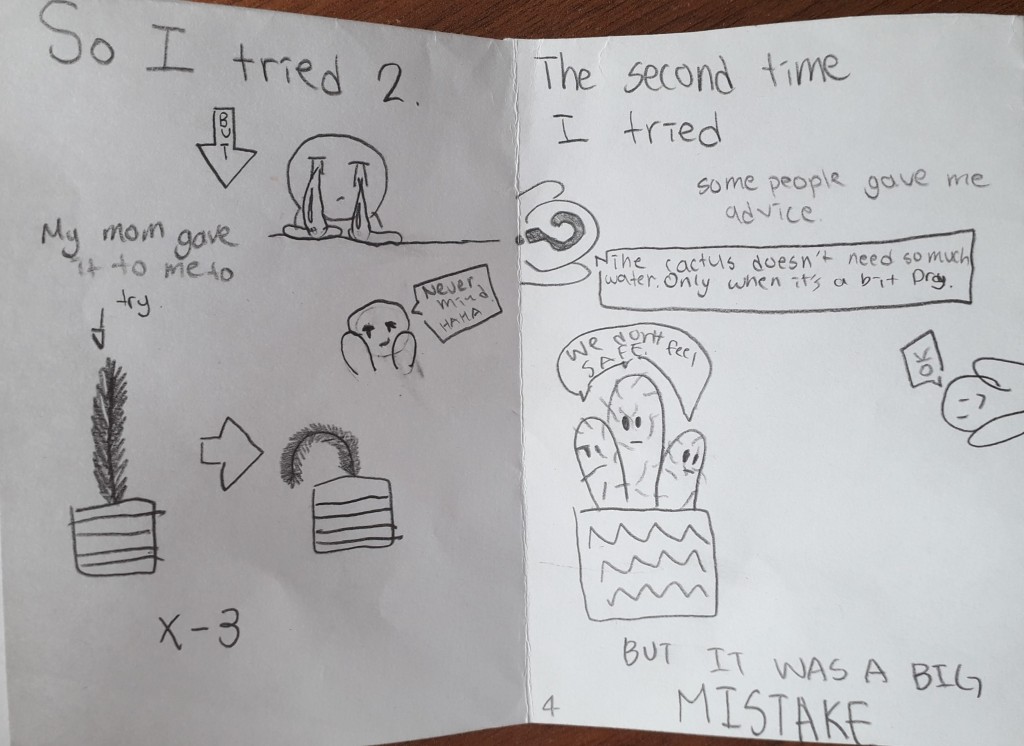
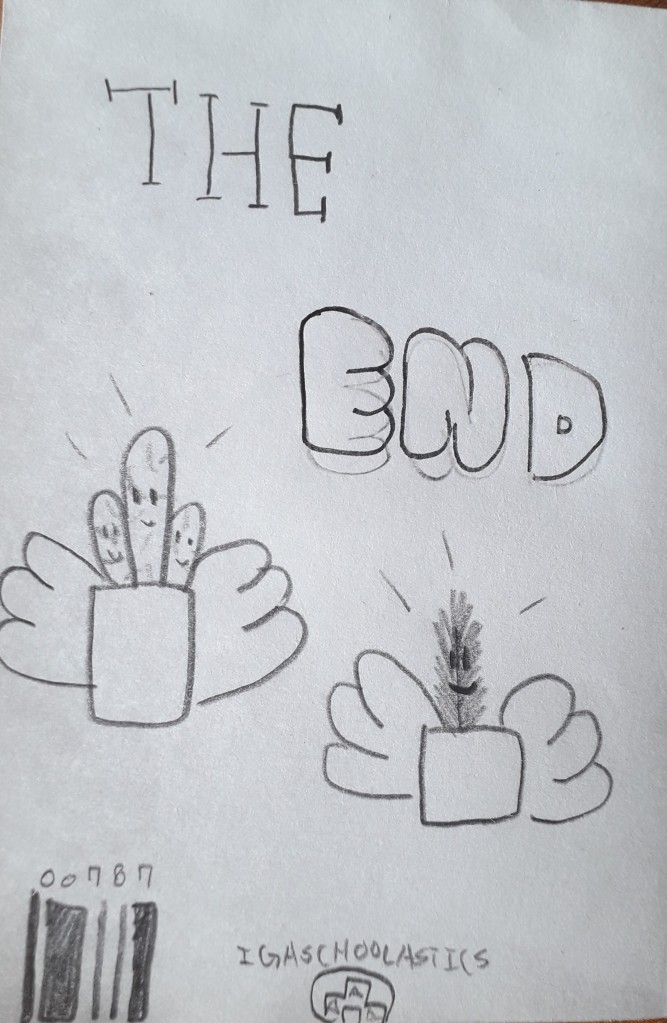
COVID Cartoon 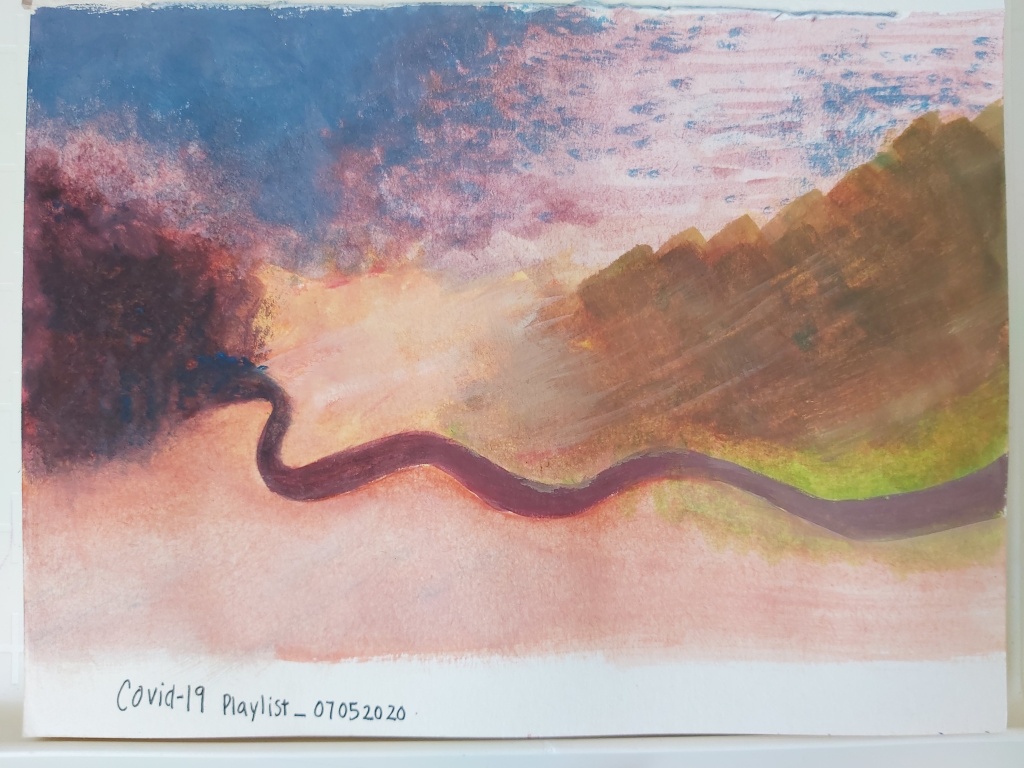
Drawing to Music 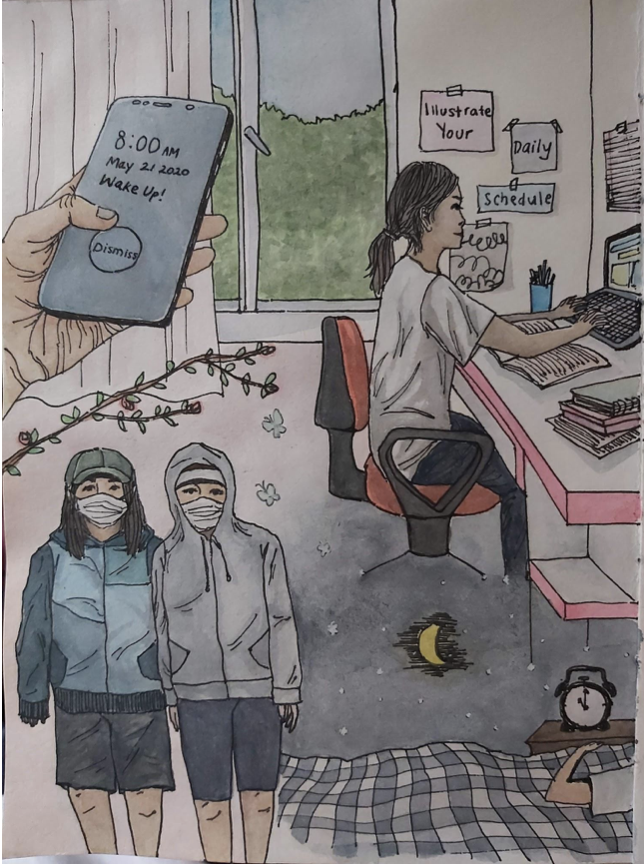
Draw Your Daily Schedule