Choose Your Own Adventure: Printmaking

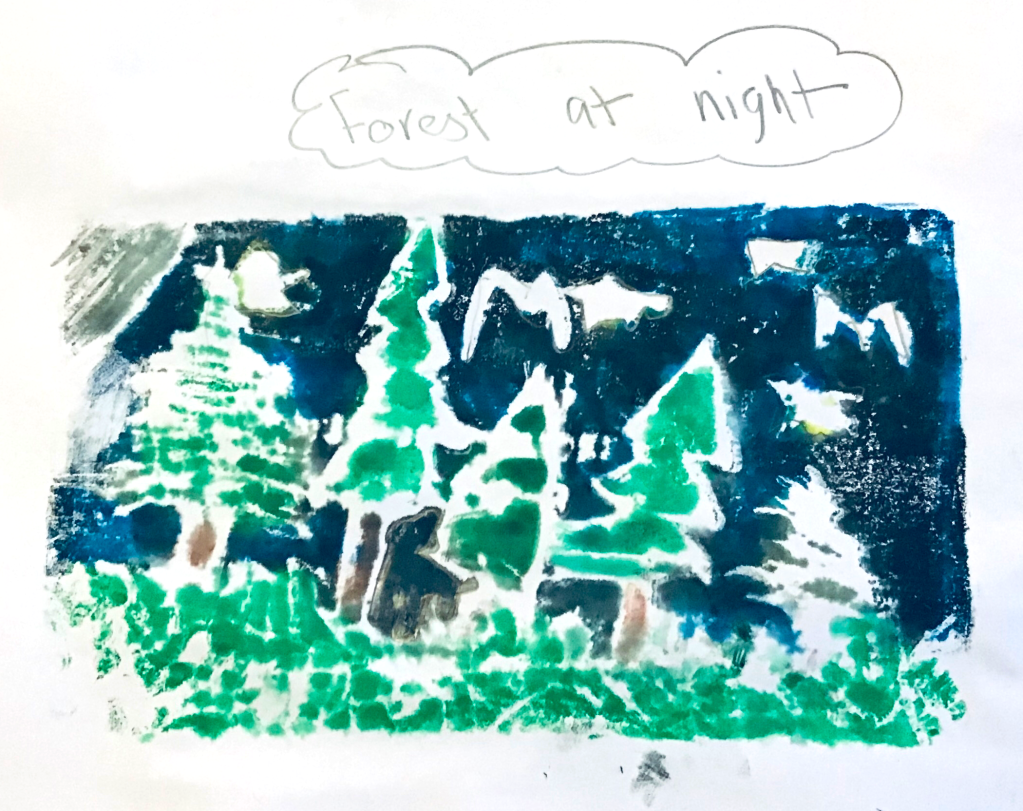
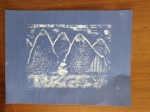
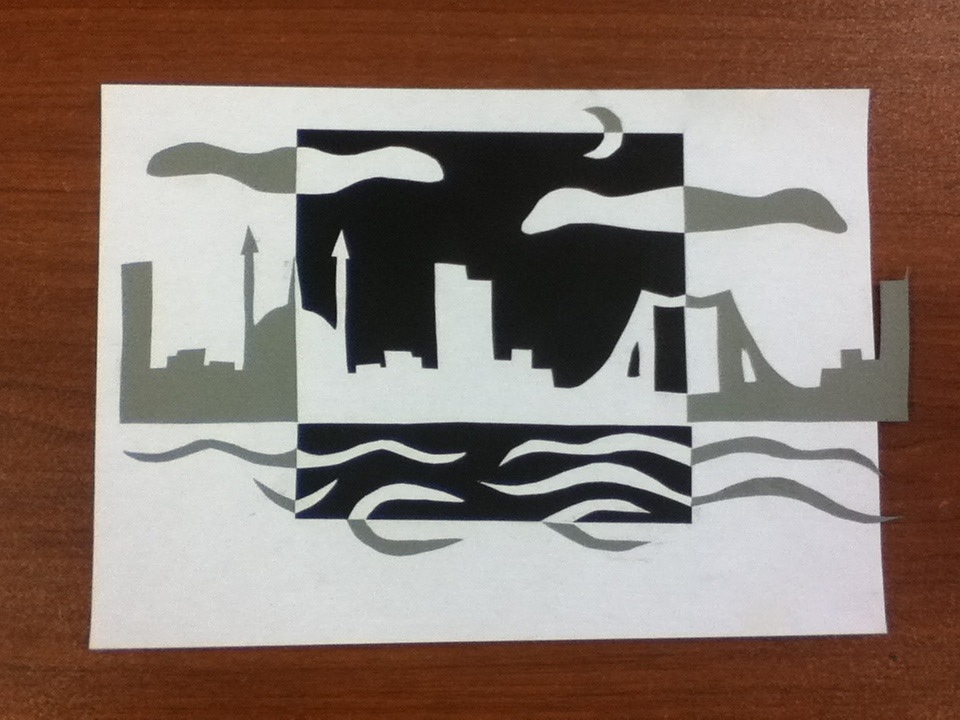
I look forward to teaching printmaking every year and seeing the students’ eyes light up at the magical process. I was planning to make spring landscape collographs with them like these second and third grade ones from a few years ago… instead I dove into experimental mode and made three separate video tutorials for printmaking with various alternative material options. It was time intensive, but worth it as students began sending me photos of their finished prints! If you are curious about printmaking, you can see the project here and samples of their work below.

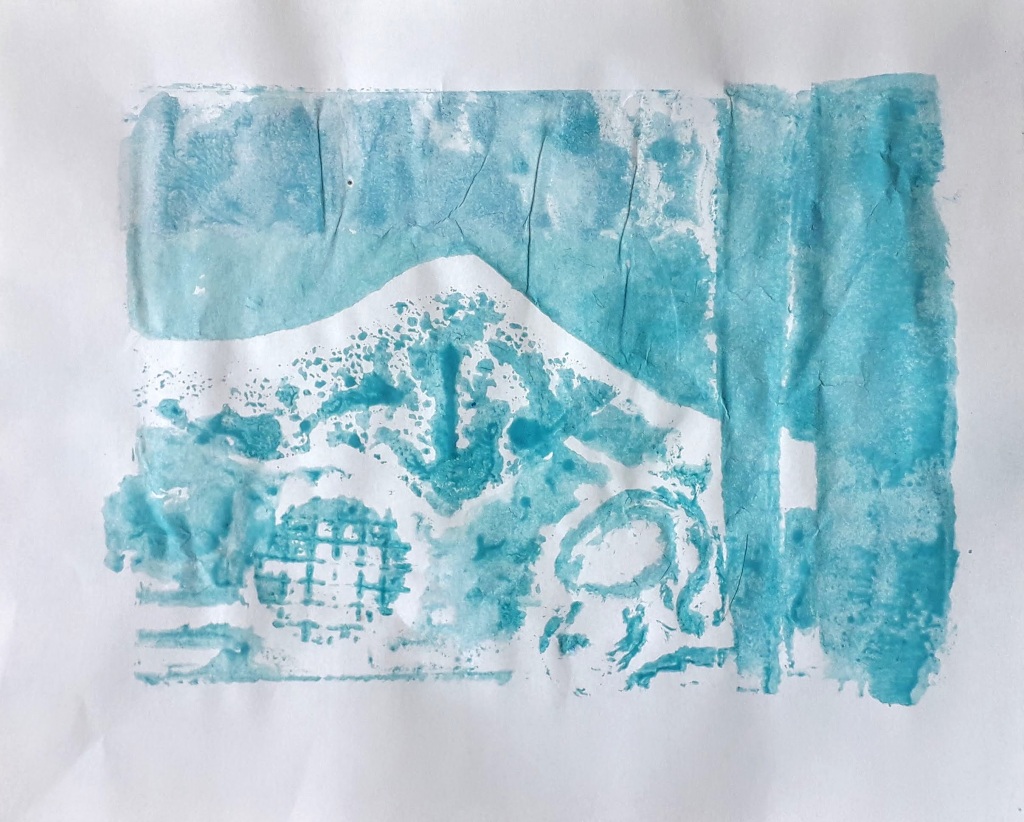
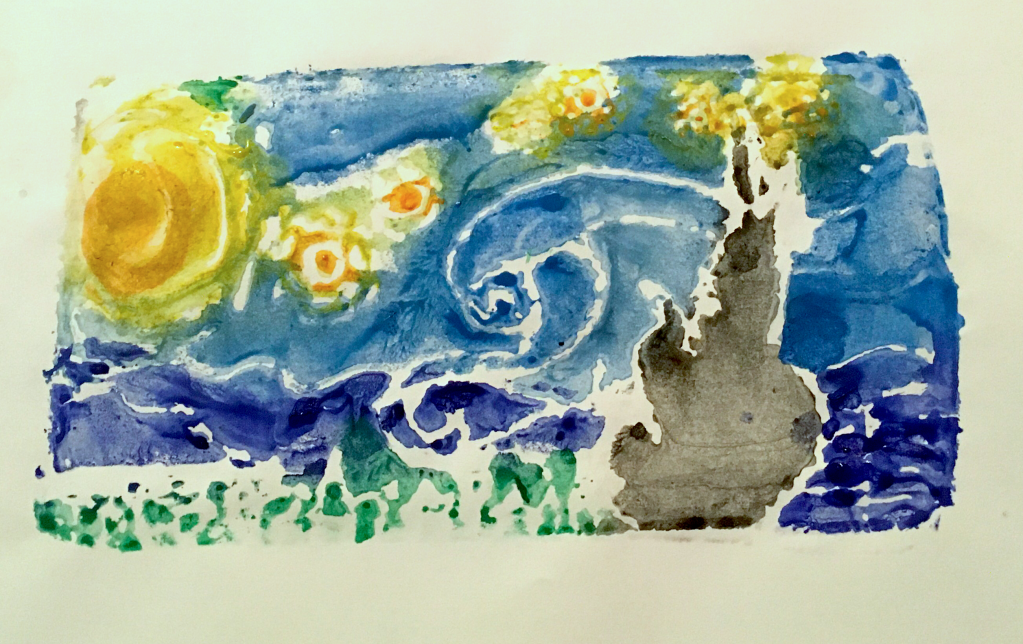
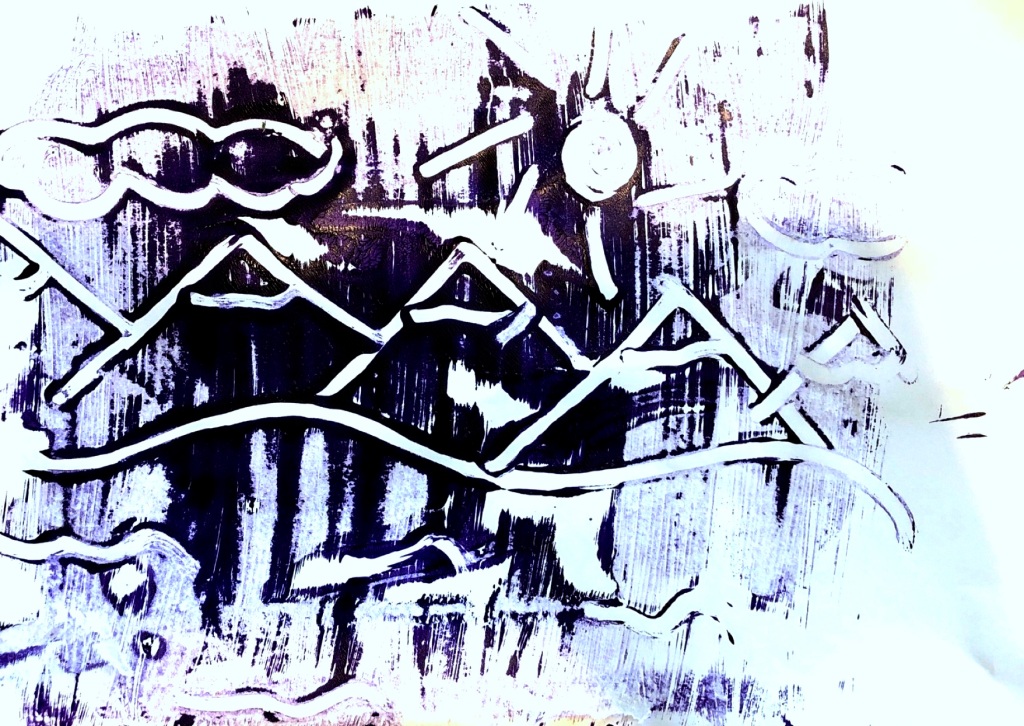
Monoprint

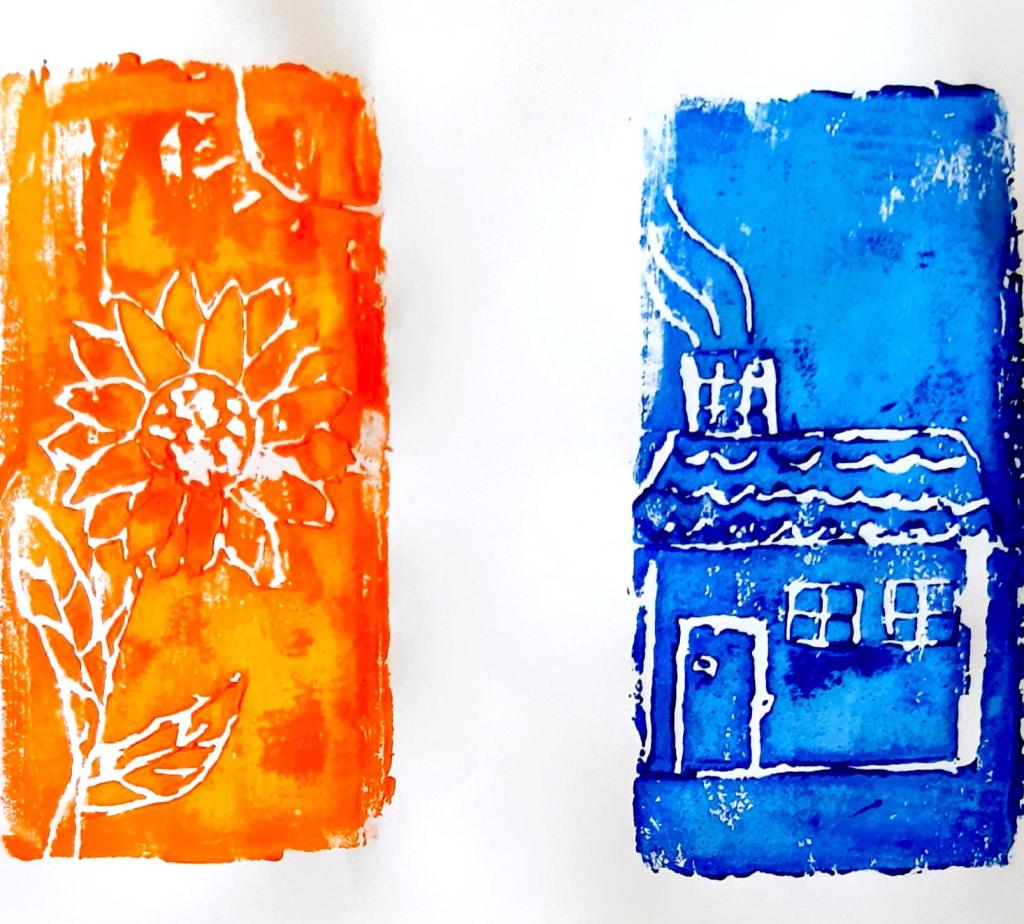
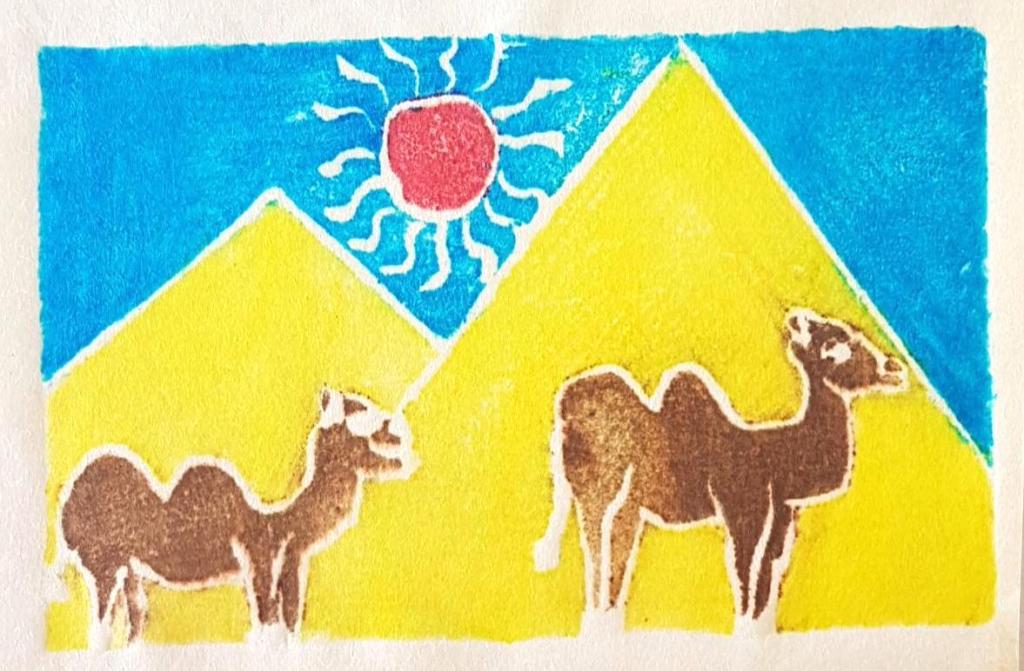
Styrofoam Relief Print

This method was the popular choice! Can you spot the one inspired by a famous painting?

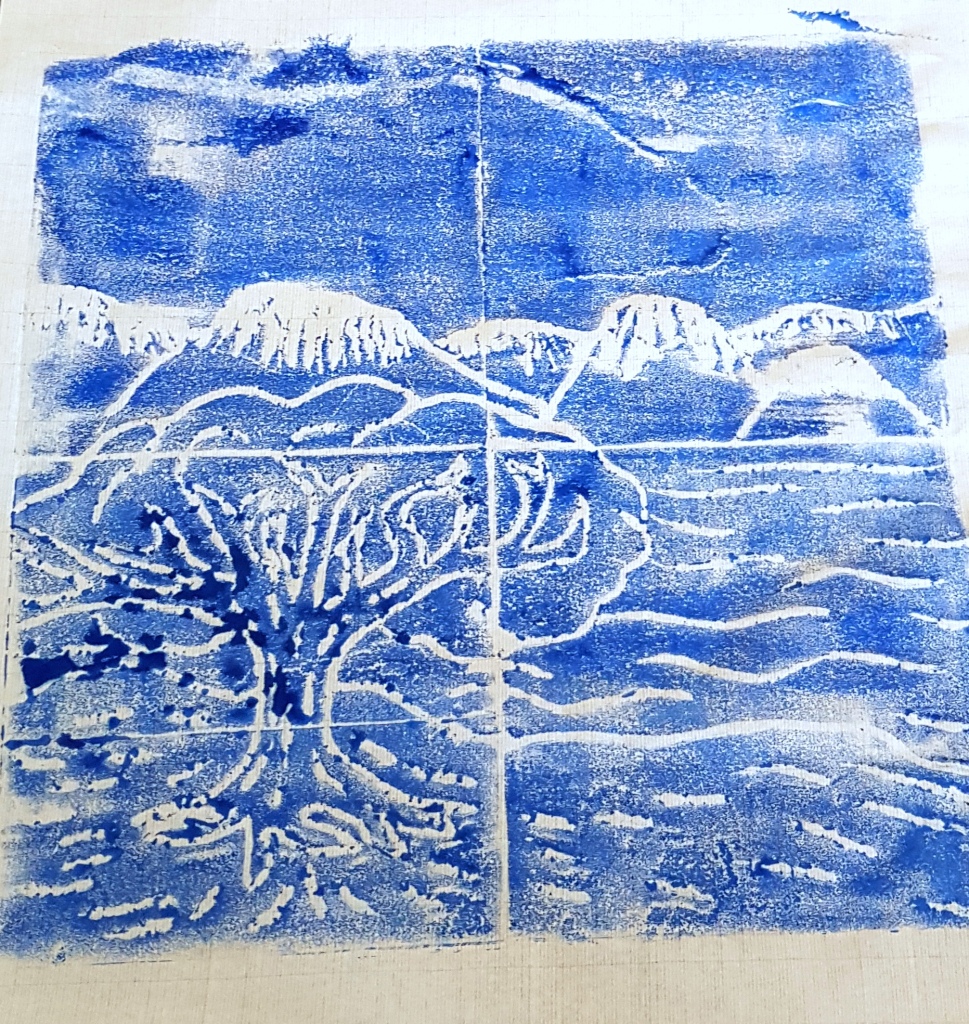
Collograph Print

No one chose this, despite it being the method I wanted to teach. I love the results, although coincidentally, this was the method I disliked the most in art school!

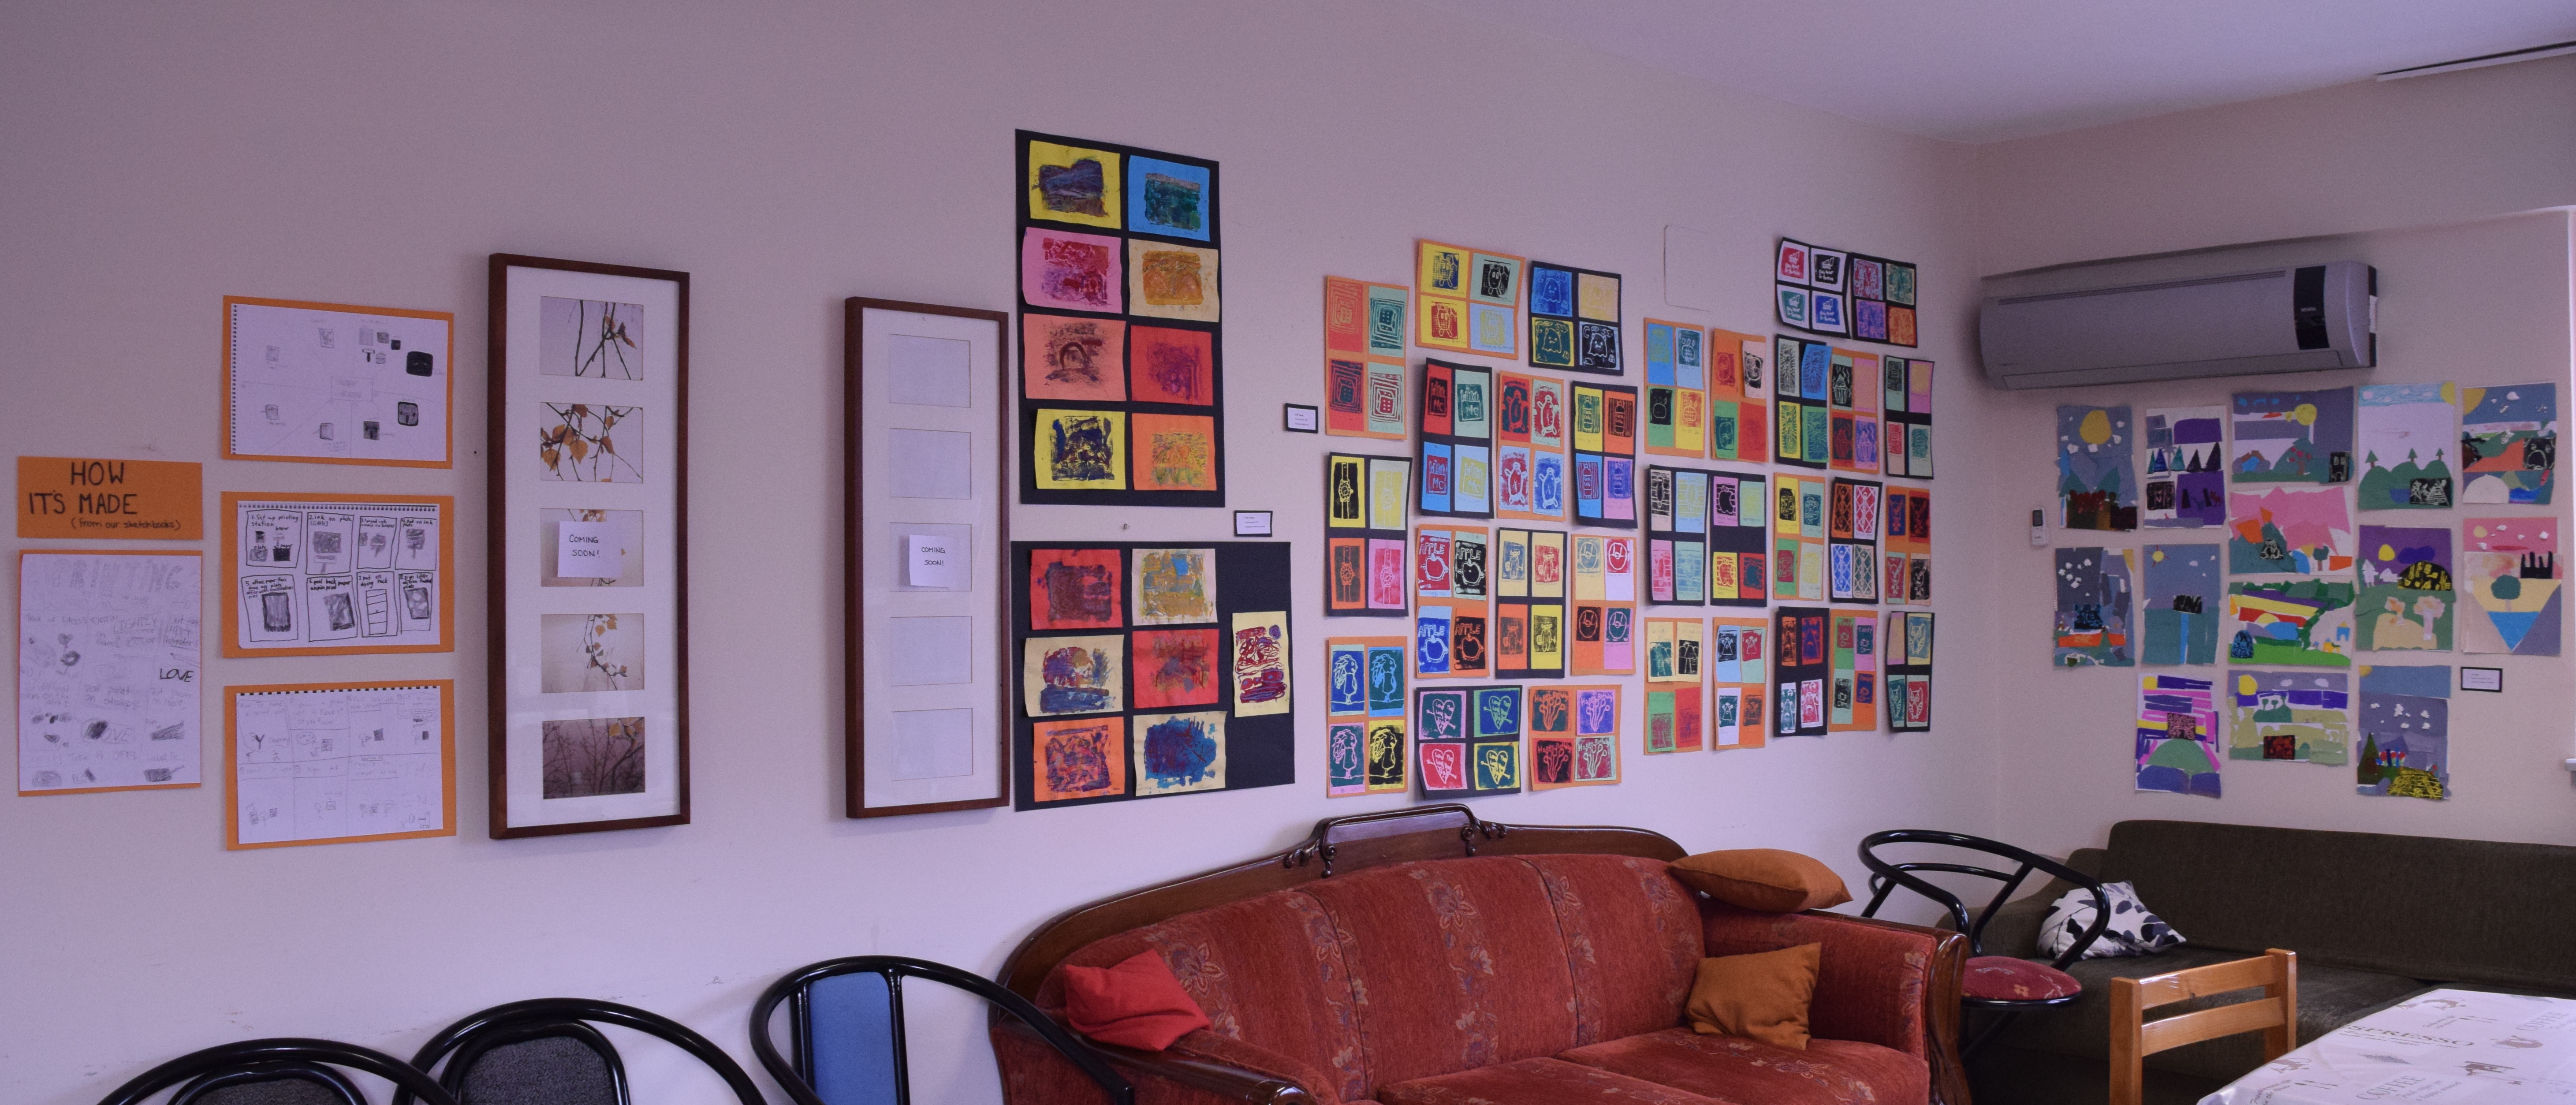
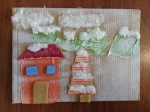
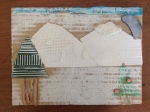
Peruvian Arpilleras

I am so excited about this year’s final elementary pieces! I will be handing over the reins of elementary art to a new teacher next year, so these last moments with the students are precious.

We began this project looking at calendar images; describing the different parts of a landscape, including colours and textures. I had a few volunteers come up to the board to draw lines to show these different textures. Then we got busy painting (and stamping) paper to represent water, rocks, grass, flower fields…

A few lessons were spent painting paper before we had enough, I think we all enjoyed the process. Then we talked about assembling our landscapes in layers on a background paper. We talked about the different colours the sky could be (I ran out of the usual blue paper!) and what we could put in the foreground, middle ground and background. The students cut paper for each of these parts and glued down the pieces. I encouraged them to include additional shapes with paper- trees, rocks, clouds, sun…

A following lesson, we learned how to fold an origami house using two sizes of paper. To create a sense of perspective, we made larger houses to put in the foreground, and smaller ones for further back. We used pieces of foam behind to pop out these houses even more!

Once we had all of our main shapes, we added details. Out came the puffy paint (never thought I would go near this stuff, it has taken 5 years!) We practiced first on scrap paper, making dots, dashes, wavy and zigzag lines before moving onto embellish our landscapes.

The final step to make these arpilleras more textile-like: I had the students punch holes along two of the sides (some chose to go all the way around) and I demonstrated how to ‘sew’/wrap the edges in yarn to finish it off.

They are oh so lovely and colourful, and we learned many lessons along the way


This slideshow requires JavaScript.

Credit for this idea goes to the amazing Cassie Stephens
 

The Tortoise and the Hare

I forgot to post this project we did last spring in 3rd grade. I taught the same project my first year at the school (see here and here); and finally decided to revisit it, giving my students the opportunity to work with plasticine.

We read Aesop’s fable the Tortoise and the Hare aloud. I asked the students to choose a scene from the story to draw, thinking of how they imagined the characters and scenery (including the background, middle ground and foreground) to look. I gave them images of the animals to look at for ideas, but encouraged them to work in their own style.

After drawing a chosen scene and adding colour, we looked at the illustrator Barbara Reid and some of her children’s book illustrations. She has some great tutorial videos on Youtube in which she shows how she puts together an image. We used these videos to guide the building of our illustrations. Students began building with a thin layer of sky and ground before moving forwards, building characters with thin, flat shapes. The final step was adding details and texture.

Despite illustrating similar scenes from the same story, each piece of work has its own unique style and imaginative details.


Pop Up Gallery

Around this time of year, our staff room at school could use some cheering up, and I happen to have many beautiful prints to share… so I put together a gallery display of this year’s 1st through 5th grade printmaking projects. It makes me so happy to see it all displayed and to share these finished products with the school community.

DSC_0247 copy

So Long, Winter! Collographs

We started this project shortly after returning to school in January, when it was cold and snow was imminent. It did not end up snowing much this year, but we went ahead with the idea anyway!

The students first did landscape drawings, gleaning inspiration from calendar photographs and various tree illustrations I found online. We discussed the elements of a landscape and made sure to include something in the foreground, middle ground and background of our drawings.

The idea drawings became the inspiration for a collograph print. We did a texture hunt to collect rubbings from around the classroom as research for making our plates. I had the students focus on a section of their original drawings which they recreated with various textured materials and adhered to a cardboard rectangle. They ended up having to simplify some very detailed drawings! Some of the materials we tried were craft foam, cardboard, yarn, ribbon, lace doilies, tin foil, felt… These plates by themselves are works of art! We made sure everything was glued down really well and had time to dry before our next class for printing.

Each student printed a total of one or two prints. Some of them we ended up re-inking and printing a second time overtop of the first. We managed to get everyone to print in one class period, which is an improvement on previous years! The following class, we discussed how to properly sign, title and edition the finished prints. It is always thrilling to peel back the paper and reveal a print- you can never fully envision how each piece will turn out!

Warm/Cool Landscapes

This slideshow requires JavaScript.

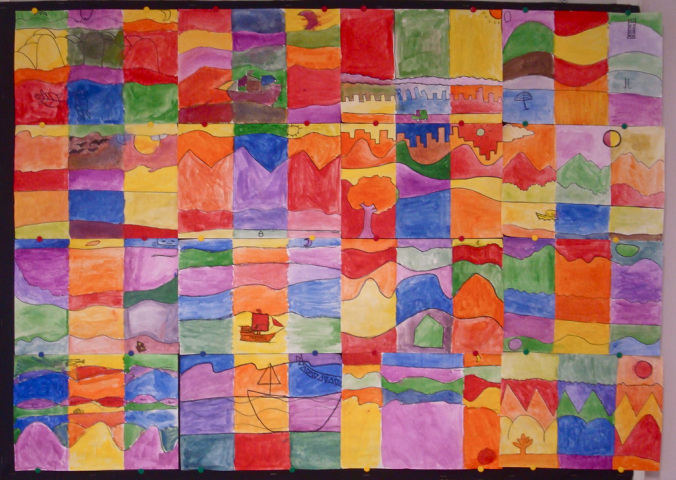
In fifth grade, we have explored the use of line to create landscapes with a foreground, middle ground and background. The landscapes were painted using warm and cool colours.

My classroom is not quite back to normal, but hopefully by next week it will be! Taking a break from cleaning yesterday, I could not resist hanging up these colourful pieces to make it feel more homey!

wclandall