This has to be my favourite project from last year’s curriculum- the batik
I started with a discussion on colour theory- introducing the colour wheel and colour schemes. Students did exercises in their sketchbooks, mixing oil pastels to create a colour wheel and two still life studies of fruit. I also had them conduct personal research outside of class on emotion and colour, as well as the meaning of certain colours in different cultures.
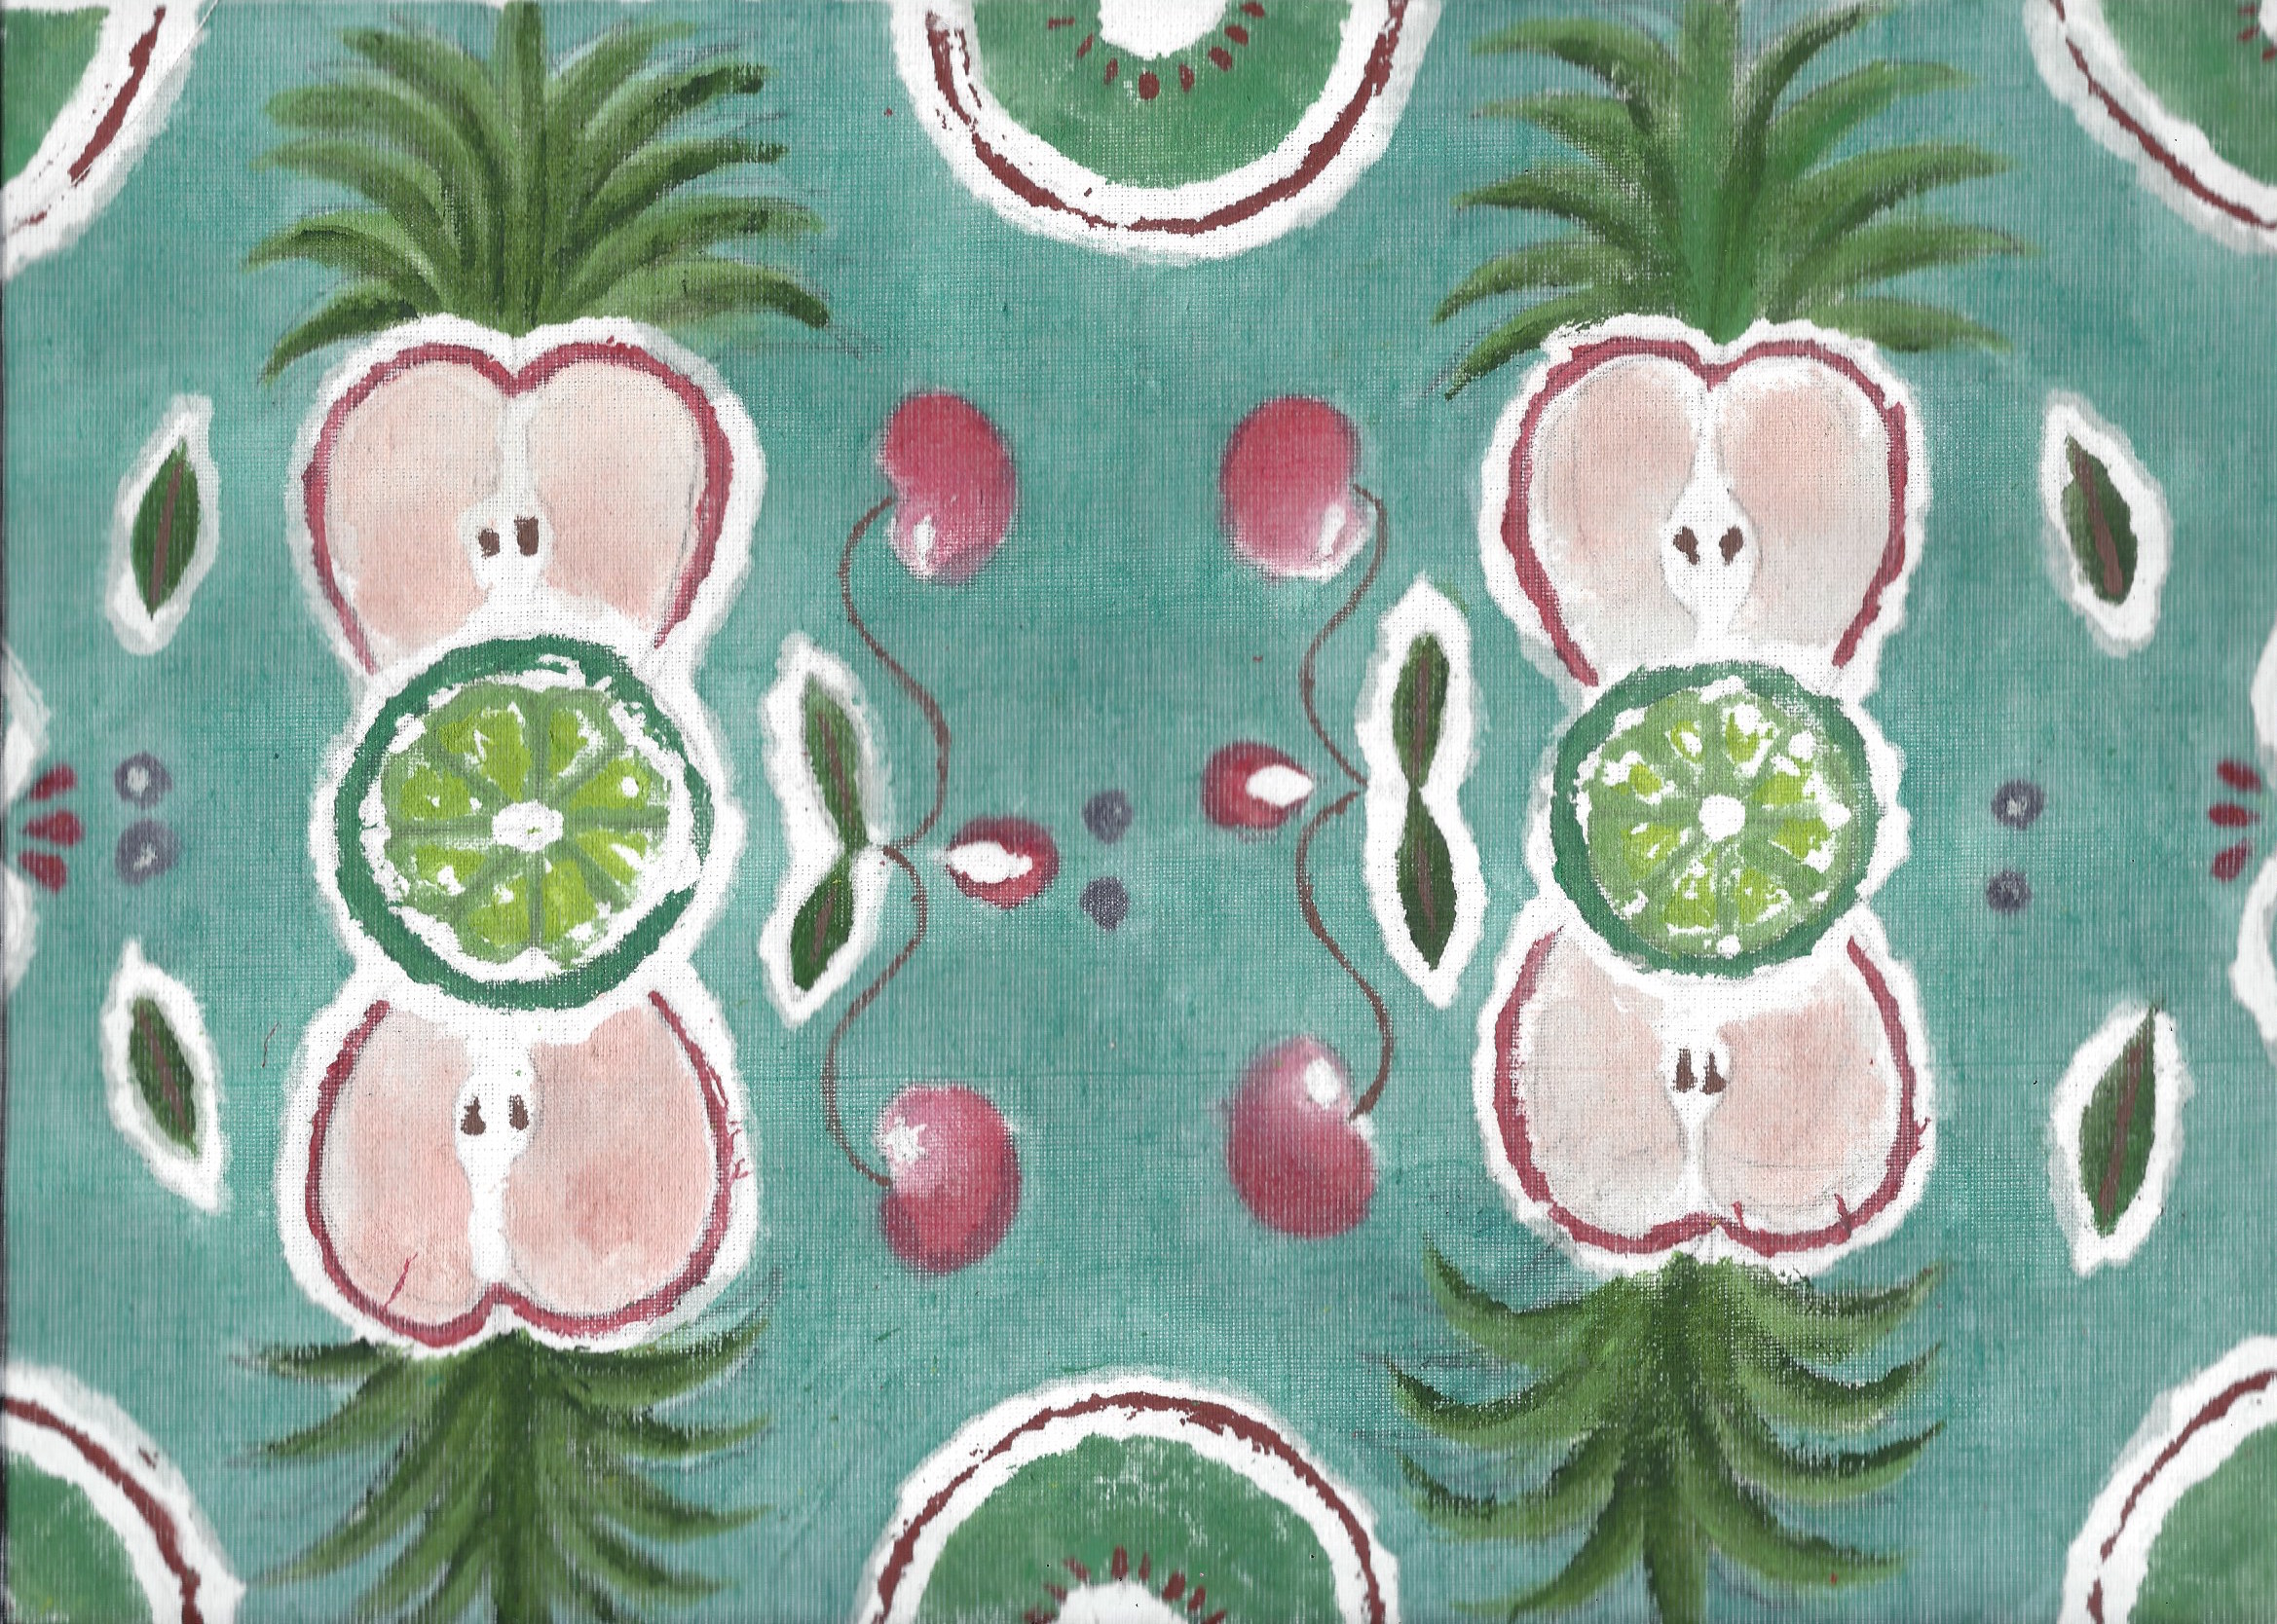
We looked at examples of hyperrealism and artists who create with high precision and detail. We compared and contrasted these examples with artists whose work is much more stylized. I then introduced the task: to create a pattern for a batik based on studies of fruit (students could use their previous studies or find other images for inspiration). The students began this task with drawing thumbnails of ideas, considering different shapes and arrangements in each composition. I also had them decide colour schemes for their final pattern.
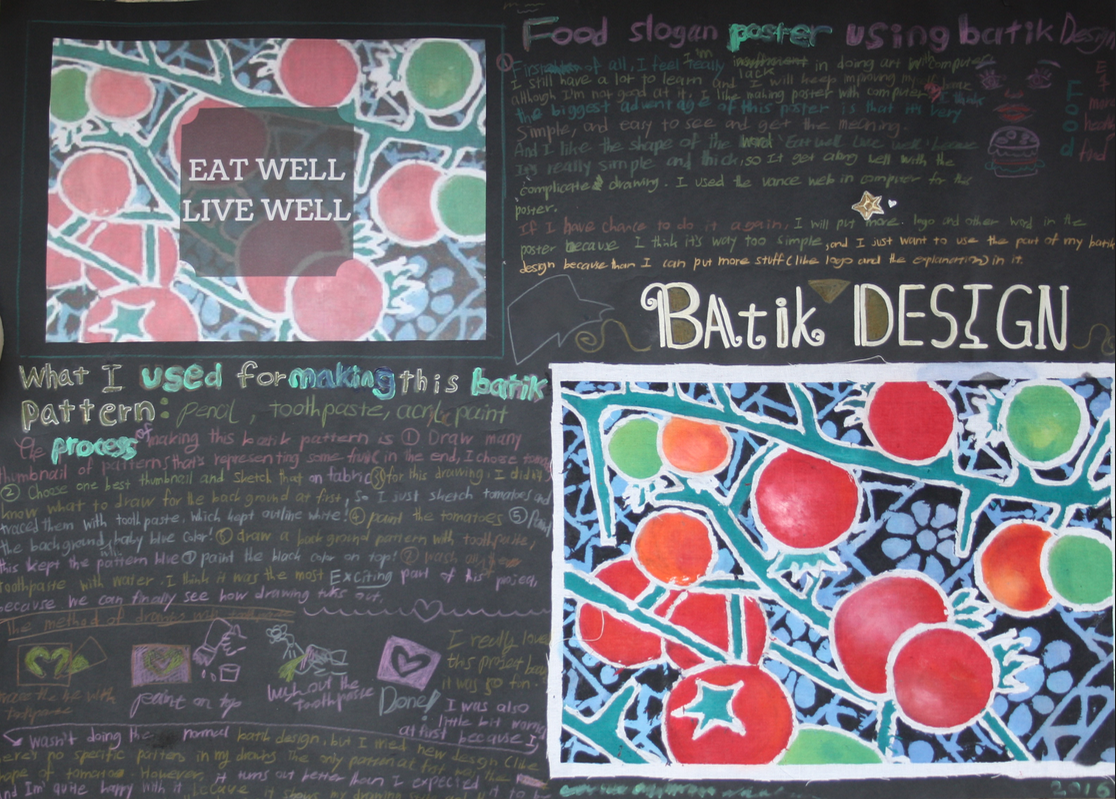
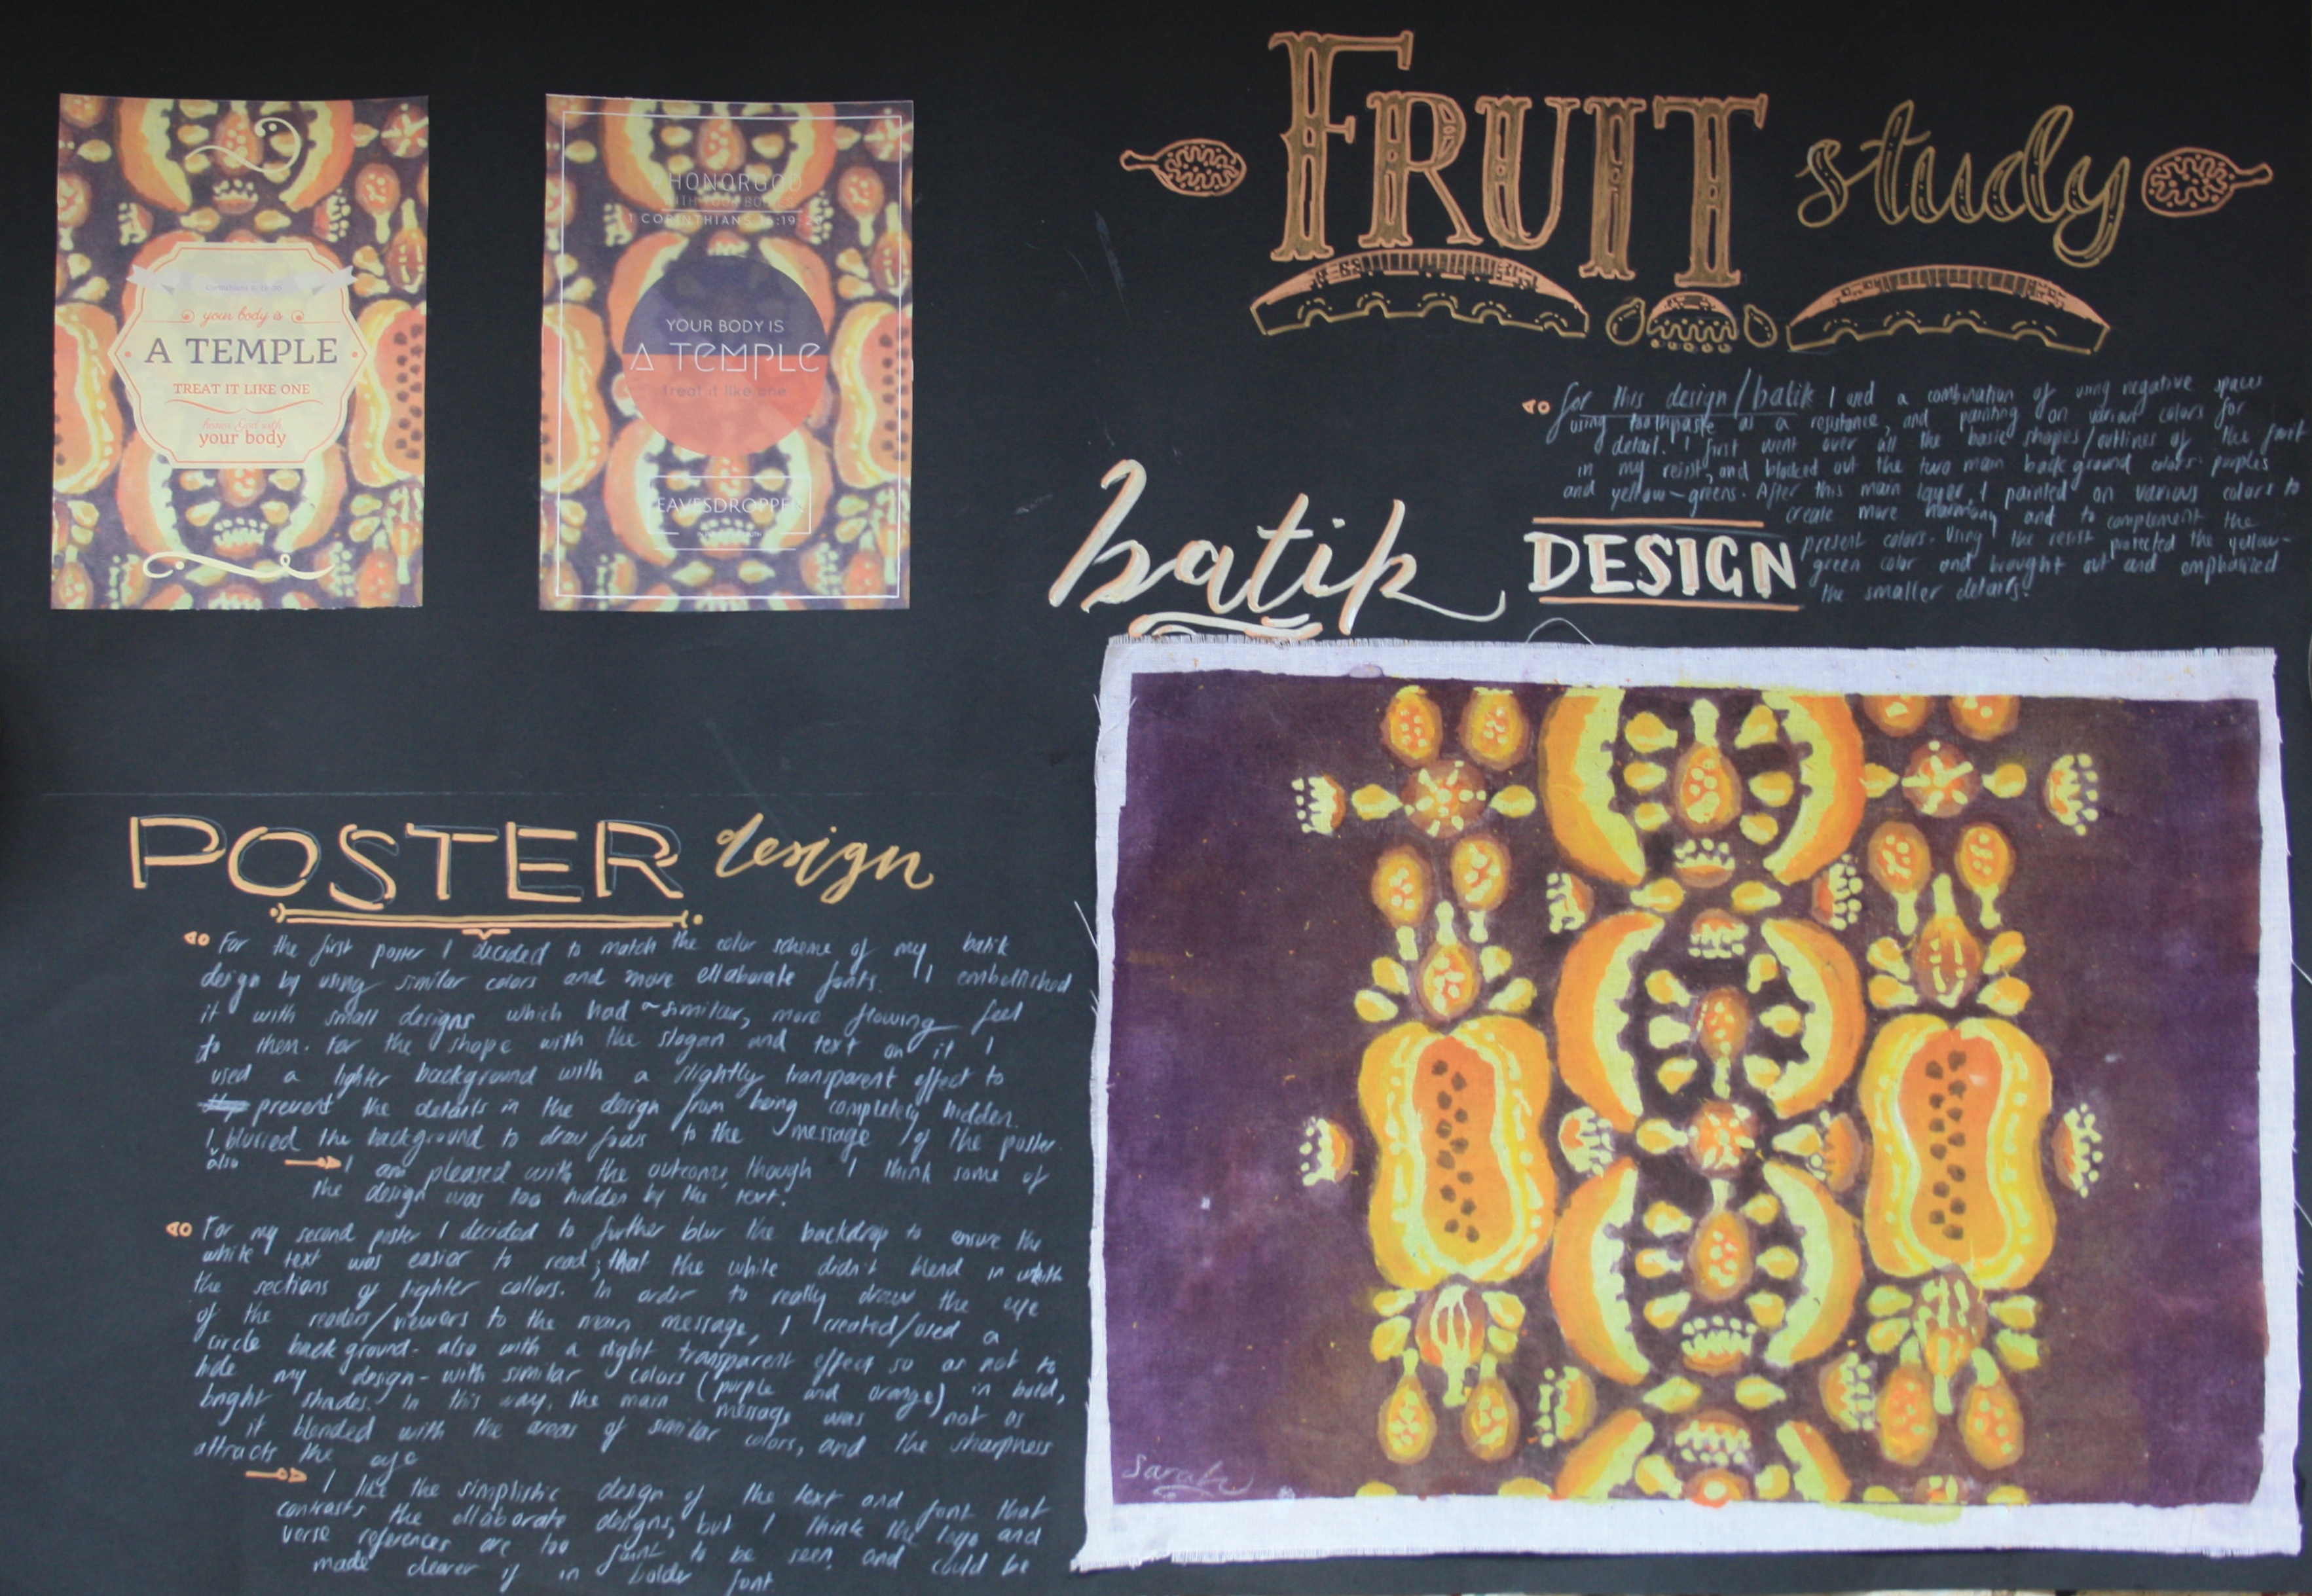
I introduced the process of making a batik: creating a wax resist pattern, dyeing and repeating with additional details for each colour in the design. I decided last year, based on my limited knowledge and resources, that I would teach a faux batik technique. We used a combination of toothpaste and aloe gel for our resist which worked great. It was easy to rinse out of the fabric, and there was no tedious ironing of wax involved. Students drew out their chosen design onto fabric and painted the colours with fabric paint. This process drew out over several days, mostly because of the drying time. A few students attempted multiple layers of toothpaste and paint, others stuck to painting in between the outlines.


This project has an additional product. After the batik was finished, we dove into a visual communication design task: creating a poster for a healthy eating campaign with a message or slogan. Students chose a message that they wanted to communicate (which coincides nicely with the elementary project earlier this fall). This time around, I decided to give more up front instruction on choosing typefaces and layouts to create hierarchy in the design. In their sketchbooks, students collected samples of different typefaces and product advertisements; and began to thumbnail ideas. We had one class to create poster designs using an online design program. The next class, we had a critique and students made their final decisions of which designs to print. In typical IGCSE fashion (and to emulate a more authentic exam style situation), students mounted their final pieces on poster board.