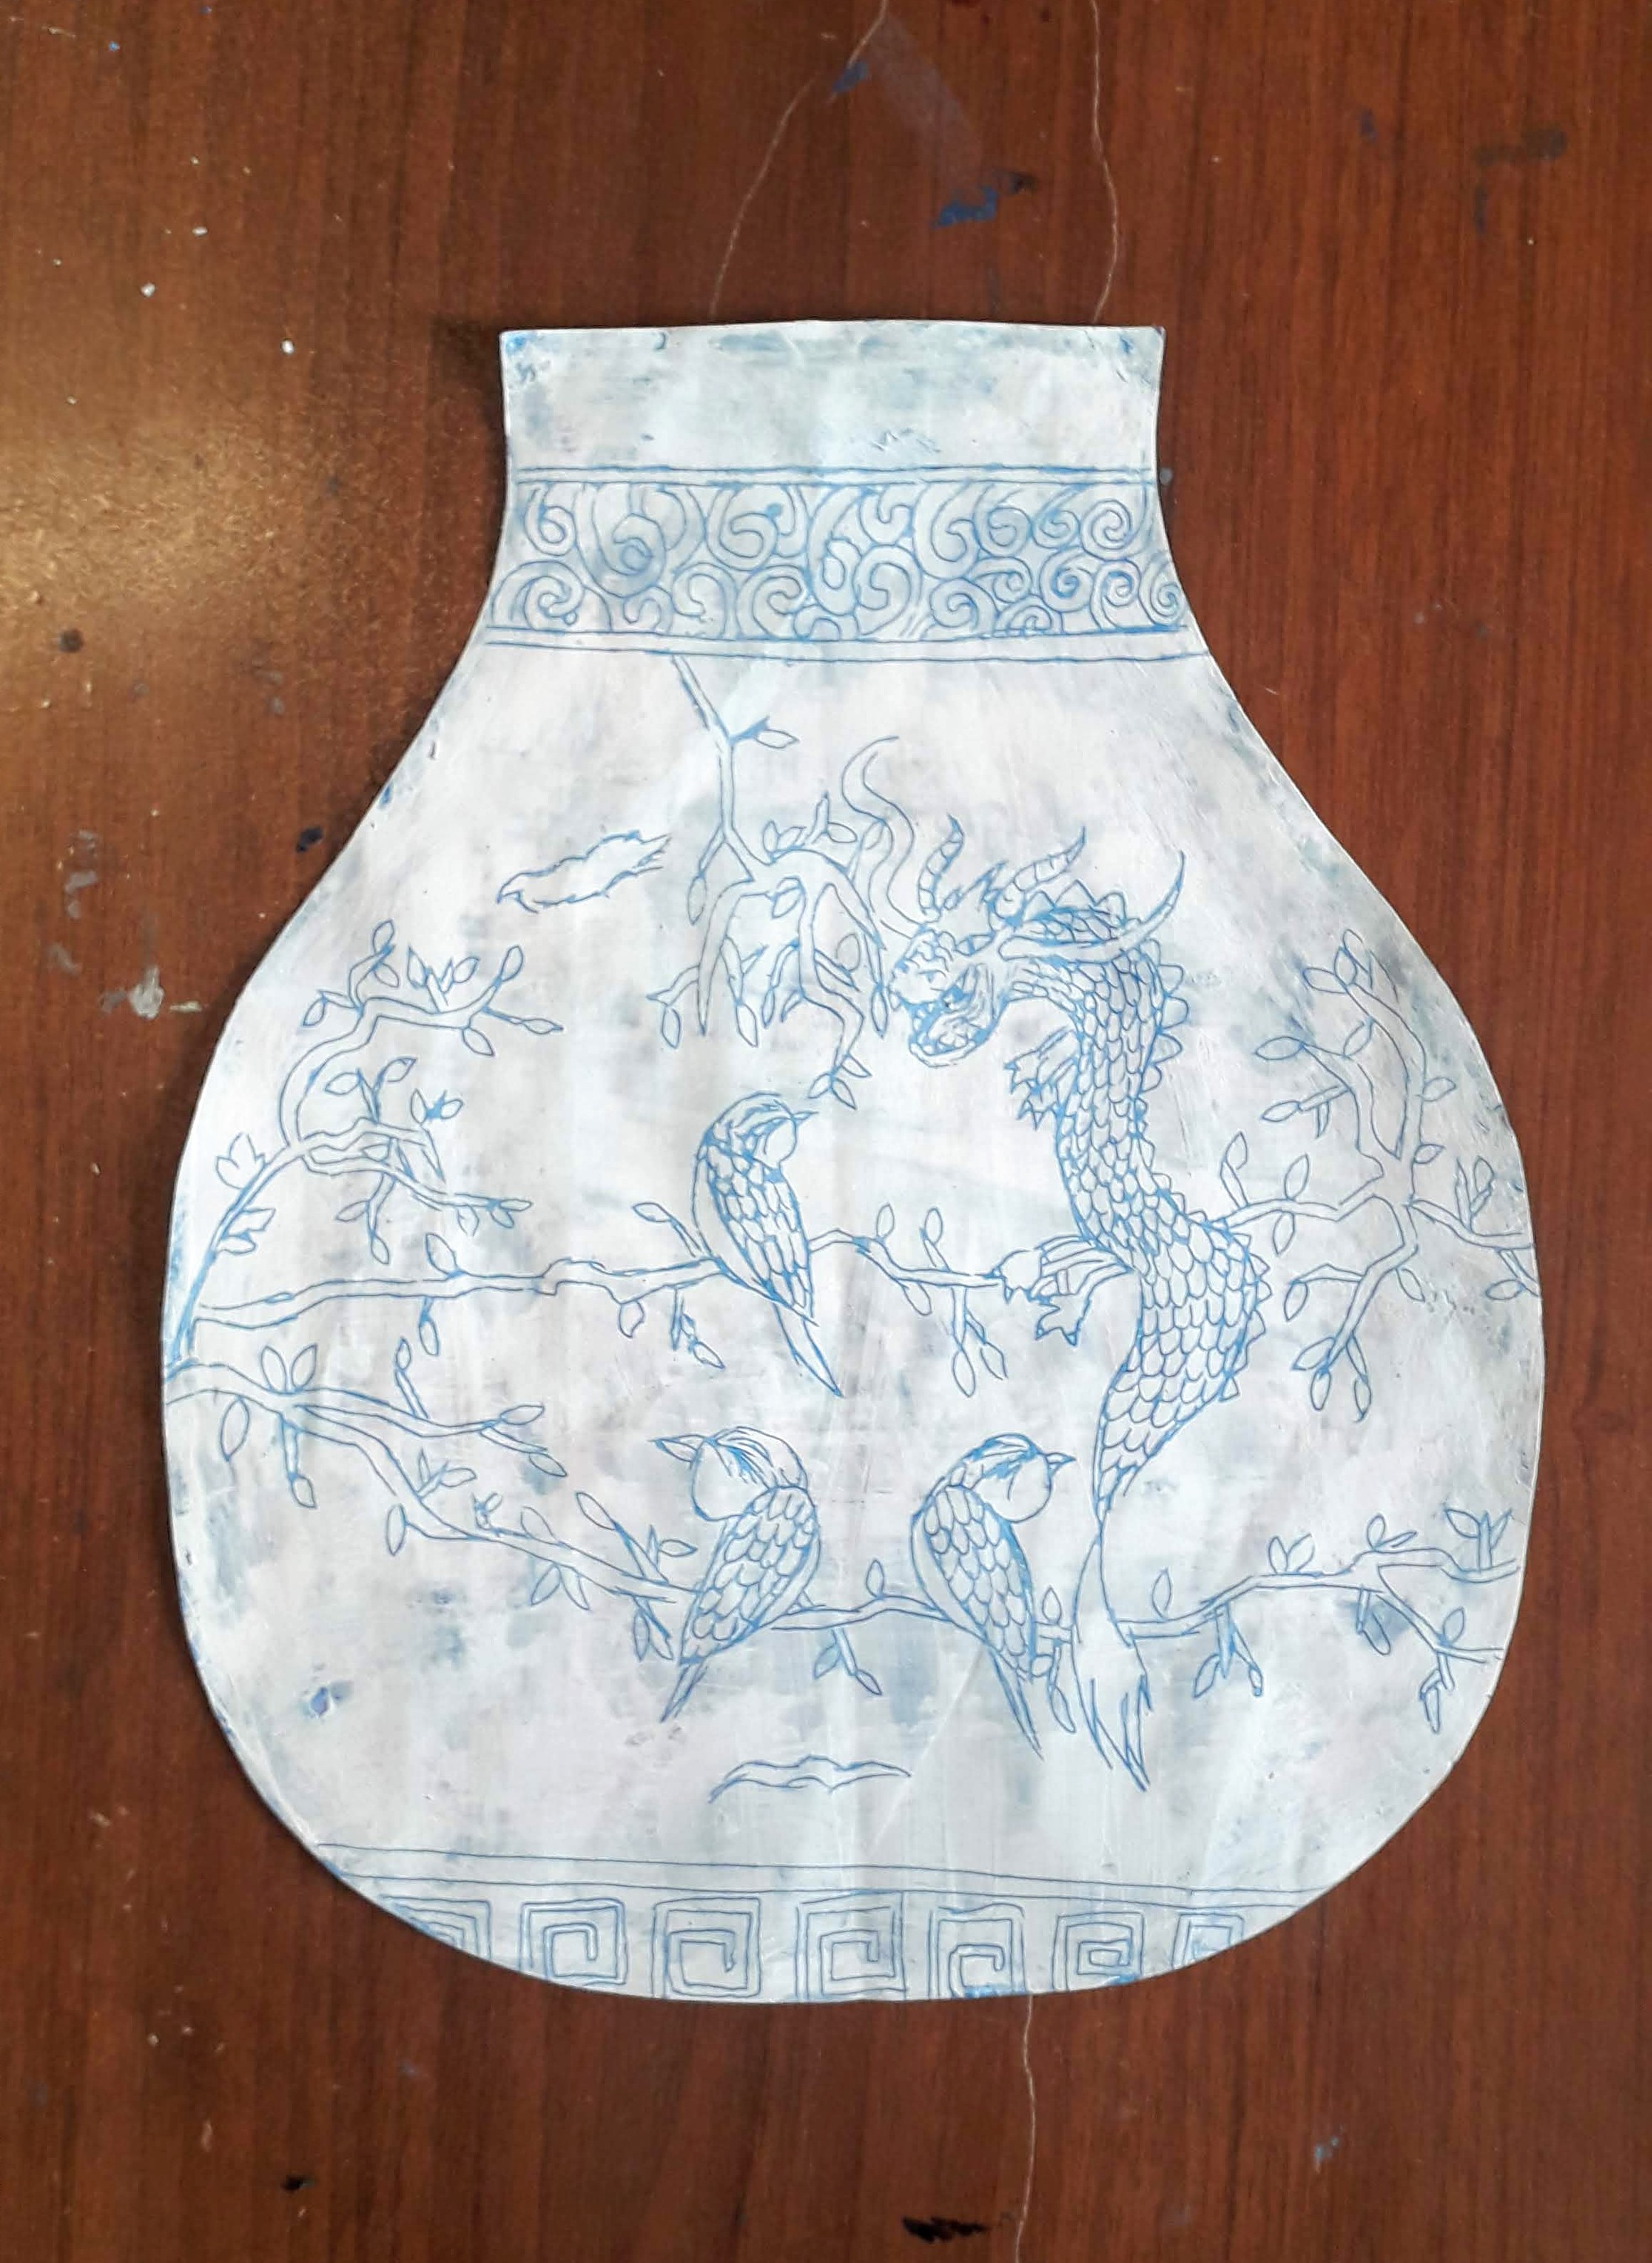
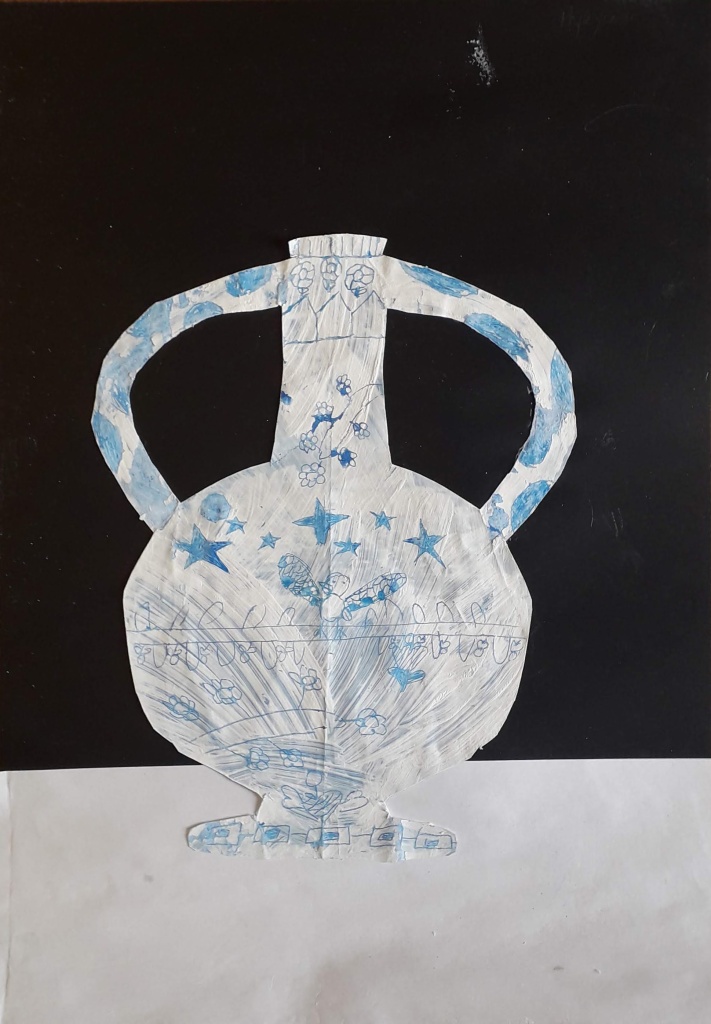
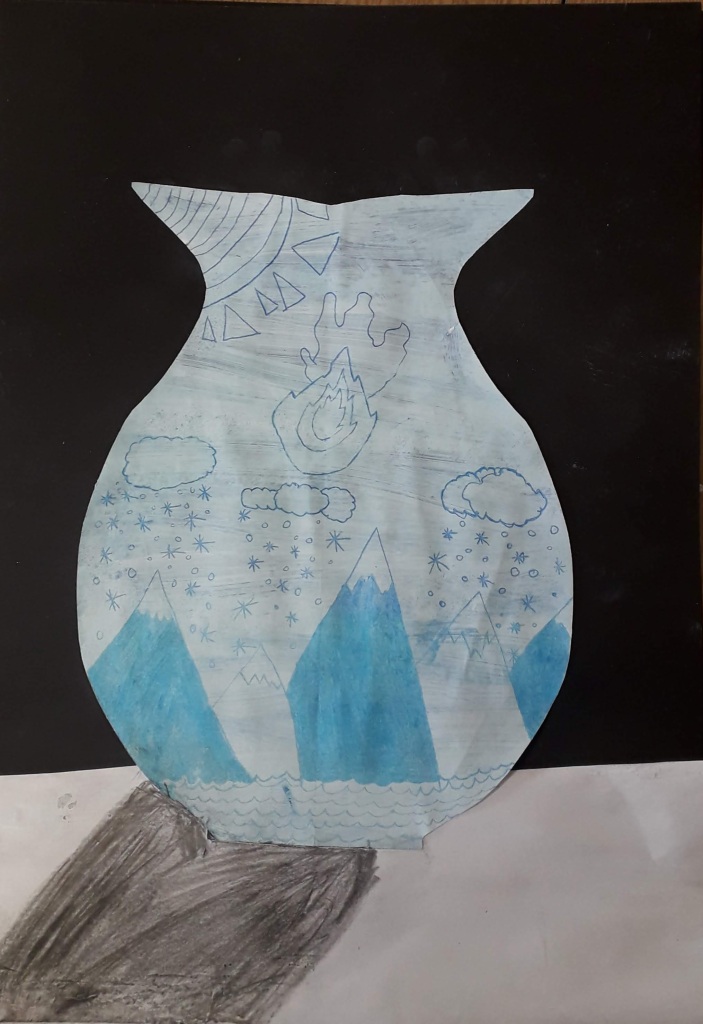
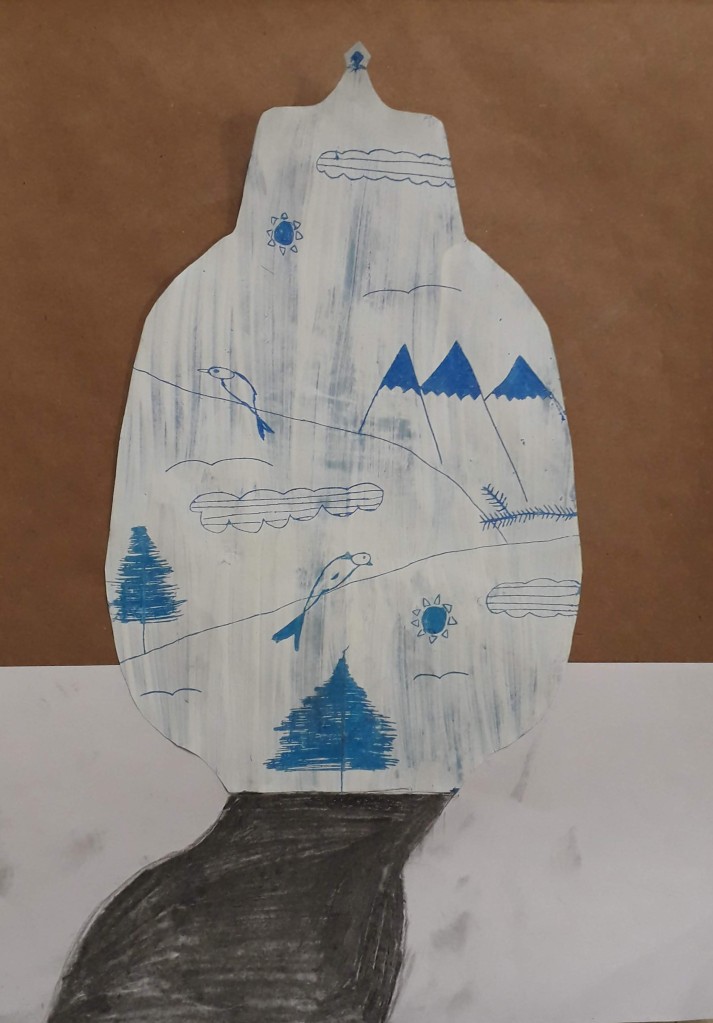
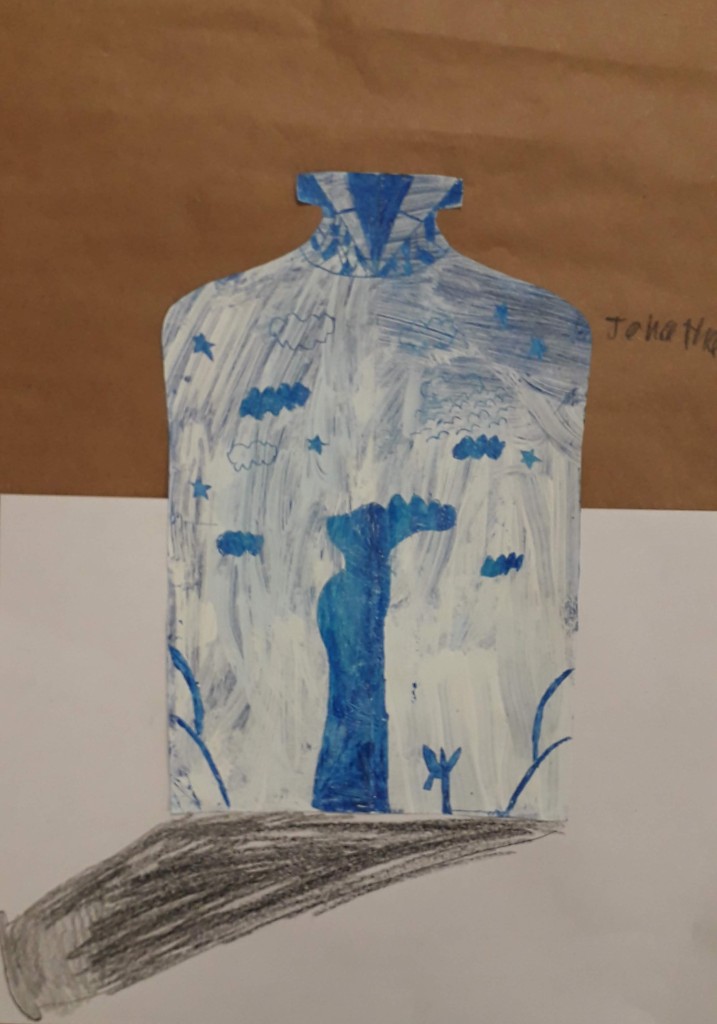
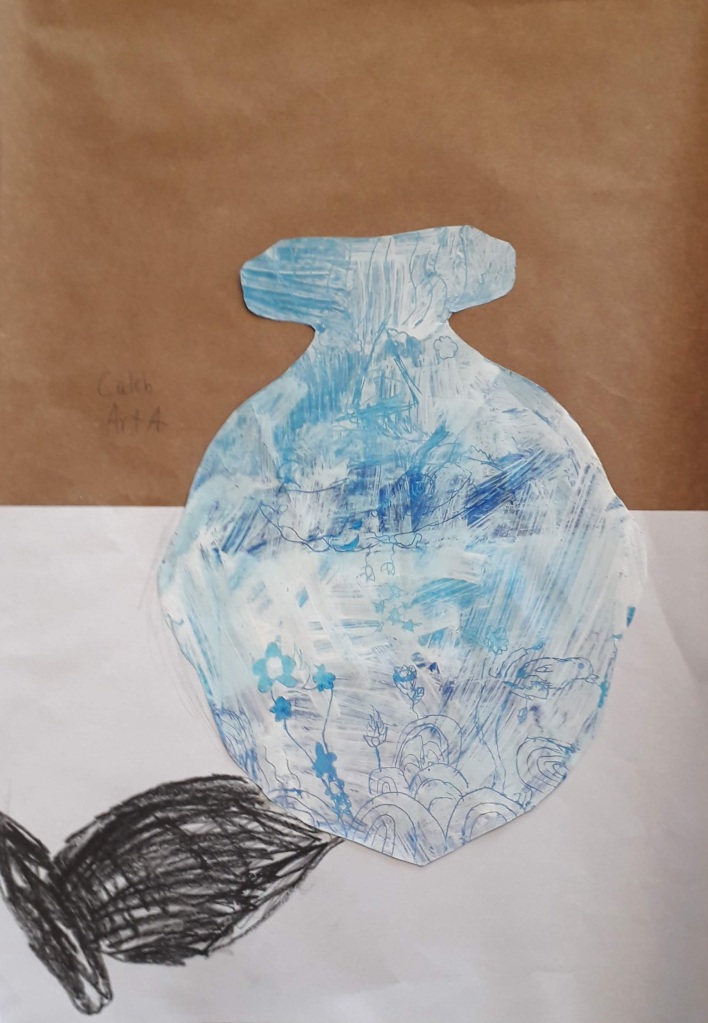
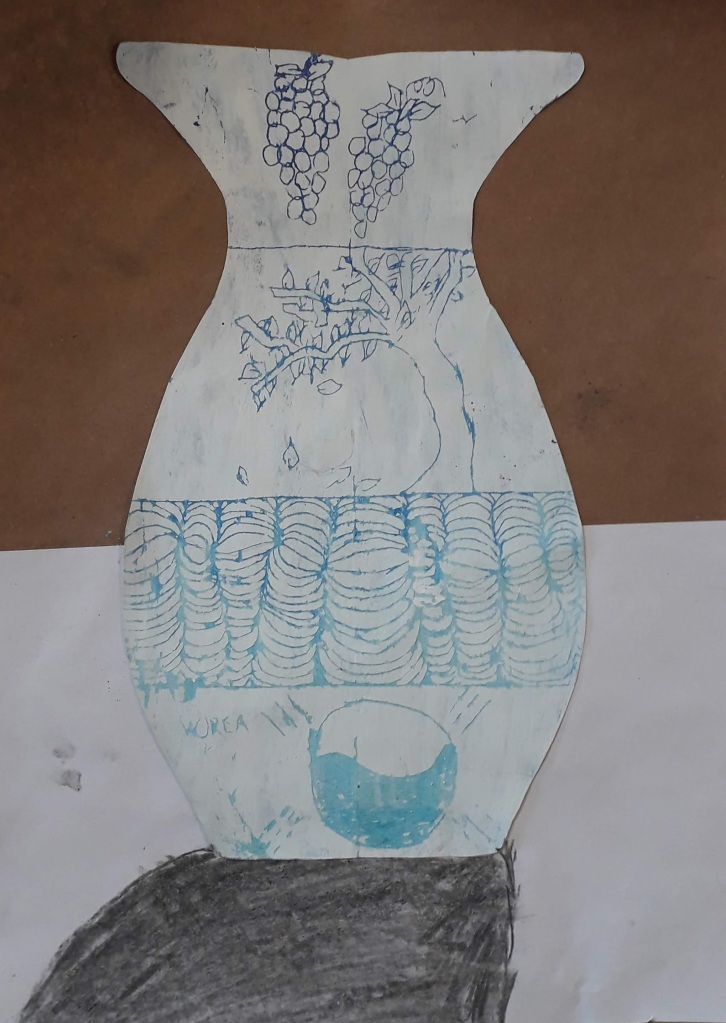
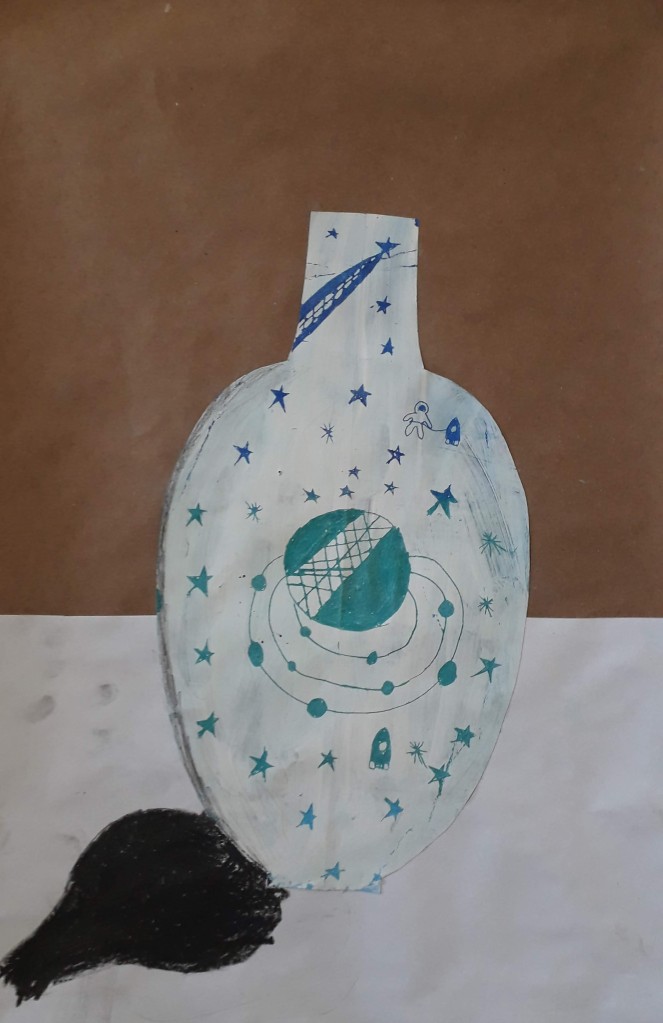
Ming Vase Designs

I am back teaching in Turkey for the semester after a long hiatus! I greatly missed this city and my students. It is a blessing to return, I feel refreshed and renewed for this next season. This semester, I am teaching elementary 3rd and 4th grade. I have not taught this group of kiddos for two years… they have grown up so much since then!

I have taught this project before, but as is true in teaching, you never teach the same thing twice! It HAS been a challenge starting out with these groups, who are split according to their language ability. One group of 3/4’s have higher, near-native English language proficiency, whereas the other, larger group of 3/4’s are English language learners (or ELLs).

Teaching ELLs in the art room has never been a huge challenge for me, as there are usually enough peer models around, and the nature of art class is very visual! Students usually do not have problems following along, even if they do not understand all of the directions for a project. I also have some background in teaching ELLs during my student teaching in Canada- I think integration of the content of art, alongside language is a perfect scenario for students to learn English!

I have found that since the two classes are grouped according to language ability, I am teaching them very differently. Keeping both groups on the same page (in terms of content) while making efforts to emphasize content language learning… this all takes a bit more thinking and additional planning!

I first showed the classes a video of how porcelain Ming vases are made, from start to finish. This sequencing is important, especially as we are moving onto clay for our next project!

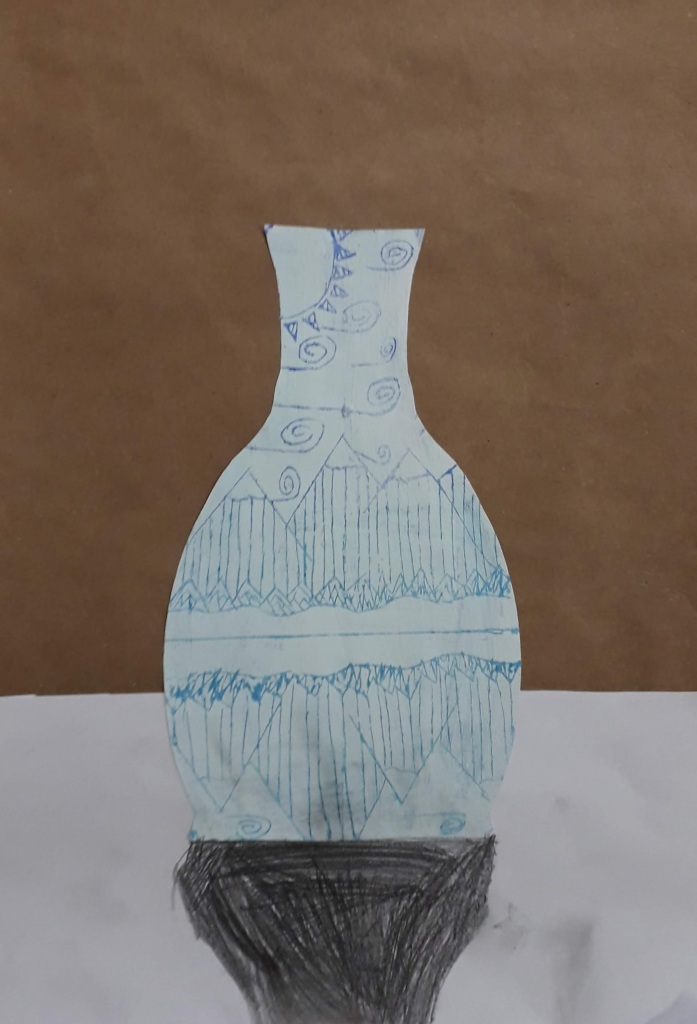
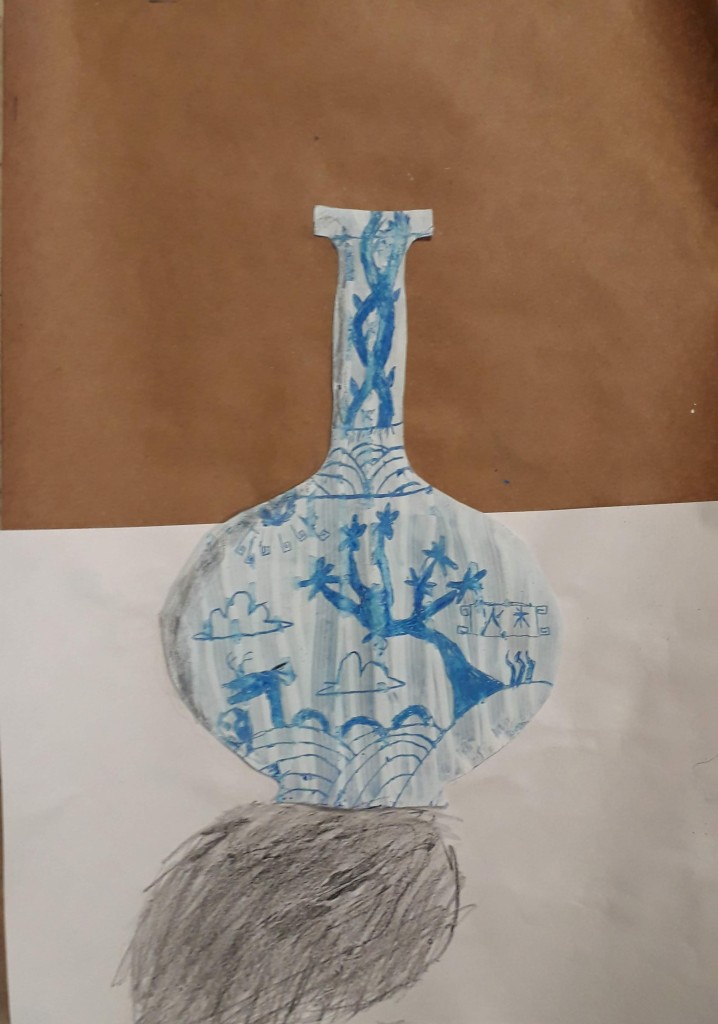
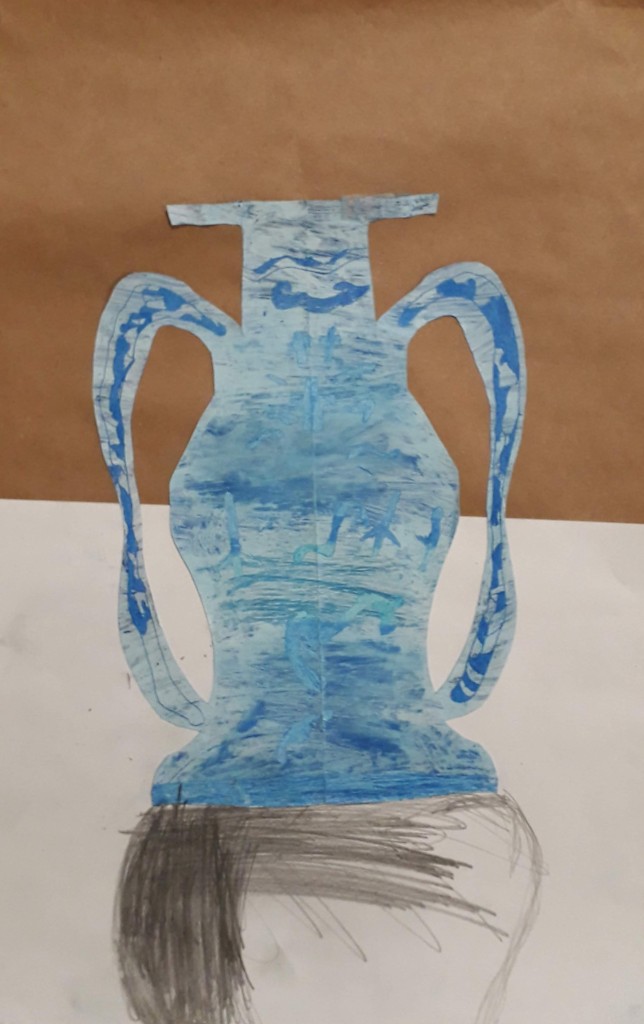
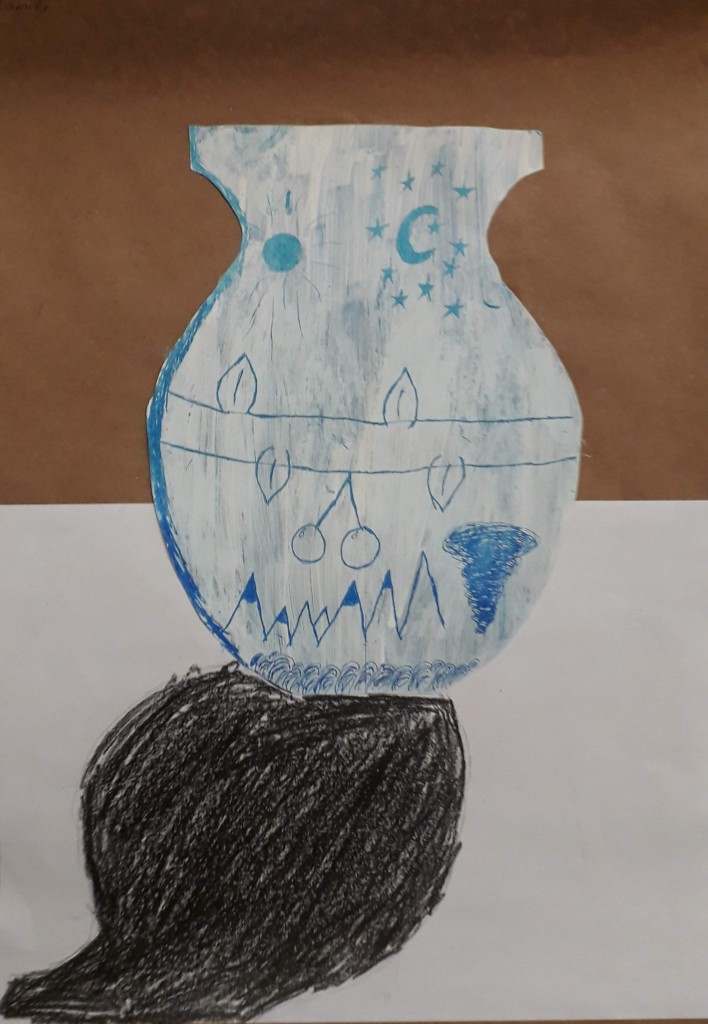
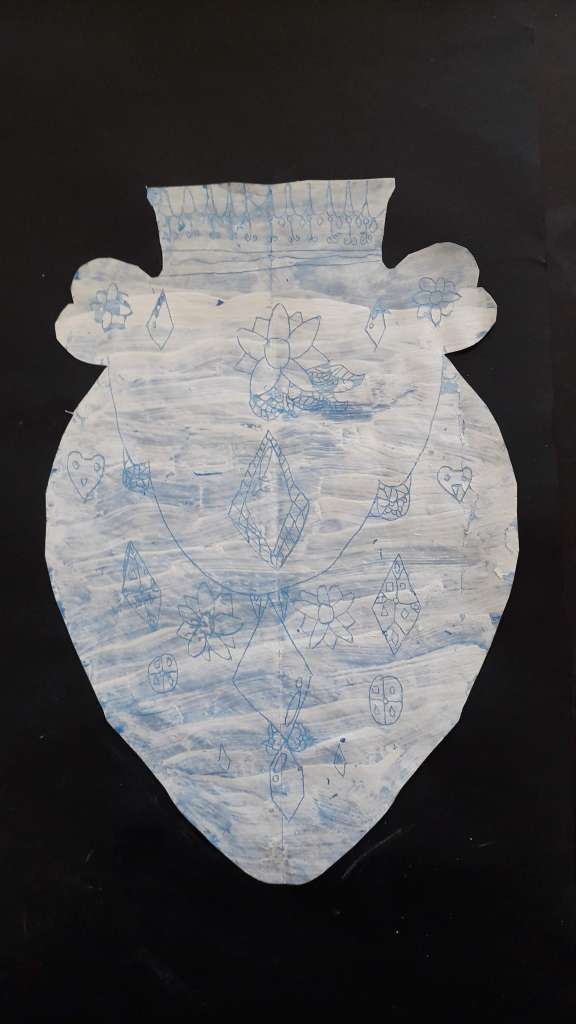
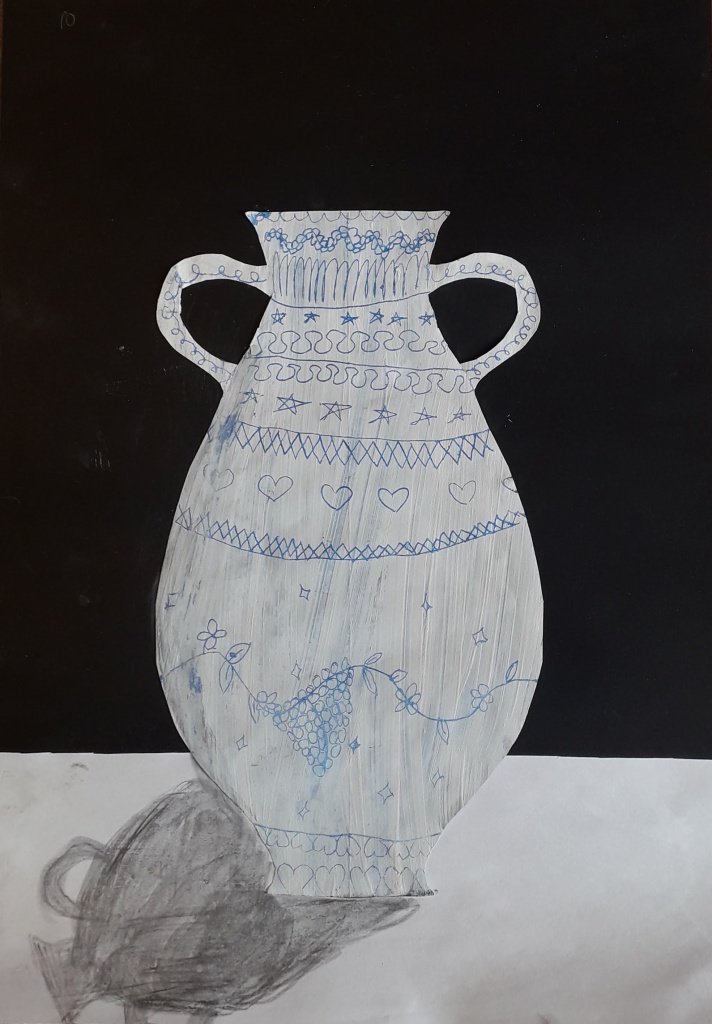
We started off with looking at different vase shapes, discussing the forms and symmetry of the different designs. I demonstrated how to create a symmetrical vase shape on A4 paper – making a hot dog fold, drawing along the edge of the fold to create an outline and cutting it out so the two sides of the vase are the same.
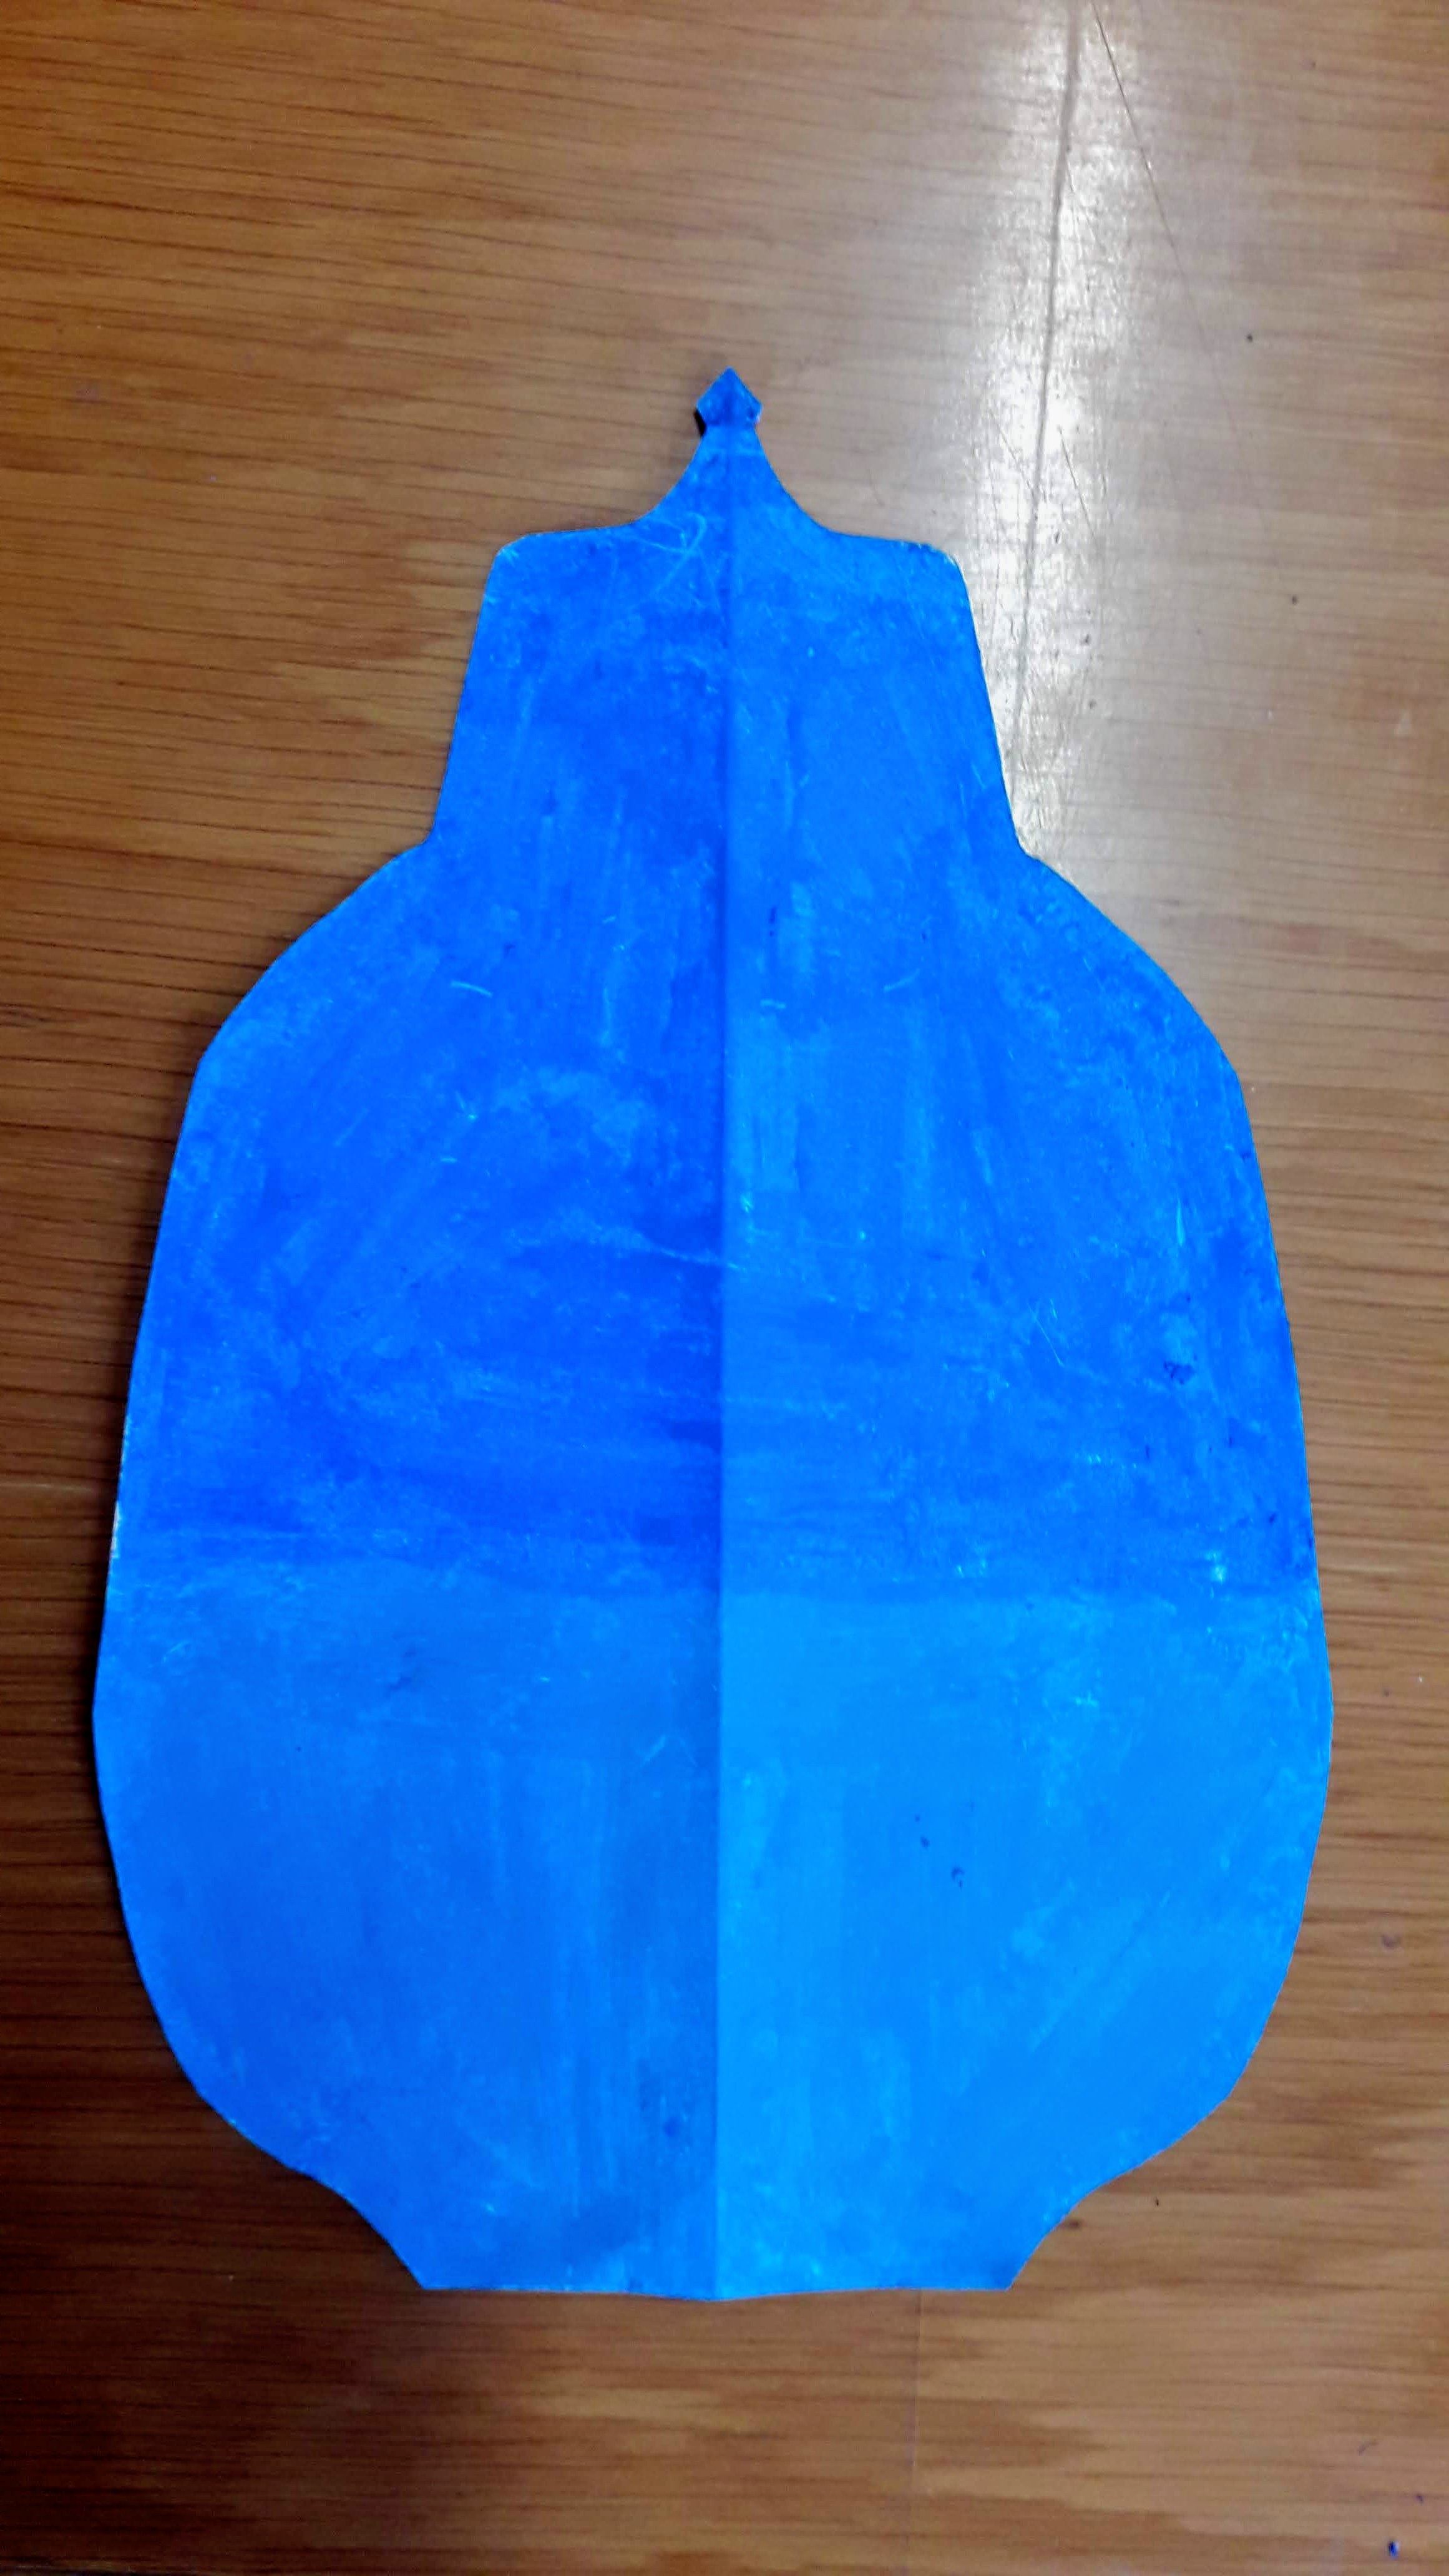
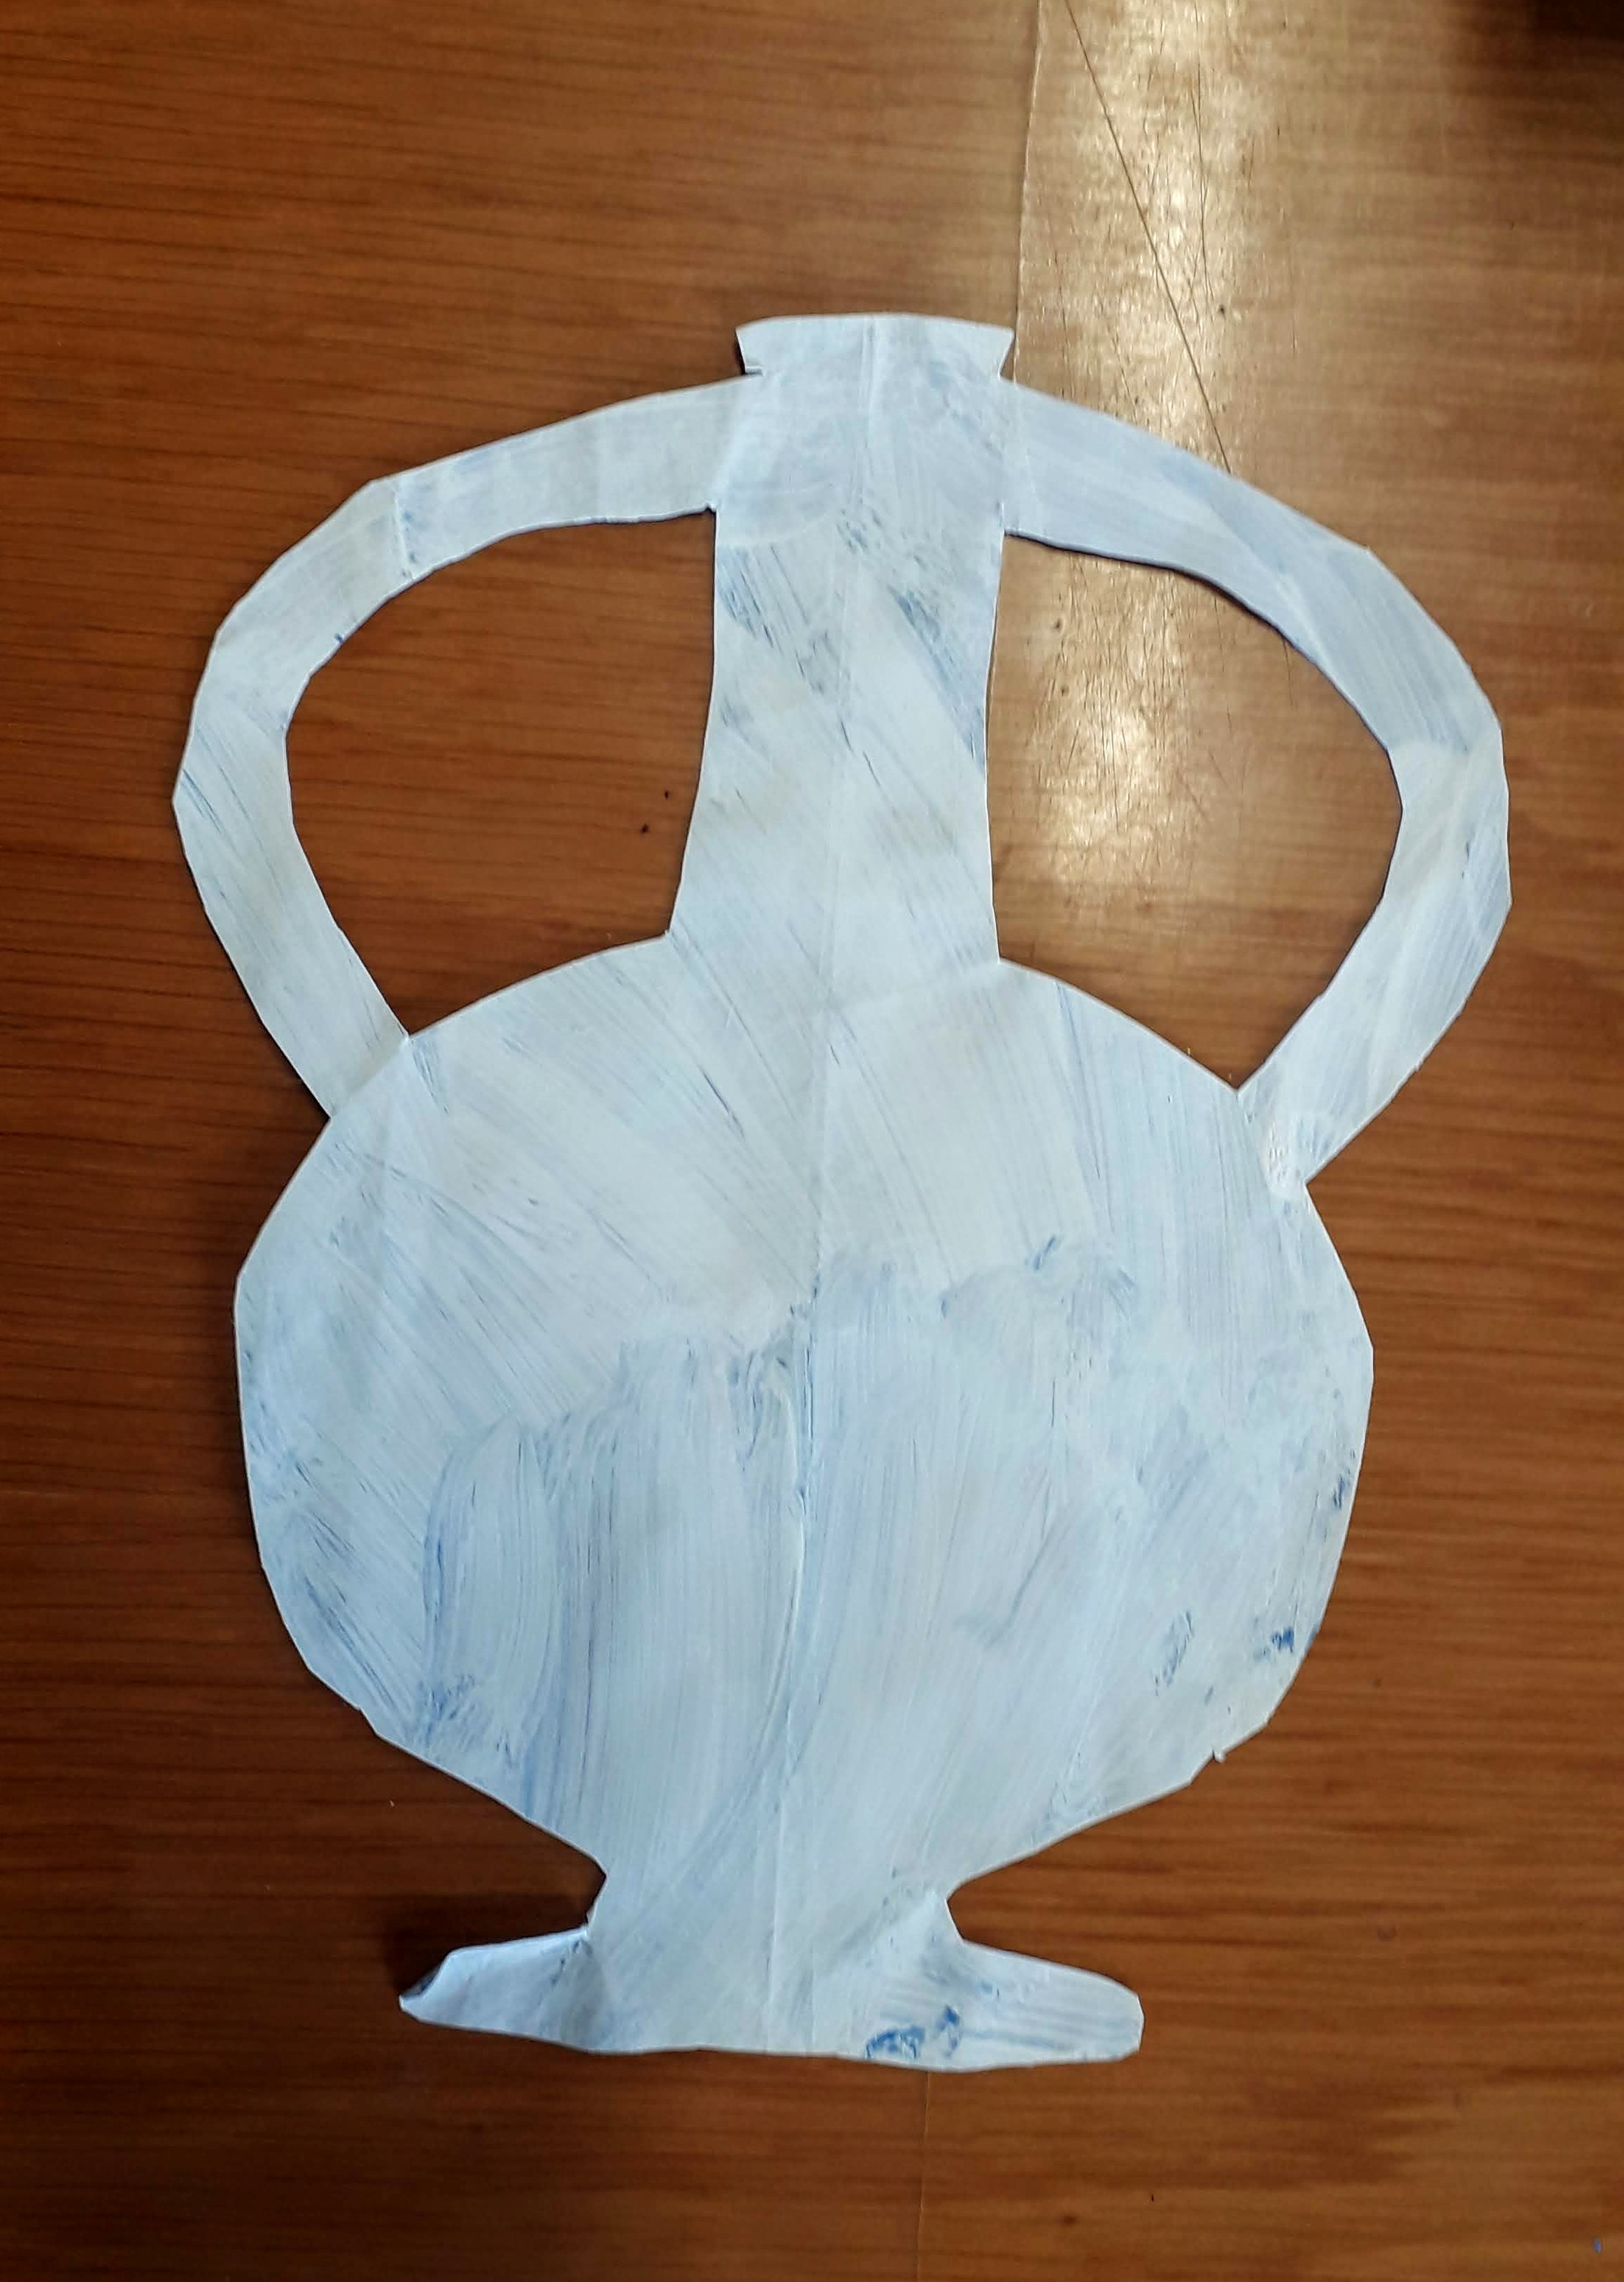
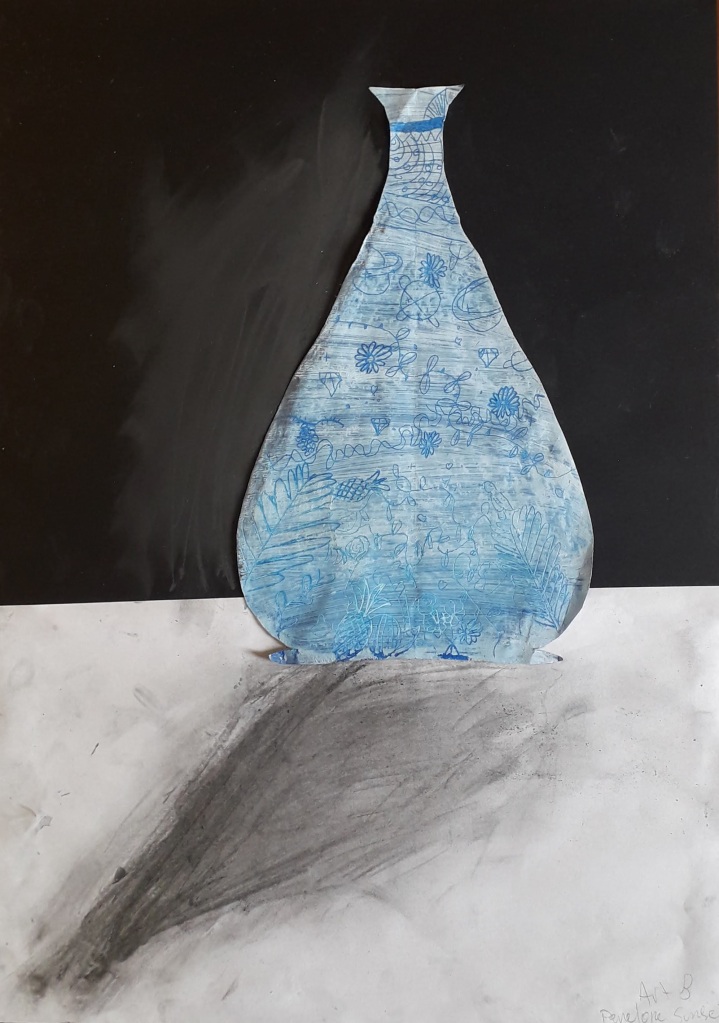
  • Step One- Fill in the silhouette shape with different values and shades of blue oil pastel
  • Step Two- Paint overtop of the blue with a layer of white tempera paint mixed with soap (this is so the paint sticks better to the oily pastel layer)
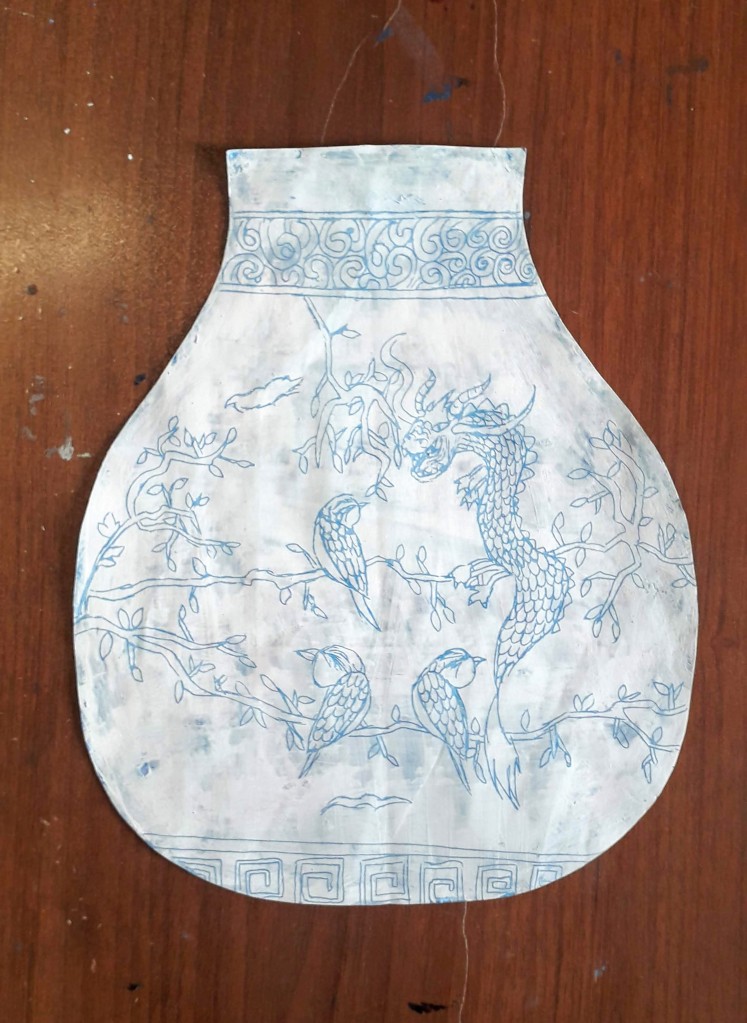
  • Step Three- Scratch a design through the layer of white paint and reveal the blue underneath

We spent some time looking at and discussing the different imagery used to decorate Ming vases. We talked about symbolism and possible big ideas that are being communicated through the work. We learned that the artisans use cobalt to draw onto the vases before they are fired, and only after coming out of the kiln do the designs turn out blue!

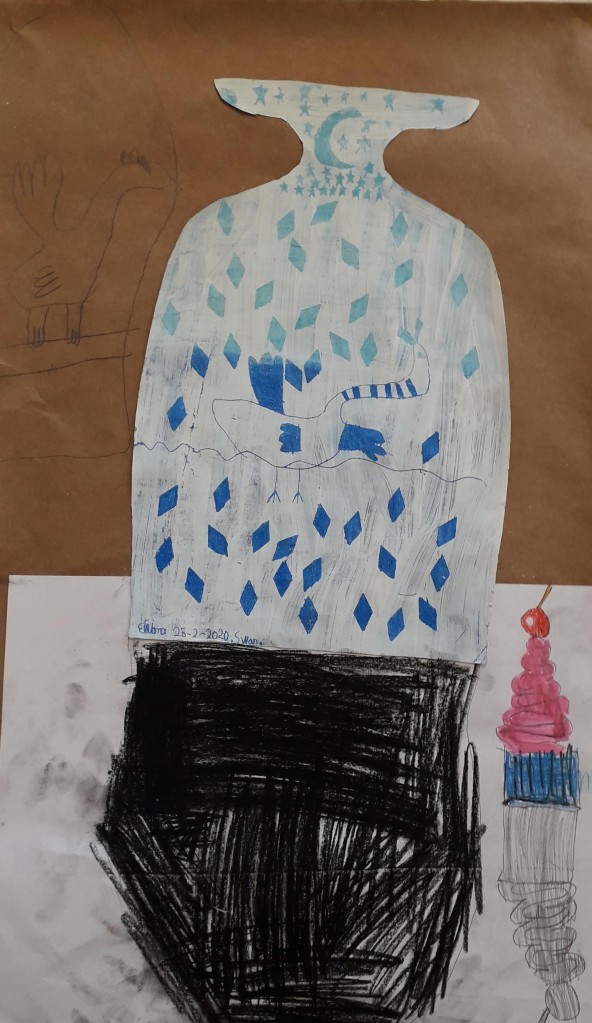
After planning in their sketchbooks, students began scratching their designs onto their vases. Finished designs were mounted onto black or brown paper. Another challenge I am facing now more than ever, is having students all on very different steps of a project. Early finishers had the opportunity to add a table surface and an indication of light and shadows on their vases. They drew in the shadows using graphite. I did not give them very much instruction on this, it was insightful to see how they all interpreted this differently on their own!
Printmaking on Repeat

Whew, it has been a busy month! I have enjoyed revisiting these lessons  from a few years ago, having made some improvements (check back here, here and here for the original posts).

5th and 6th Grade: Gelli Monoprints

7th Grade: Collographs

20181204_094927

Students made collograph plates by gluing textured materials: cardboard, felt, wallpaper, string to a cardboard surface. Students printed an edition of three prints, plus two artist proofs: one in an additional different colour, and one incorporating chine collé (tissue paper that gets glued to the paper at the same time as printing.

Once they finished printing, students covered their collograph plates with tinfoil to create a repoussee of the textures present. Colour and detail was added overtop with sharpie markers.

8th Grade: Styrofoam Relief Prints

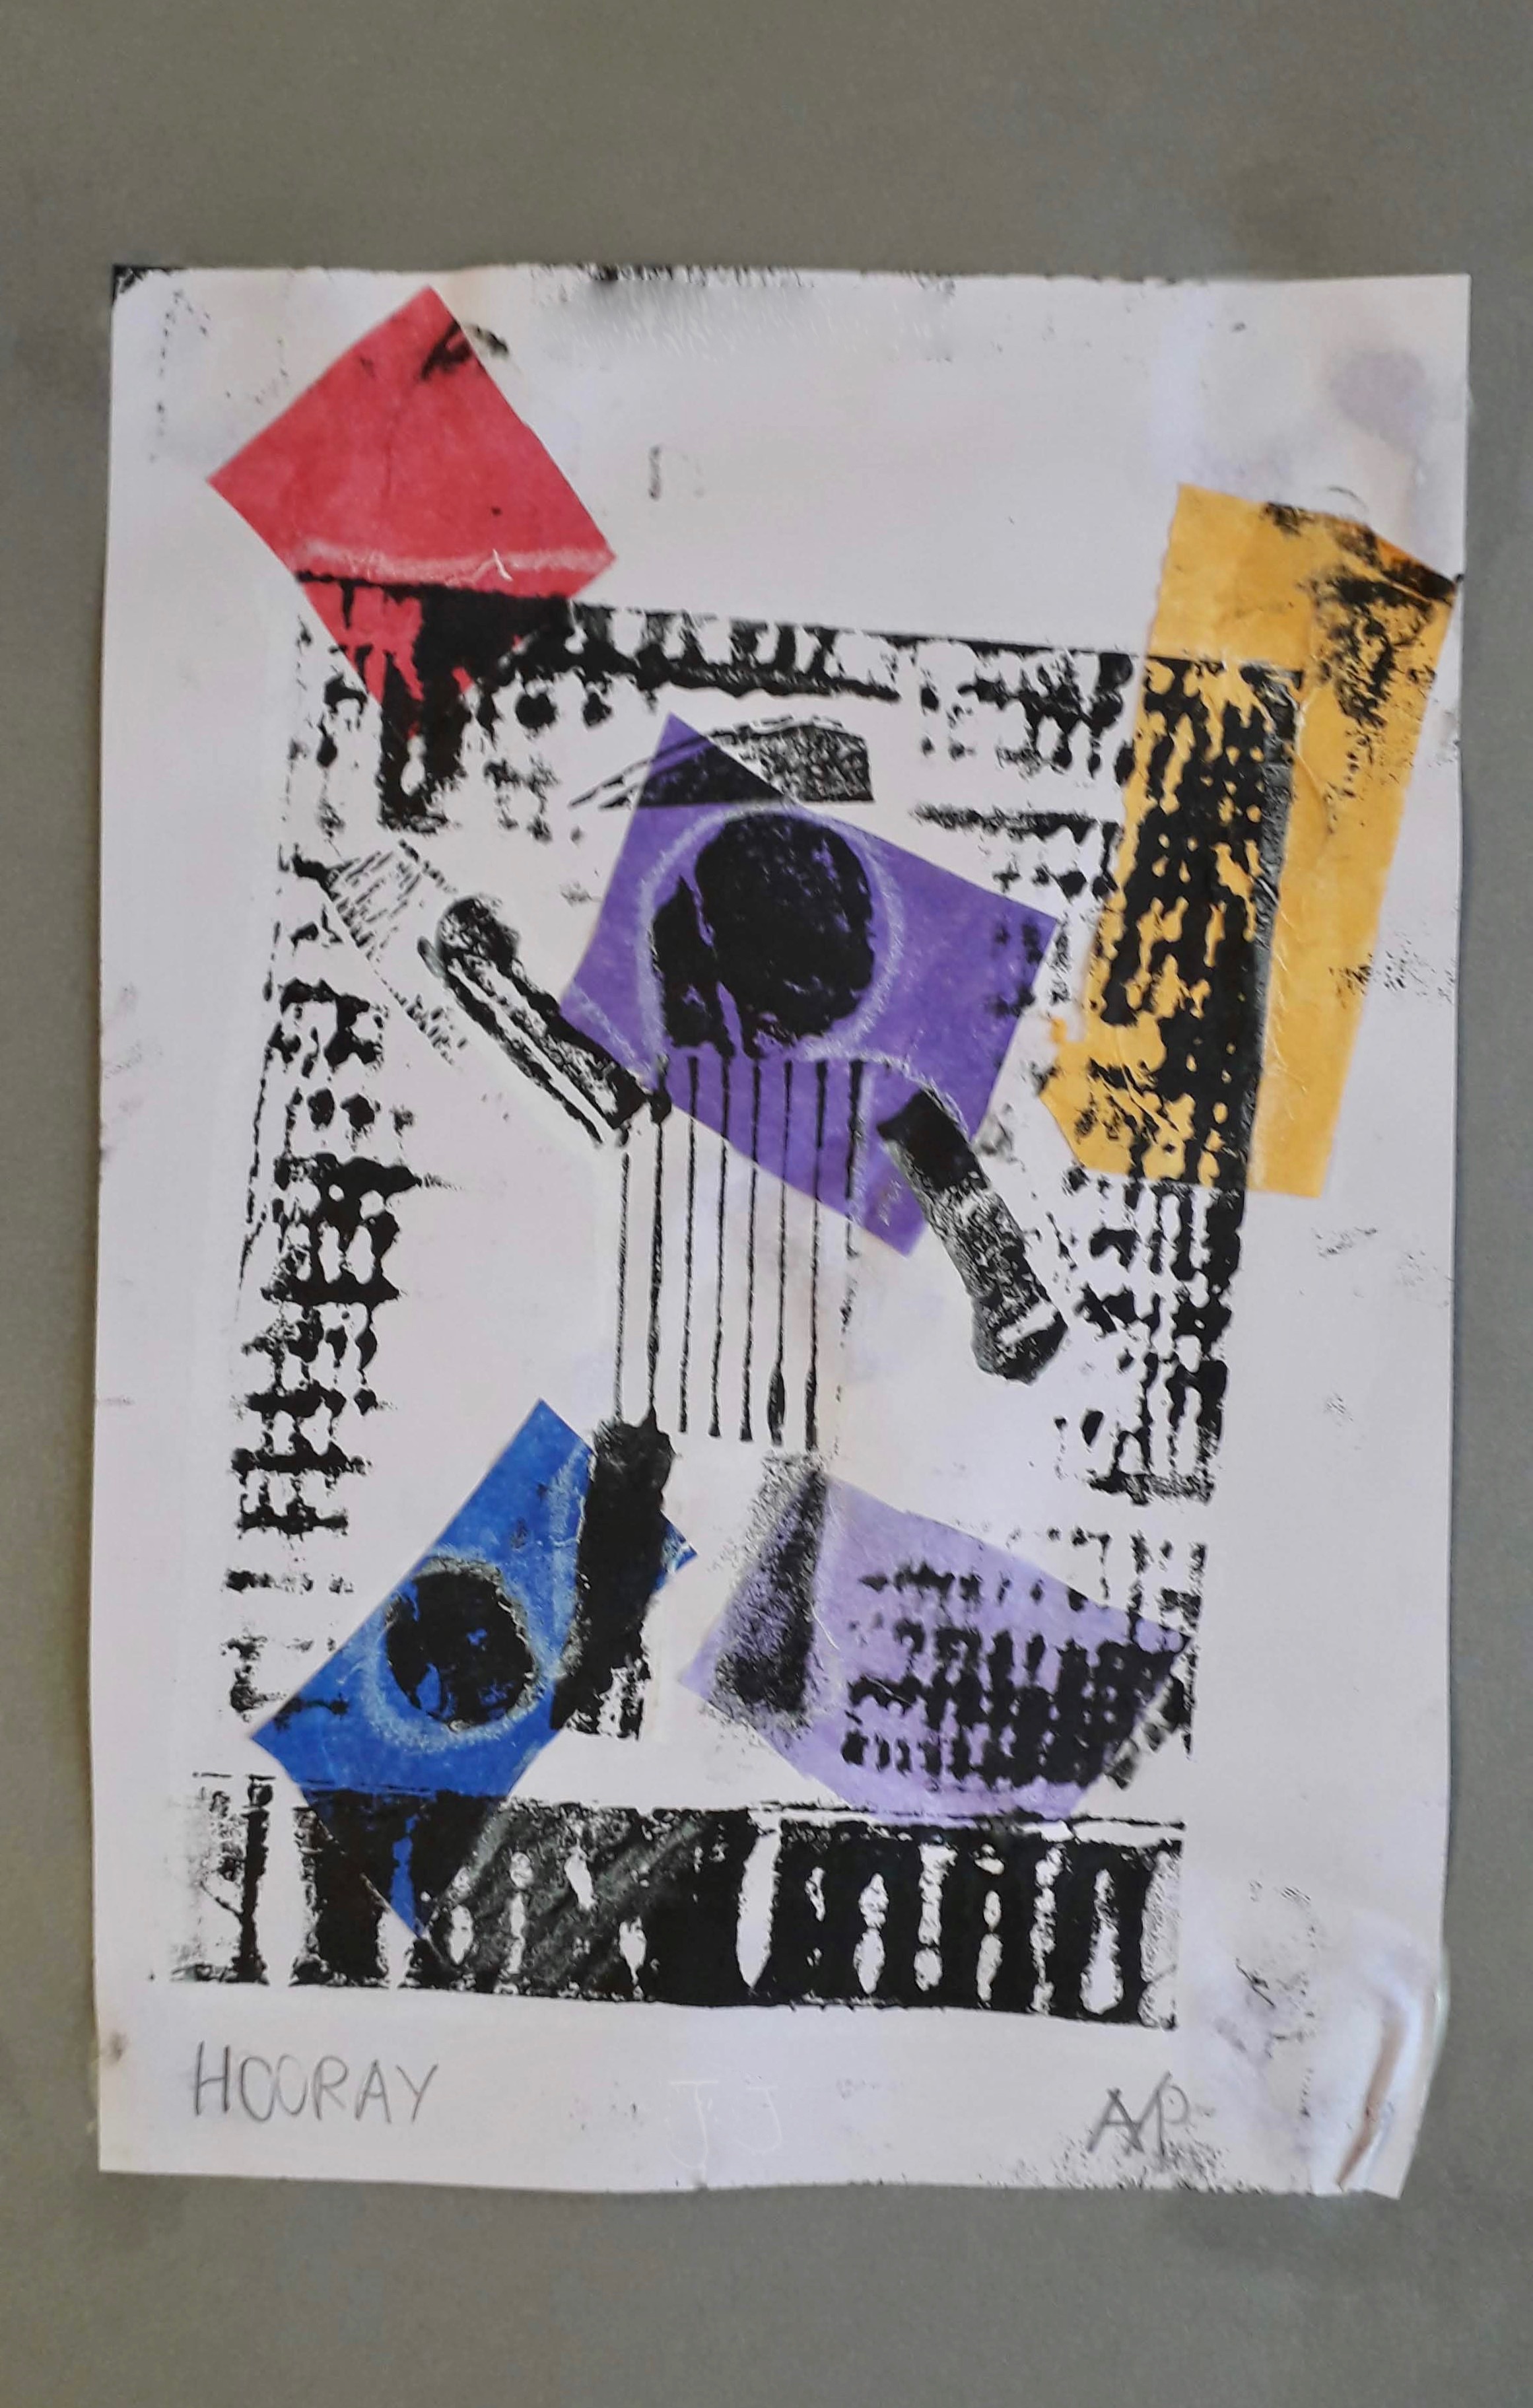
The students created these prints by carving lines into styrofoam using a dull pencil. An edition of 3 prints were made, in addition to two artist proofs: one incorporating chine collé and one reduction print with two colours. The reduction prints were made by printing a first layer in one colour, drawing additional detail and line work on the plate and printing again overtop of the first layer in a second colour.

And, amidst all the flurry of printing with 70+ middle schoolers, I decided to host another after school workshop for my fellow teachers!

Oceania Masks

Our school celebrated international cultures week mid-April. Within the student body, we have representatives from 24 countries! It was a busy and exciting week with a whole-school assembly, musical performances, cultural games and a potluck lunch. Amidst the flurry of special activities throughout the week and the themes of celebration and diversity; we looked at masks.

We talked about the reasons why people wear masks and where they get their inspiration from. We looked at masks from Papua New Guinea, discussing the colours, shapes, patterns and textures we observed. We also discussed the differences of symmetry and asymmetry in the designs.

Everyone started with a cardboard base. We talked about building a relief using different textures, shapes and layers.

Once the masks were complete, we painted them. The final step was to add pattern and detail with pastels.

This slideshow requires JavaScript.

Let Your Light Shine

We travelled to a country further east around Christmas time. It is not a country that celebrates Christmas, but this became a good topic of conversation in my classroom. In China, they DO celebrate New Year, which is more similar to what is celebrated here in Turkey.

First and Second Grade:

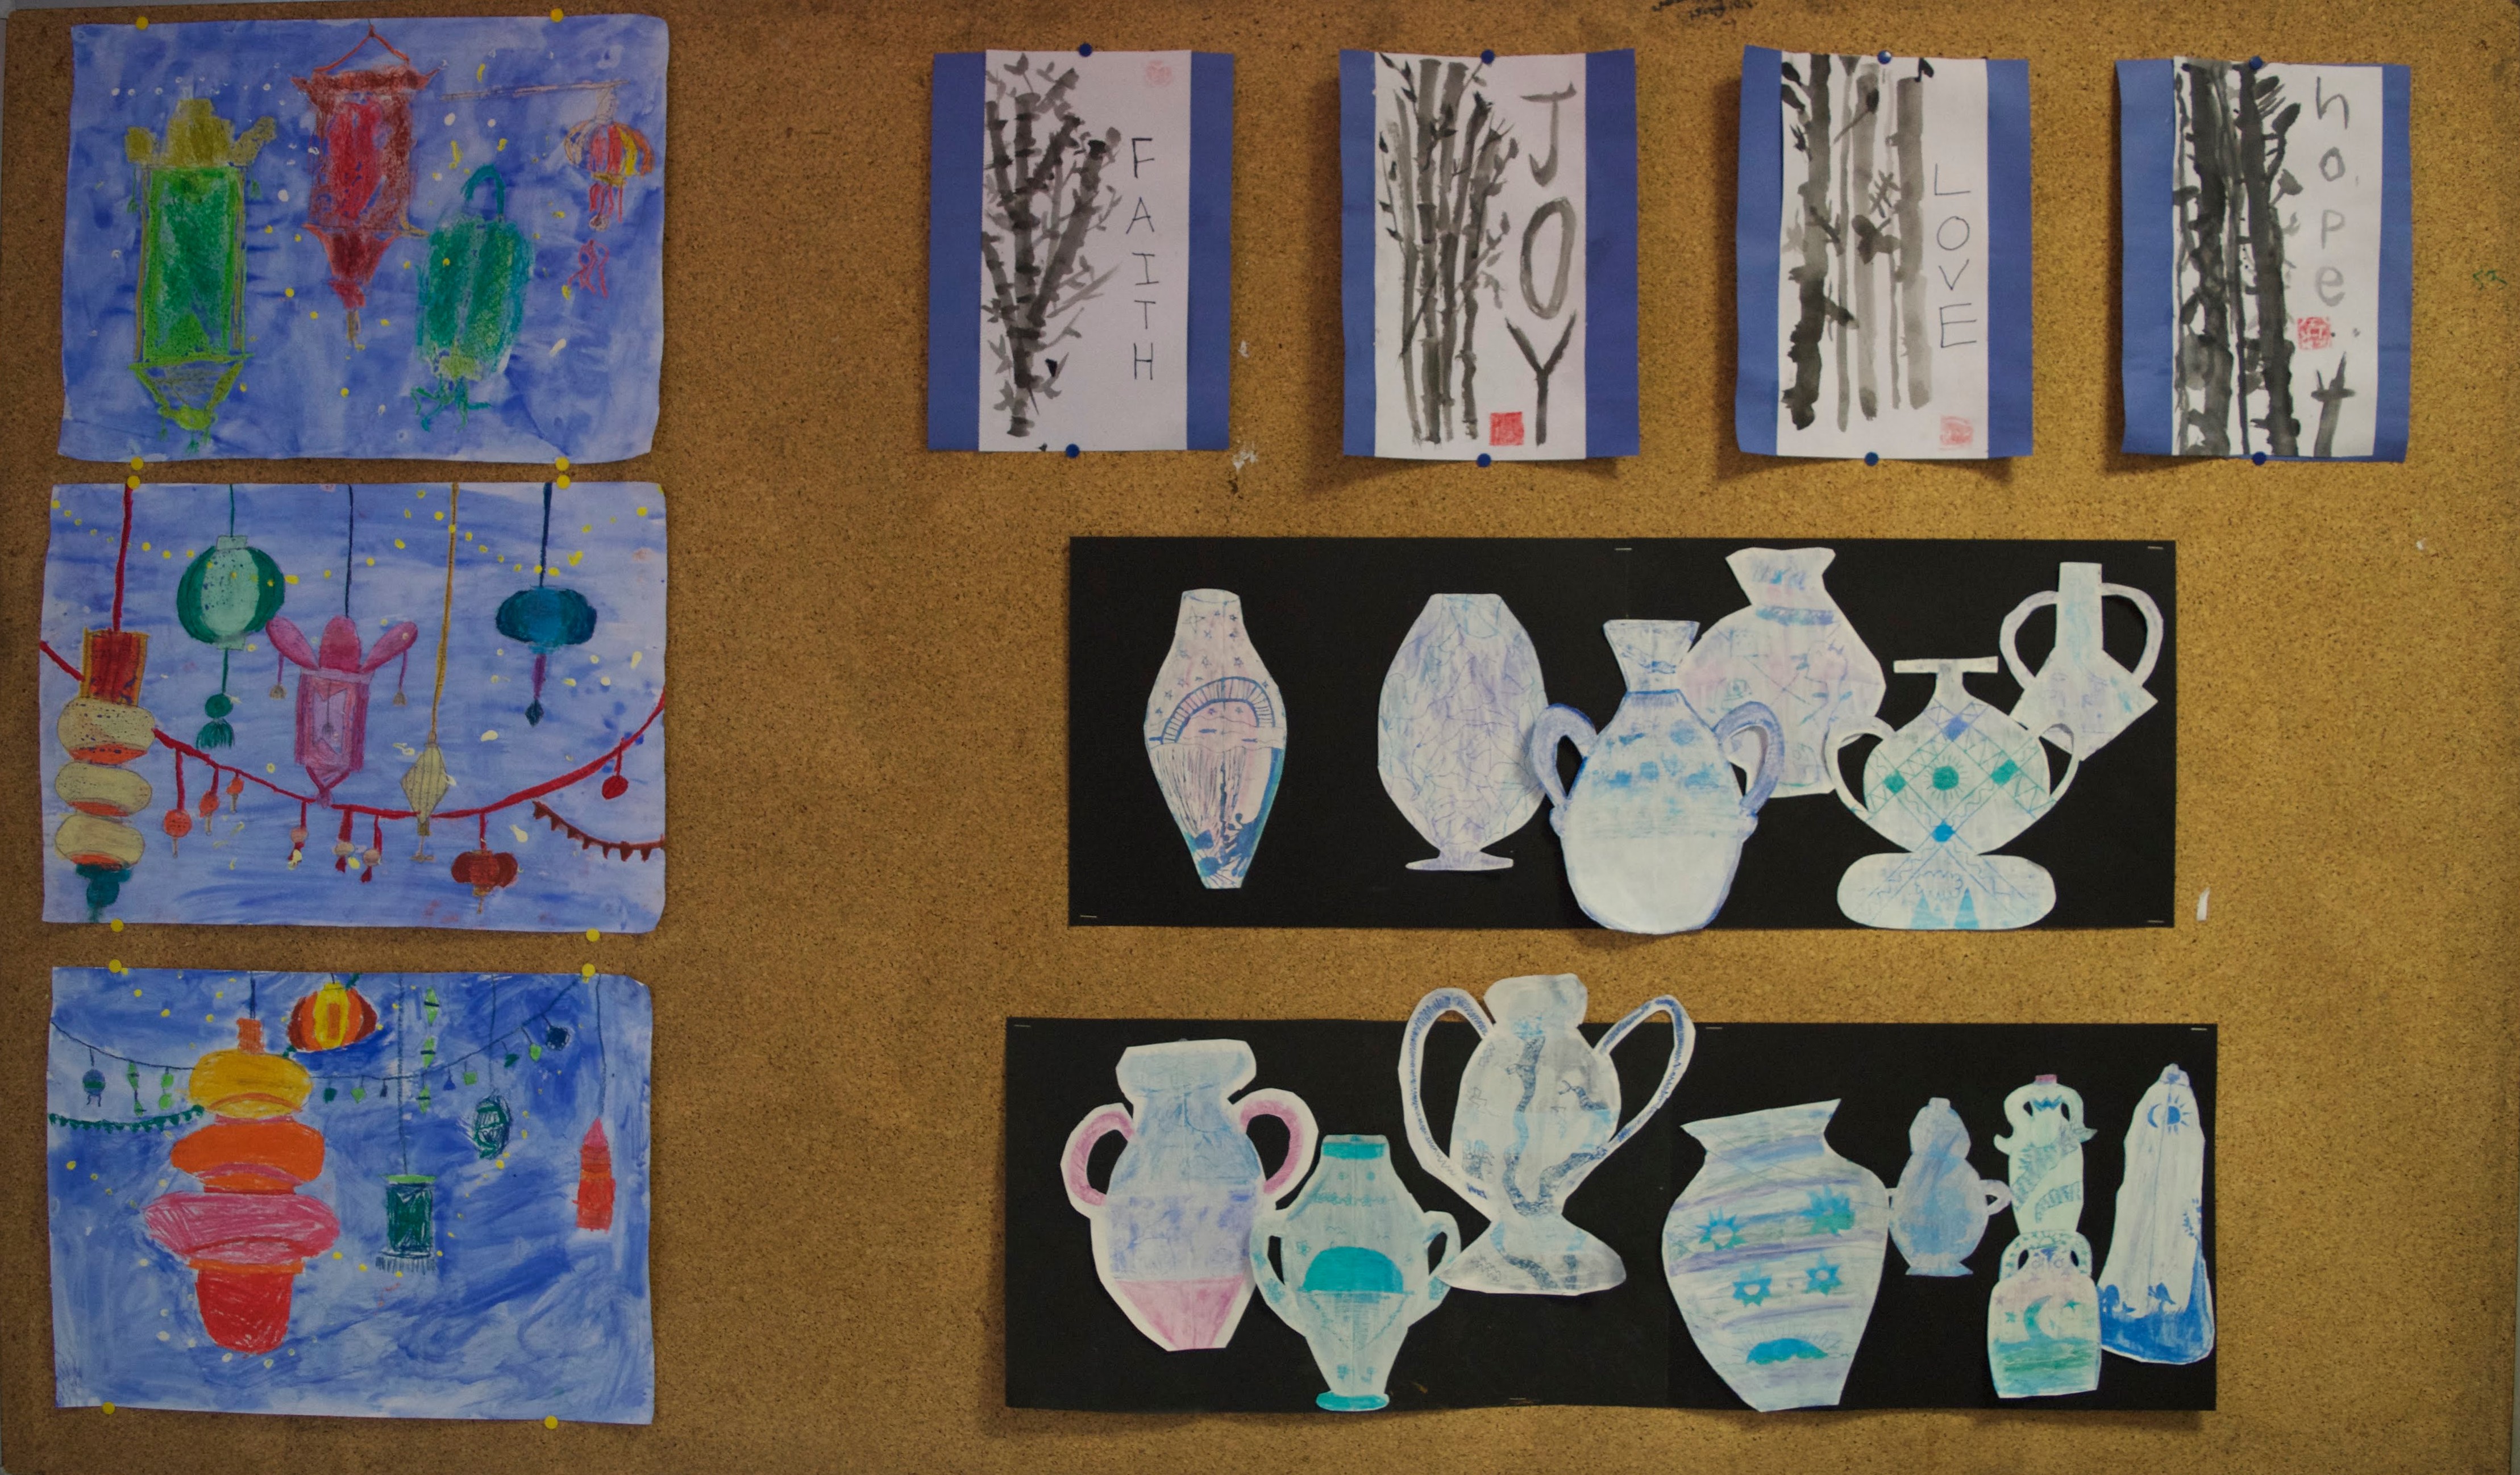
We looked at the Chinese lanterns used in decoration at New Year. First we practiced drawing different types of lanterns in a step by step guided drawing, and later worked independently to create our own composition of lanterns. We discussed drawing to fill the whole space on the page, with bigger lanterns in the front and smaller ones behind.

I introduced my students to value and analogous colours so we could create lanterns that popped off the page. The goal was to get them to use a light, medium and dark version of a colour within one lantern.

After tracing over all of our pencil lines and colouring in each of our shapes, the students painted the background with blue tempera paint. The pastel resists the paint, so we needed to make sure all the white space was coloured in!

The final step was to create dots/strings of light with yellow and white in the background. Students printed these with the end of a paintbrush.

Fourth Grade:

We studied the art of sumi-e brush painting. First we practiced holding the bamboo brush and making different types of strokes. The next class, we put our practice to the test and painted compositions of bamboo. The students chose one word/fruit of the Spirit-love, joy, peace, hope, faith- to write vertically down one side of the paper. Our final class, I had the students design a signature chop (from foam) to sign their finished piece, and then mount the finished works on construction paper.

Fifth Grade:

Fifth graders looked at the art of porcelain Ming vases. We discussed the variety of different shapes and silhouettes. I demonstrated how to create a symmetrical vase drawing with two sides that mirrored each other. These pencil outlines were filled in with different shades of blue pastels. The next class, we painted over the pastel layer with white tempera, and made drawings of design ideas for our vases. During the final class, designs were scratched into the paint to reveal the blue layer underneath. Vases were cut out and mounted together in a composition on black paper.

This slideshow requires JavaScript.

DSC_0015

Symmetry Tile Design Unit

It has been two whole years since I taught all of the elementary grades. This year, one of my goals is to teach a topic across the grade levels- scope and sequence here I come!

K/1 paper symmetry designs

The kindergarten and first graders looked at examples of symmetry patterns in quilts. We did a lot of practice together first- creating symmetry with wooden shapes on the carpet and drawing collaboratively on the white board. I had the students fold their squares into four sections- whatever paper shapes they put into one section, had to be repeated in the other sections. Some of the students understood to mirror the design along lines of symmetry, others did not quite get the concept. The first graders finished sooner and had time to add extra detail with line overtop of their paper designs.

2/3 pastel symmetry resist and colour wheel

This slideshow requires JavaScript.

I had them draw a pattern using shape and line in three sections of a circle diagram. We then folded the circle so the pattern was on the inside. At the windows, I demonstrated tracing overtop of the lines (with pencil) to create a transfer of the same pattern onto the remaining three sections *insert gasps of awe and wonder. The next lesson we discussed primary and secondary colours, mixing and painting them into the sections of the circle. The pastel design underneath created a resist and mostly showed through tempera paint. The final step was cutting out the painted circles, mounting them on black paper and using pastel to create a line design around the edges to frame the finished pieces.

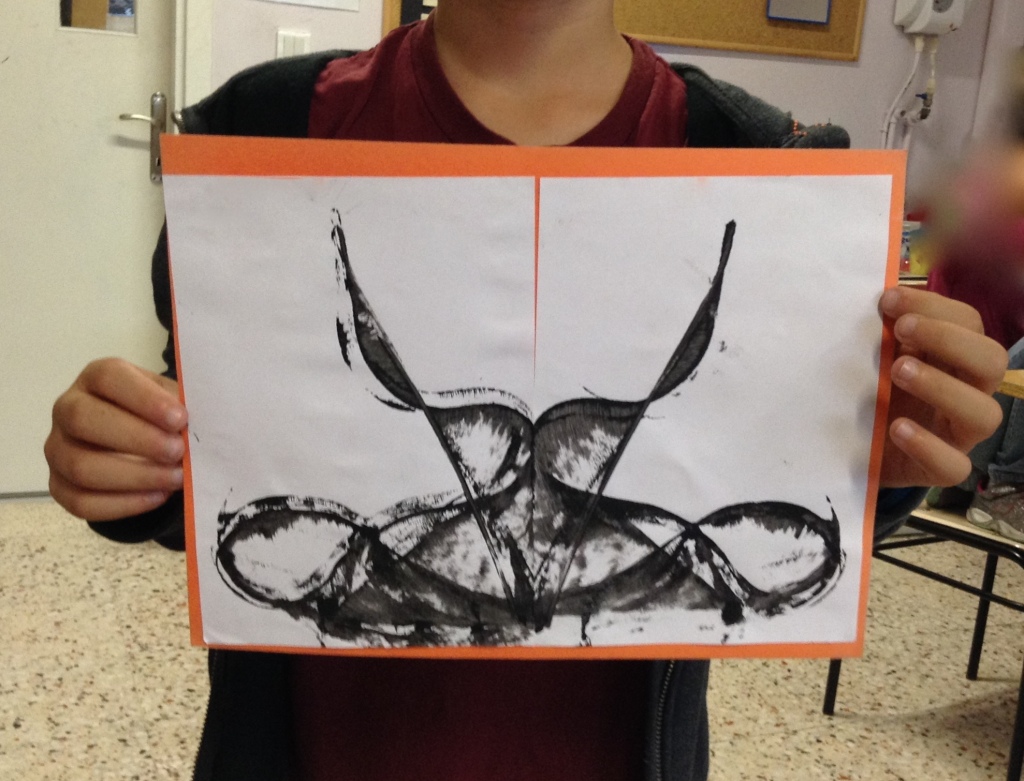
img_5389String Painting

A bonus activity I tried with 2nd grade. While chaotic and messy, it was worth it to see their reactions when the papers came apart to reveal each print… and to hear that they were talking about it long after the class!


and a second project…

2/3 3D radial sculptures

I did this project a couple years ago with 6th grade. I decided to try it with a younger age group since the kiddos are always asking for paper to make folded creations. I taught them a few basic folds to get them started, and we folded the background squares to create lines of symmetry. Any shape added to the design had to be repeated in adjacent sections Some of them got the concept of radial symmetry, I was content to let others make two halves of the design that mirrored.

4/5 radial name design and colour schemes

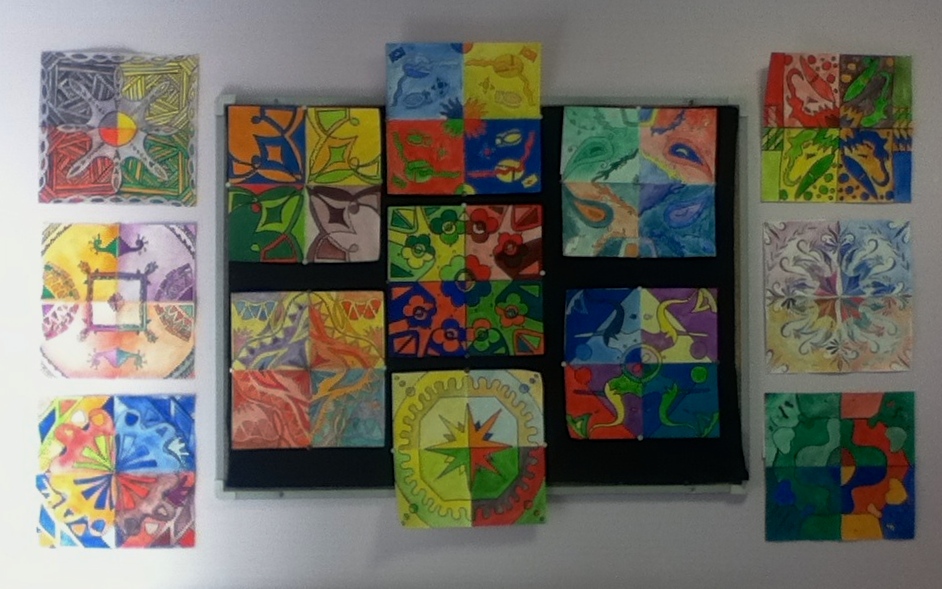
Previously, in high school, I have done a similar project with colour schemes and the students each come up with their own designs. For this version, students practiced writing their names in many styles before choosing one to draw and transfer to each section of their tile to create a radial design. We then spent several classes learning about and practicing colour schemes, including: primary, secondary, warm, cool, monochromatic and complementary. Each section of the tile is painted using a different colour scheme- 6 in total with two repeats (though some students were eager to learn new schemes- neutral and tertiary). These ones are taking us a while, here are the finished ones so far!

Colour Scheme Tile Designs

As a first project with a new class of the semester, I had the opportunity to try something new! These tile designs turned out beautifully- it was the perfect project for reviewing several art elements and getting everyone on the same page.

This slideshow requires JavaScript.

tile14

It took me FOREVER to hang these, with an odd number of paintings and a bulletin board that is too small. I take hanging artwork very seriously, perfection is essential for presentation!