Printmaking on Repeat

Whew, it has been a busy month! I have enjoyed revisiting these lessons  from a few years ago, having made some improvements (check back here, here and here for the original posts).

5th and 6th Grade: Gelli Monoprints

7th Grade: Collographs

20181204_094927

Students made collograph plates by gluing textured materials: cardboard, felt, wallpaper, string to a cardboard surface. Students printed an edition of three prints, plus two artist proofs: one in an additional different colour, and one incorporating chine collé (tissue paper that gets glued to the paper at the same time as printing.

Once they finished printing, students covered their collograph plates with tinfoil to create a repoussee of the textures present. Colour and detail was added overtop with sharpie markers.

8th Grade: Styrofoam Relief Prints

The students created these prints by carving lines into styrofoam using a dull pencil. An edition of 3 prints were made, in addition to two artist proofs: one incorporating chine collé and one reduction print with two colours. The reduction prints were made by printing a first layer in one colour, drawing additional detail and line work on the plate and printing again overtop of the first layer in a second colour.

And, amidst all the flurry of printing with 70+ middle schoolers, I decided to host another after school workshop for my fellow teachers!

Haring Take Two

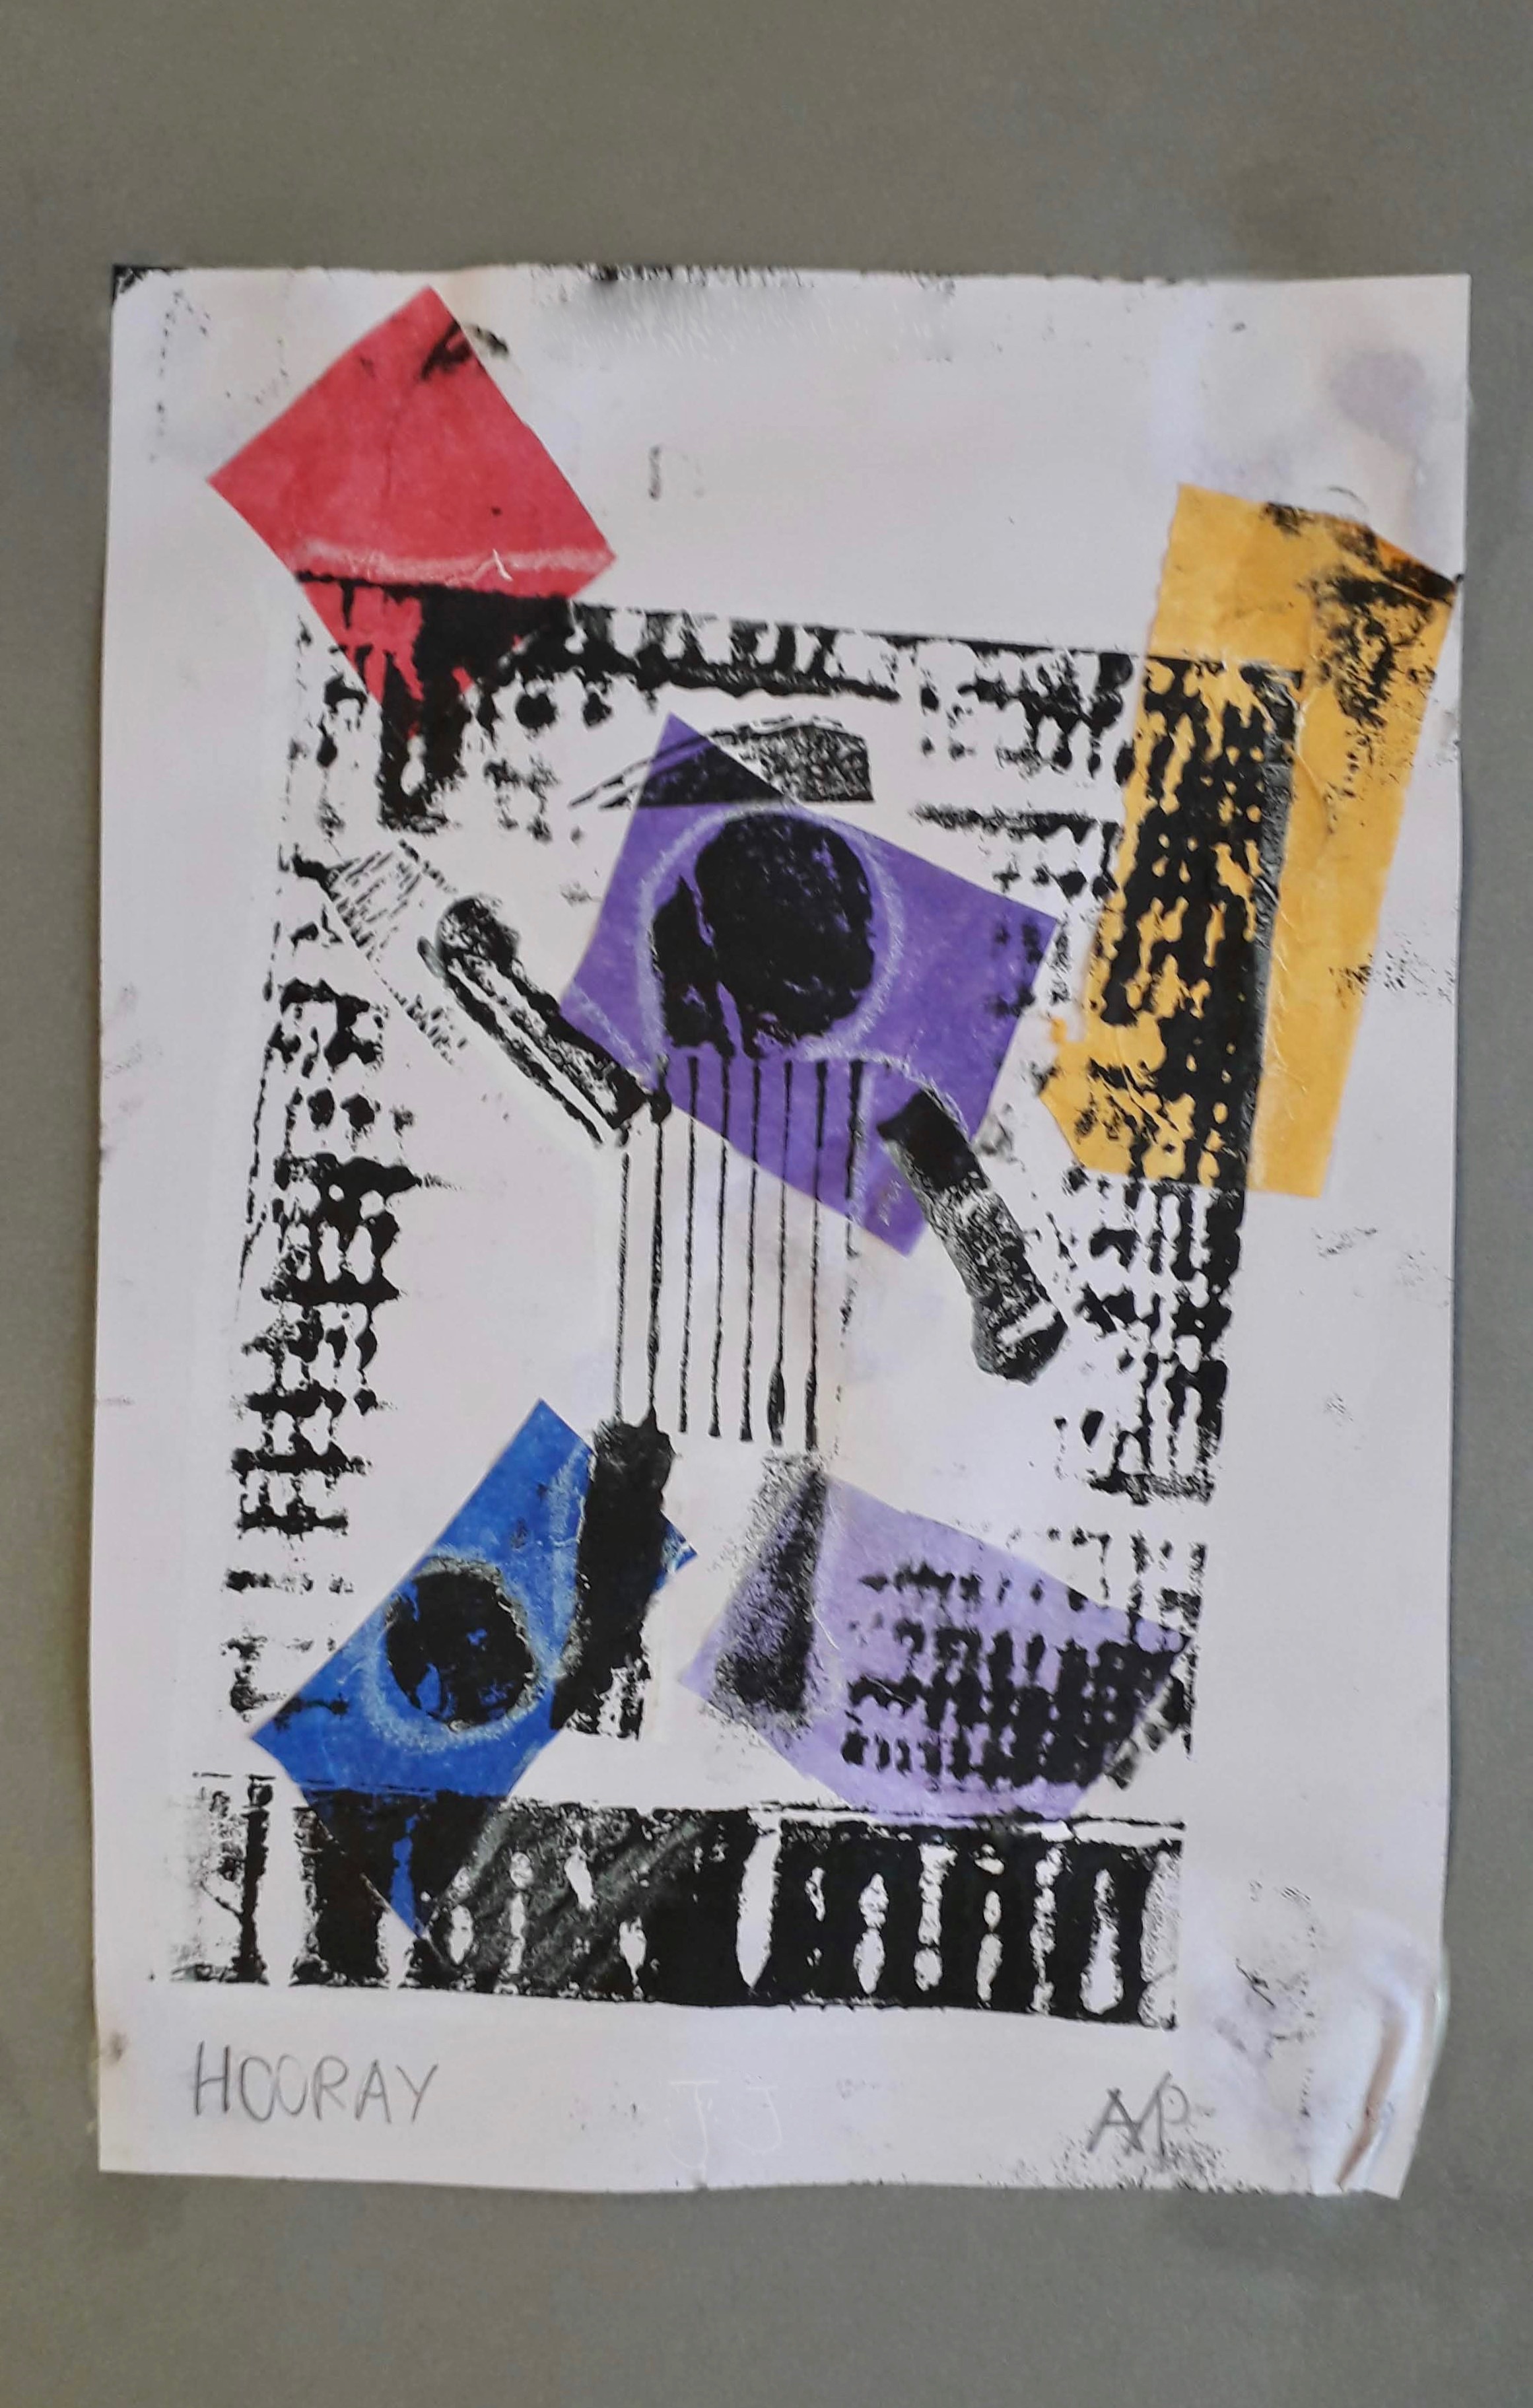
I introduced the artist Keith Haring to my middle school classes through new printmaking projects. We discussed the elements in his work and created our own Keith inspired prints. The sixth and seventh graders explored the process of gelli mono printing with collage and the eighth graders worked on a simpler version of the styrofoam relief prints with chine colle (*a fancy printmaking term for a technique involving tissue+glue). I felt a bit hurried to get the work finished due to class time constraints and the approaching Christmas break. Here is the first batch of mono prints, complete with creative titles. Stay tuned to see the finished relief prints!

This slideshow requires JavaScript.

The Art Department Takes Over the Display Case

We have just finished up the first quarter of the school year. I was looking for a place to put all of the beautiful sculptures the middle schoolers have been working so hard on. After all, people needed to see them! I was granted permission to replace all of the old trophies in the display case with a temporary exhibition. The sculptures fit in well as trophies in and of themselves. I am so proud of what we accomplished and this is the perfect place to show them off!

display

Excuse the poor picture quality, my camera broke this week and I am trying to make do!

Keith Haring Reduction Prints

Here is yet another of my challenging project ideas where I ended up learning right along with students! I realized that the concept of reduction printing is one that is hard to explain. While I wanted them to plan out each step of the design, this is not always possible- surprises happen and often they turn out the best. I remember back to the good old days of art school and how difficult it was to figure out how all those layers of colours would interact.

So… reduction printing is when you use one surface to print and print in multiple layers. In our case, the plate was styrofoam, which is not the easiest surface to work on, but it is readily available and is a good place to start. Each time you print, part of the plate is cut away, adding detail and colour to the overall design. Keith Haring was the artist inspiration for the project. We love to listen to music and move around in art class, so I thought discussing Keith’s action packed work would get everyone excited. It was a success! We had a lively discussion about what is considered art and where it should be displayed. Haring is a good example of someone who added to that definition and that made art more accessible to the public.

The finished products of our printmaking unit are multicolour prints inspired by Haring. We used multiple colours and line to create simple figures with a message. The element of line was also used to convey movement and texture. Students created an edition of three identical prints and at least two additional colour variations.

This slideshow requires JavaScript.