Zines

As a final assignment, I introduced my students to the world of zines

A zine is a handmade, small circulation self-published booklet of original or appropriated text and images. Zines are a product of a single person or a small group, and are easily reproduced into physical prints via a photocopier for distribution to a wider audience.

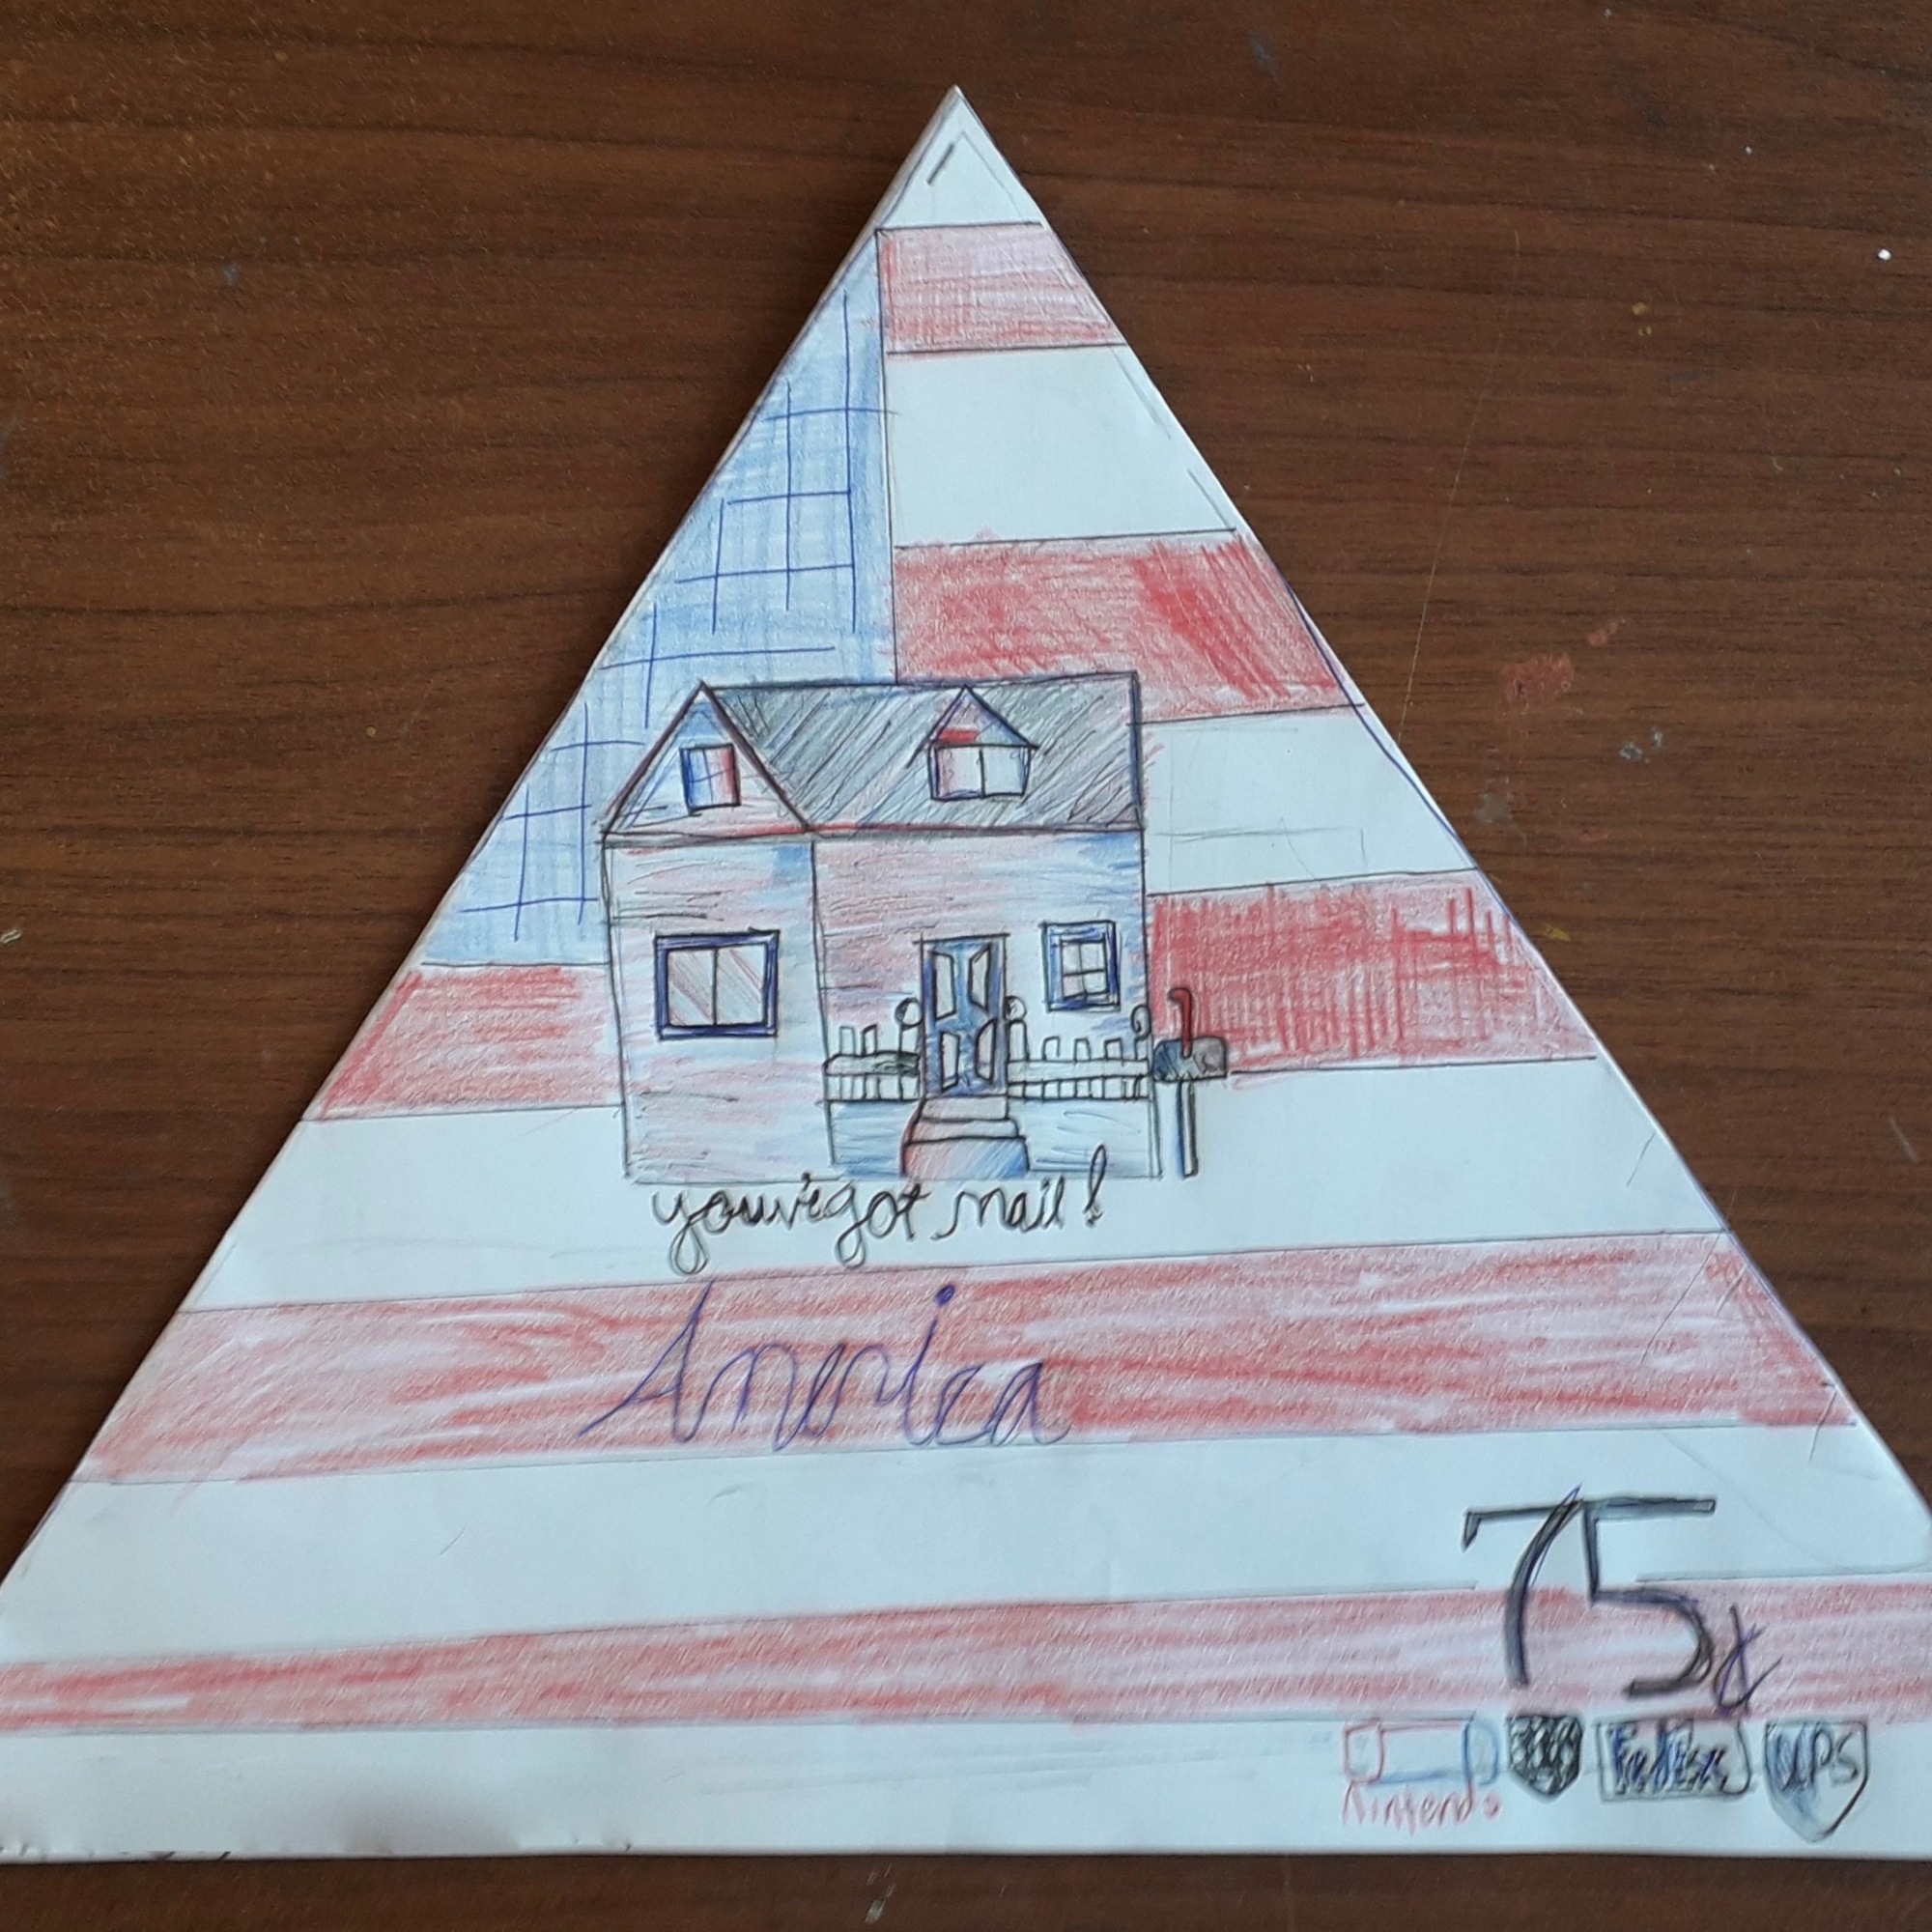
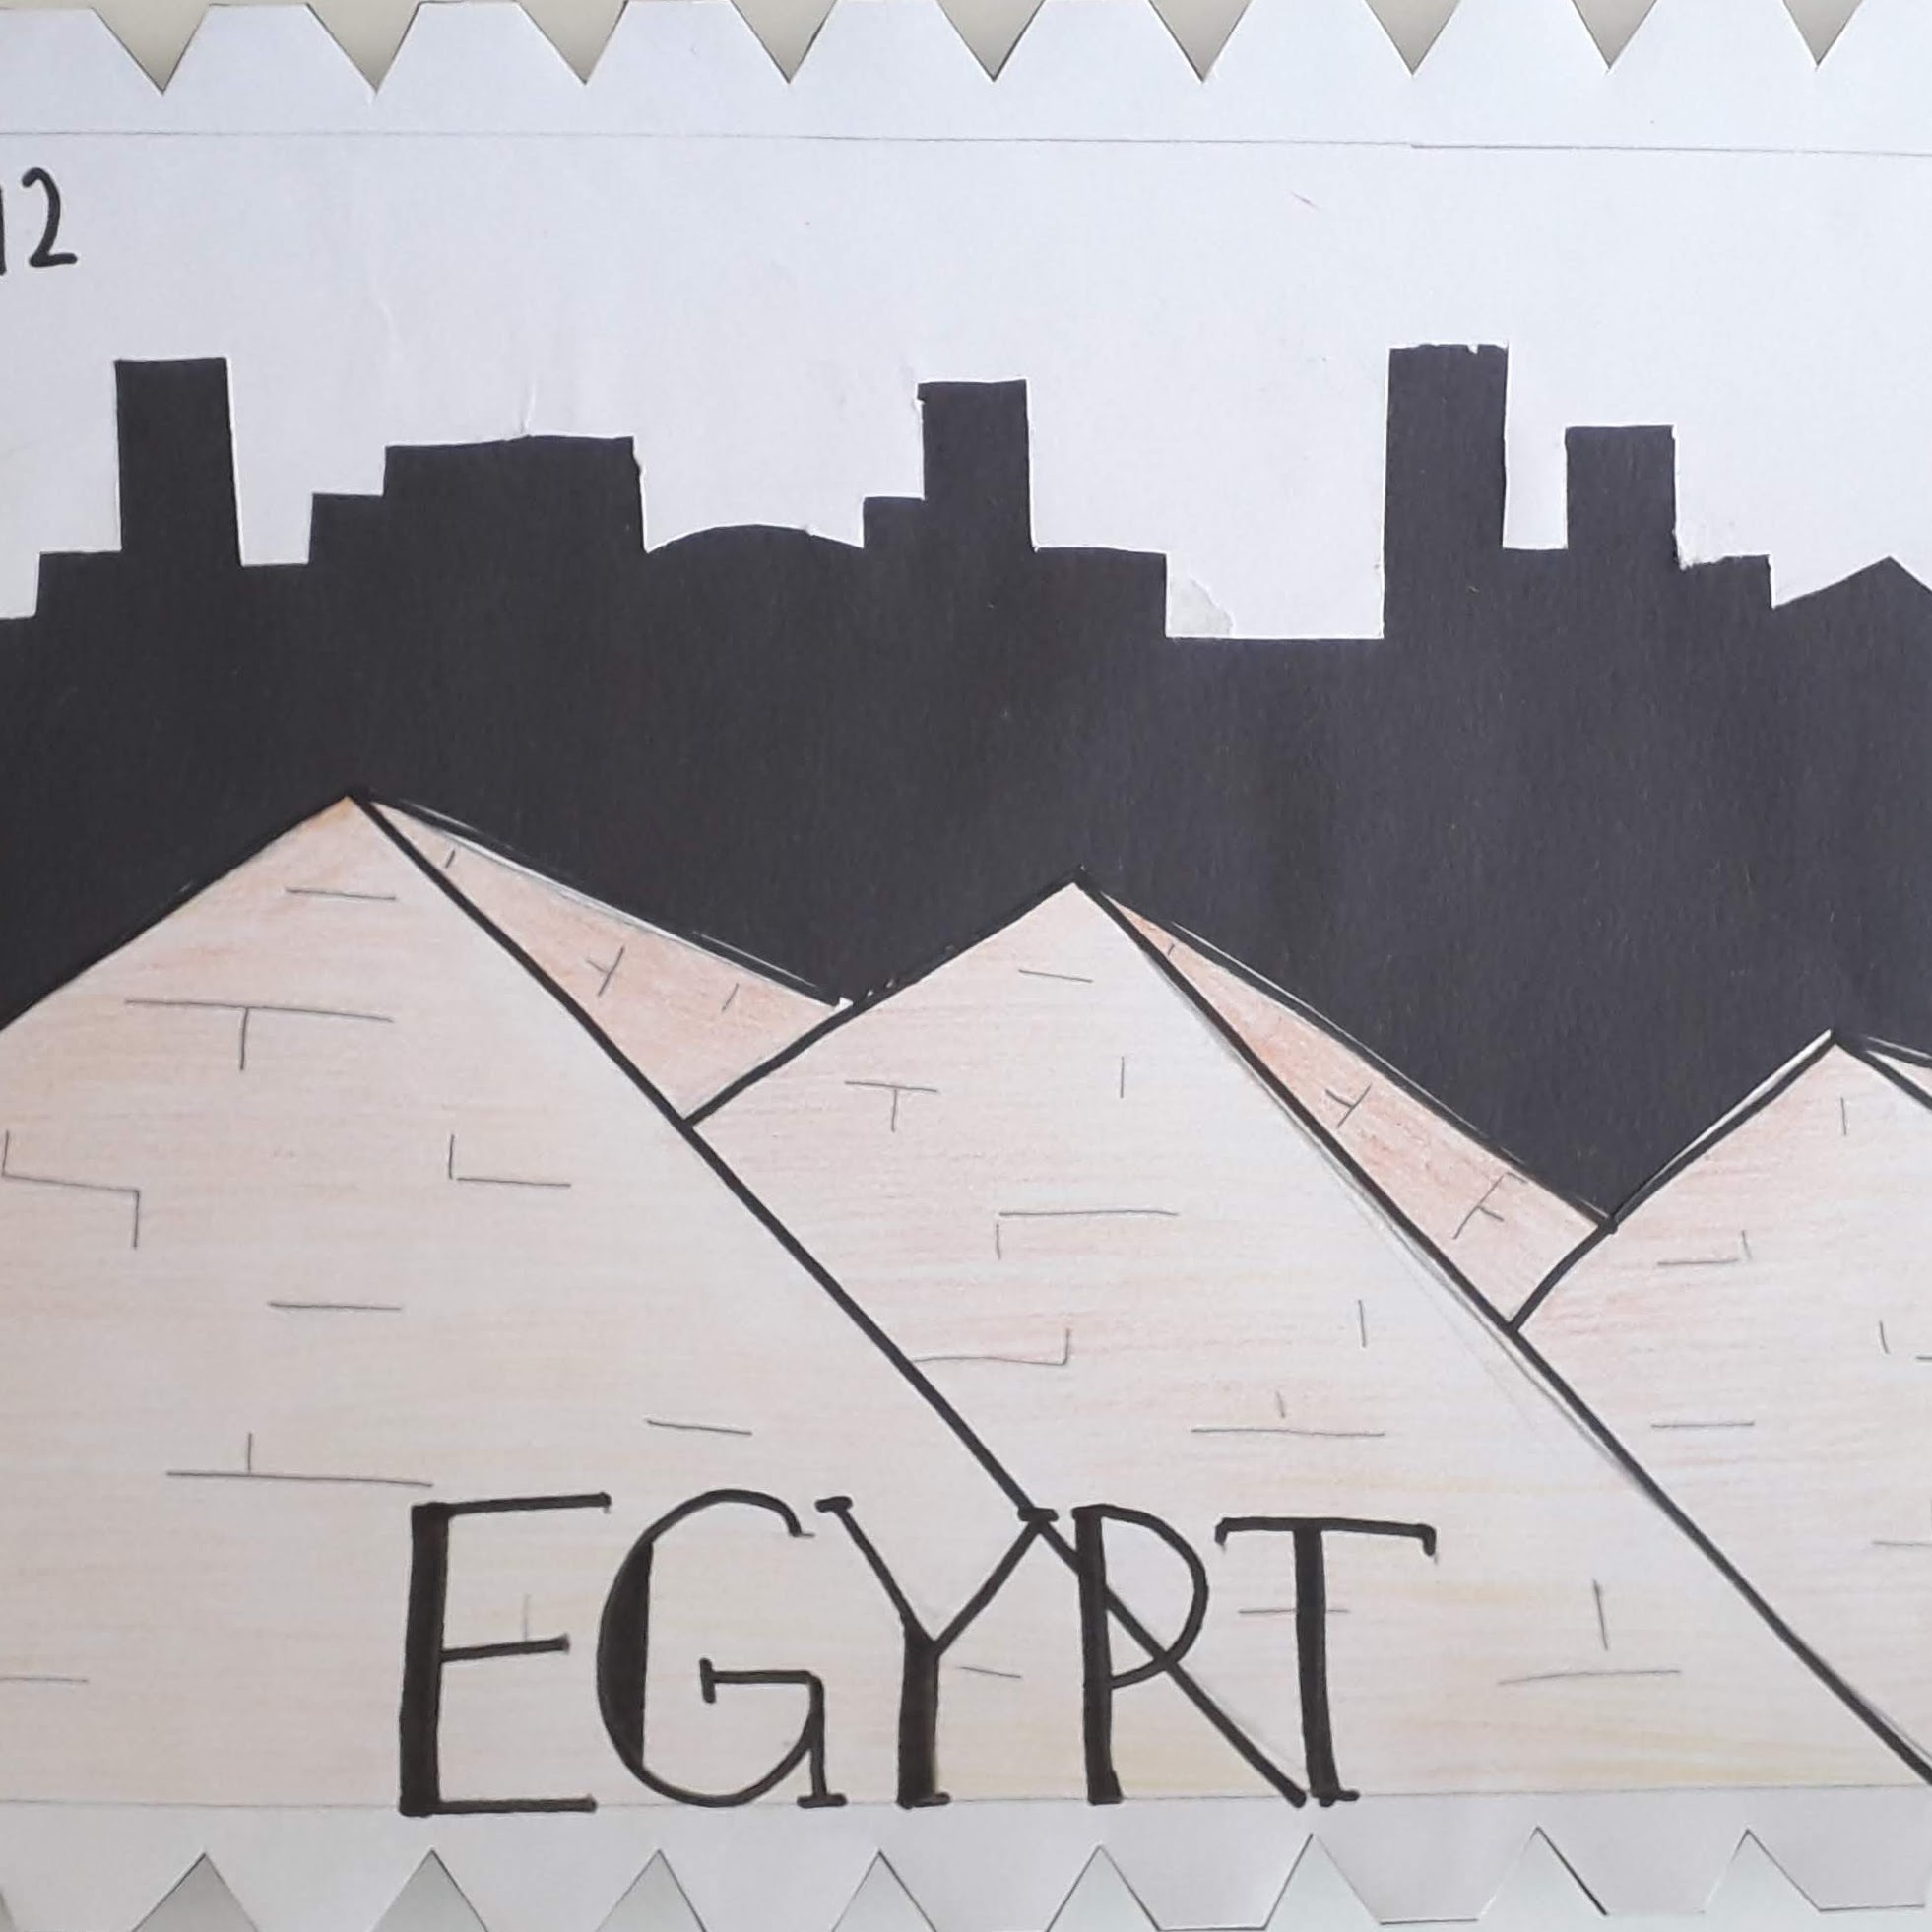
We started out with brainstorming a list of topics- zines can be made about anything! I asked them to consider what was important to them, what message they wanted to share with the world; as our zines would become the vehicle to get art into the wider community. Students then chose a topic from their lists and broke it down into subtopics, thinking how they would create content for an 8-page booklet.

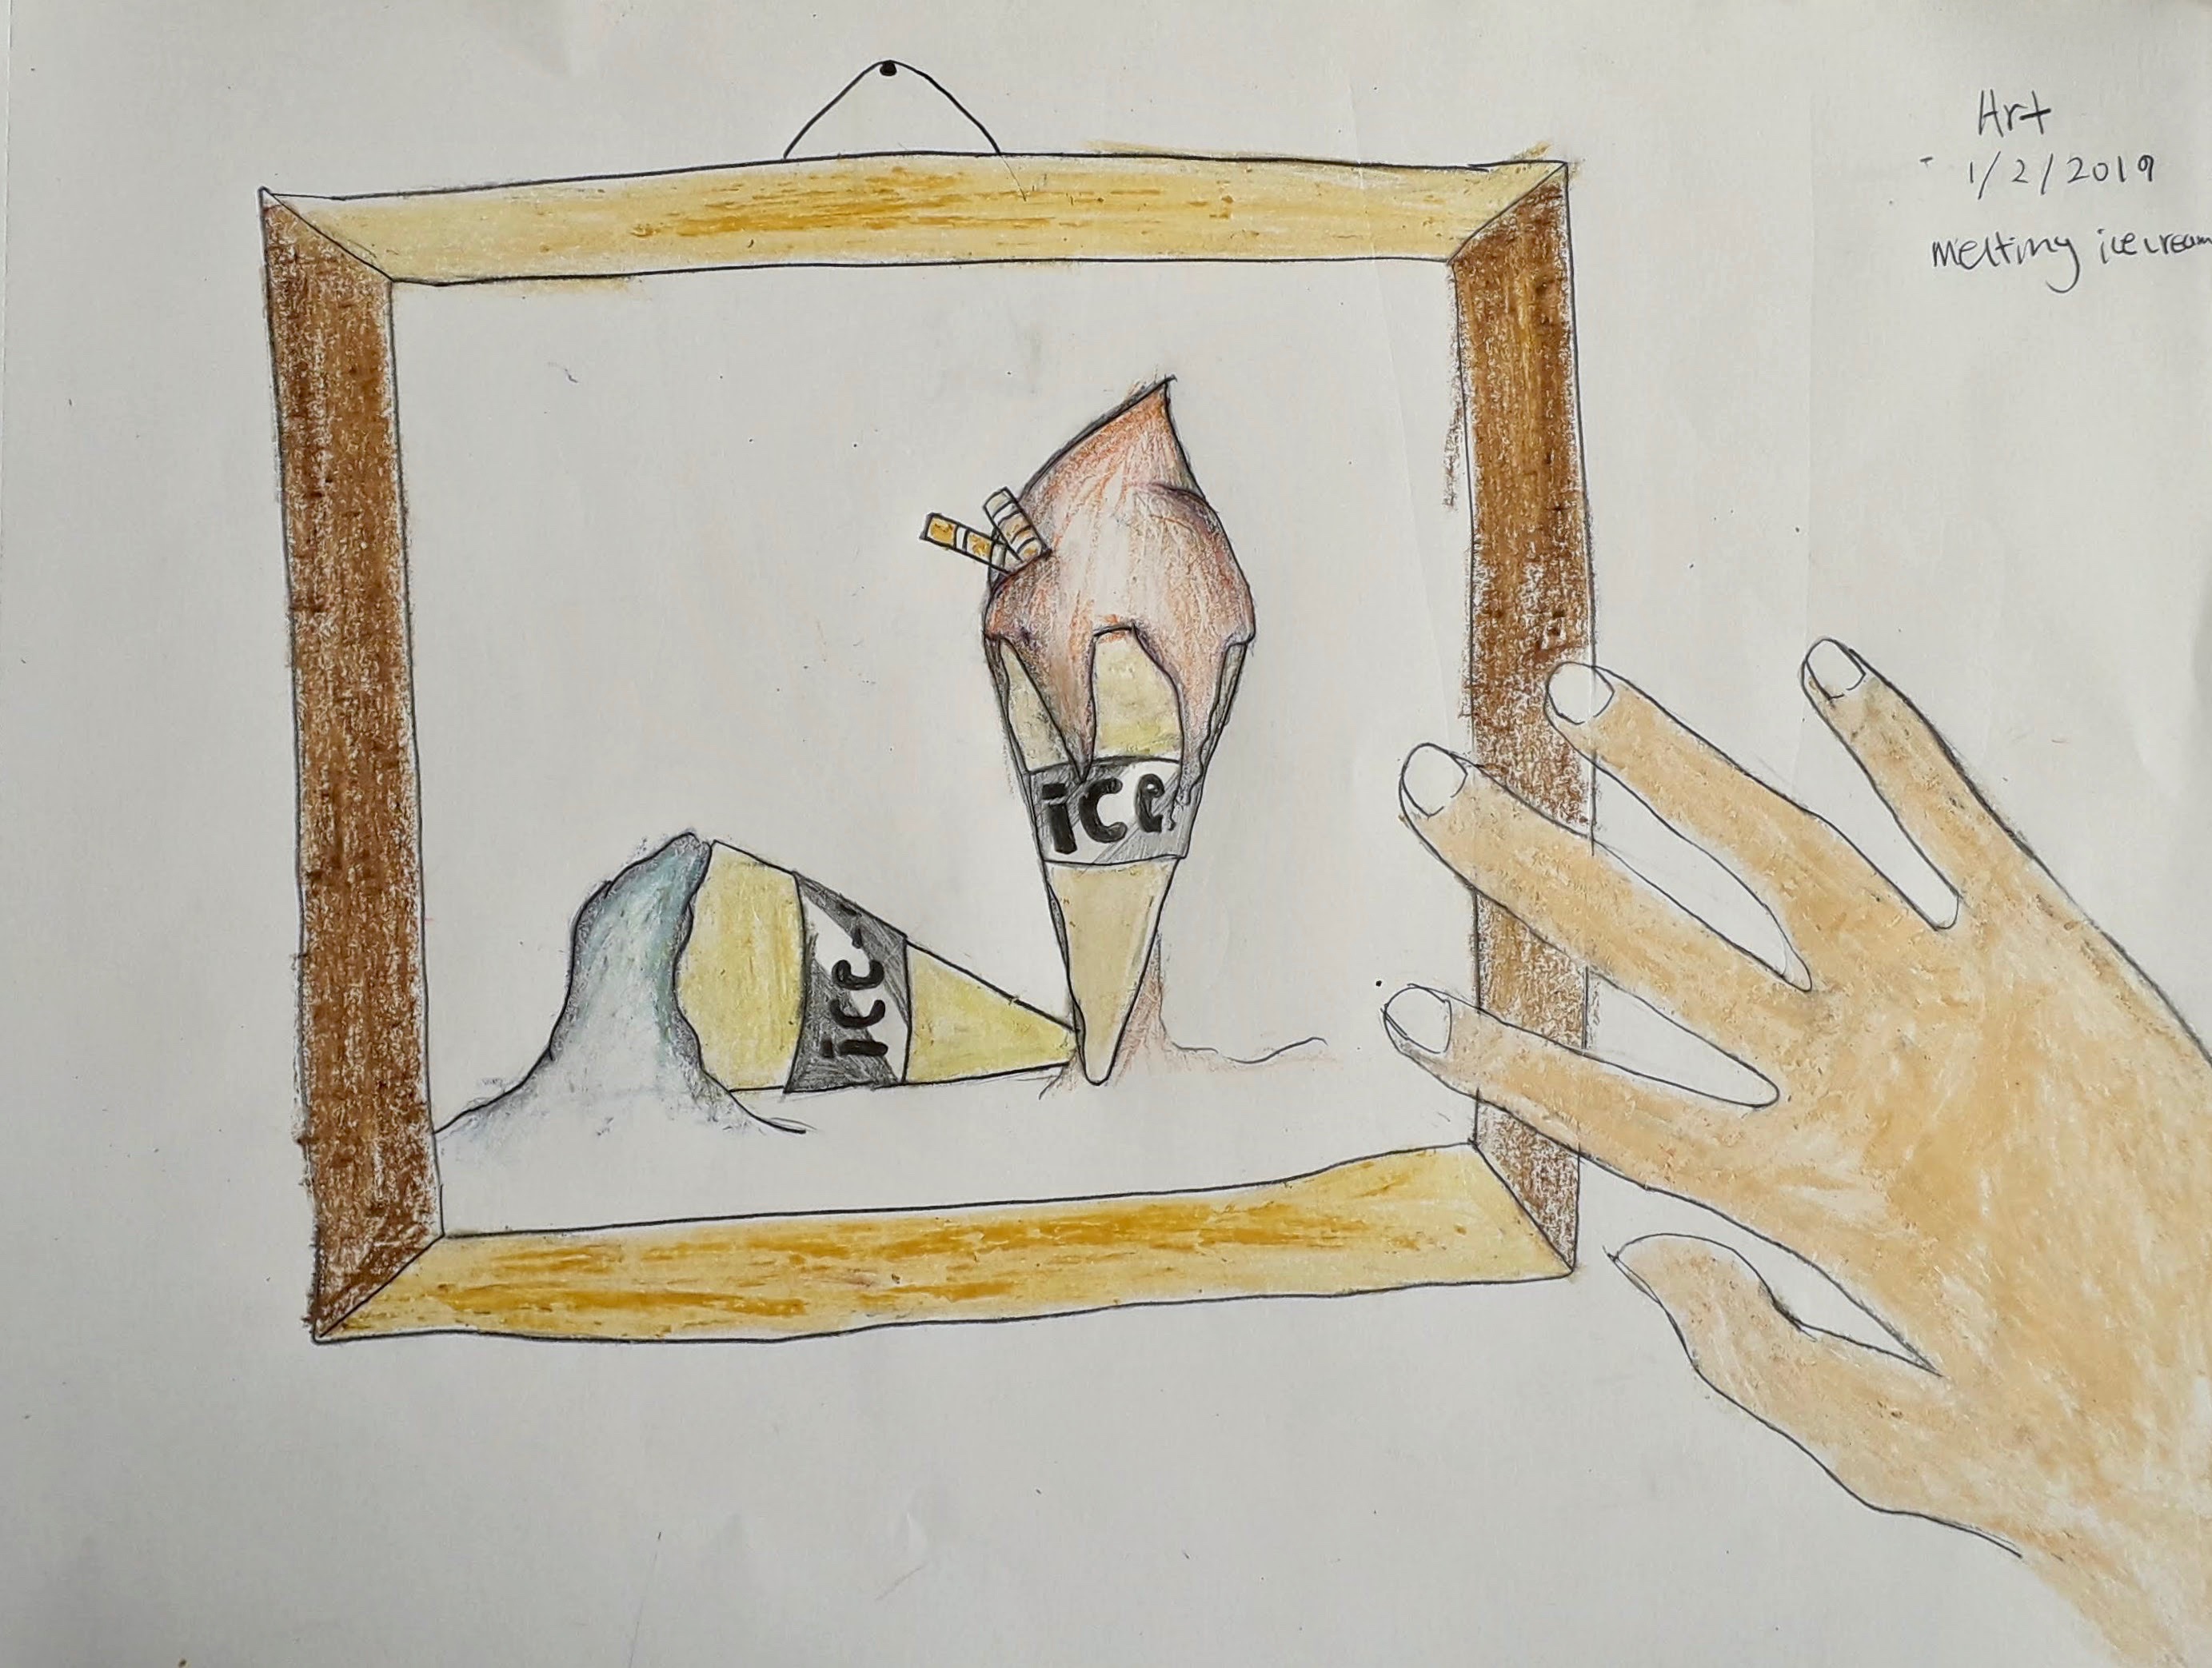
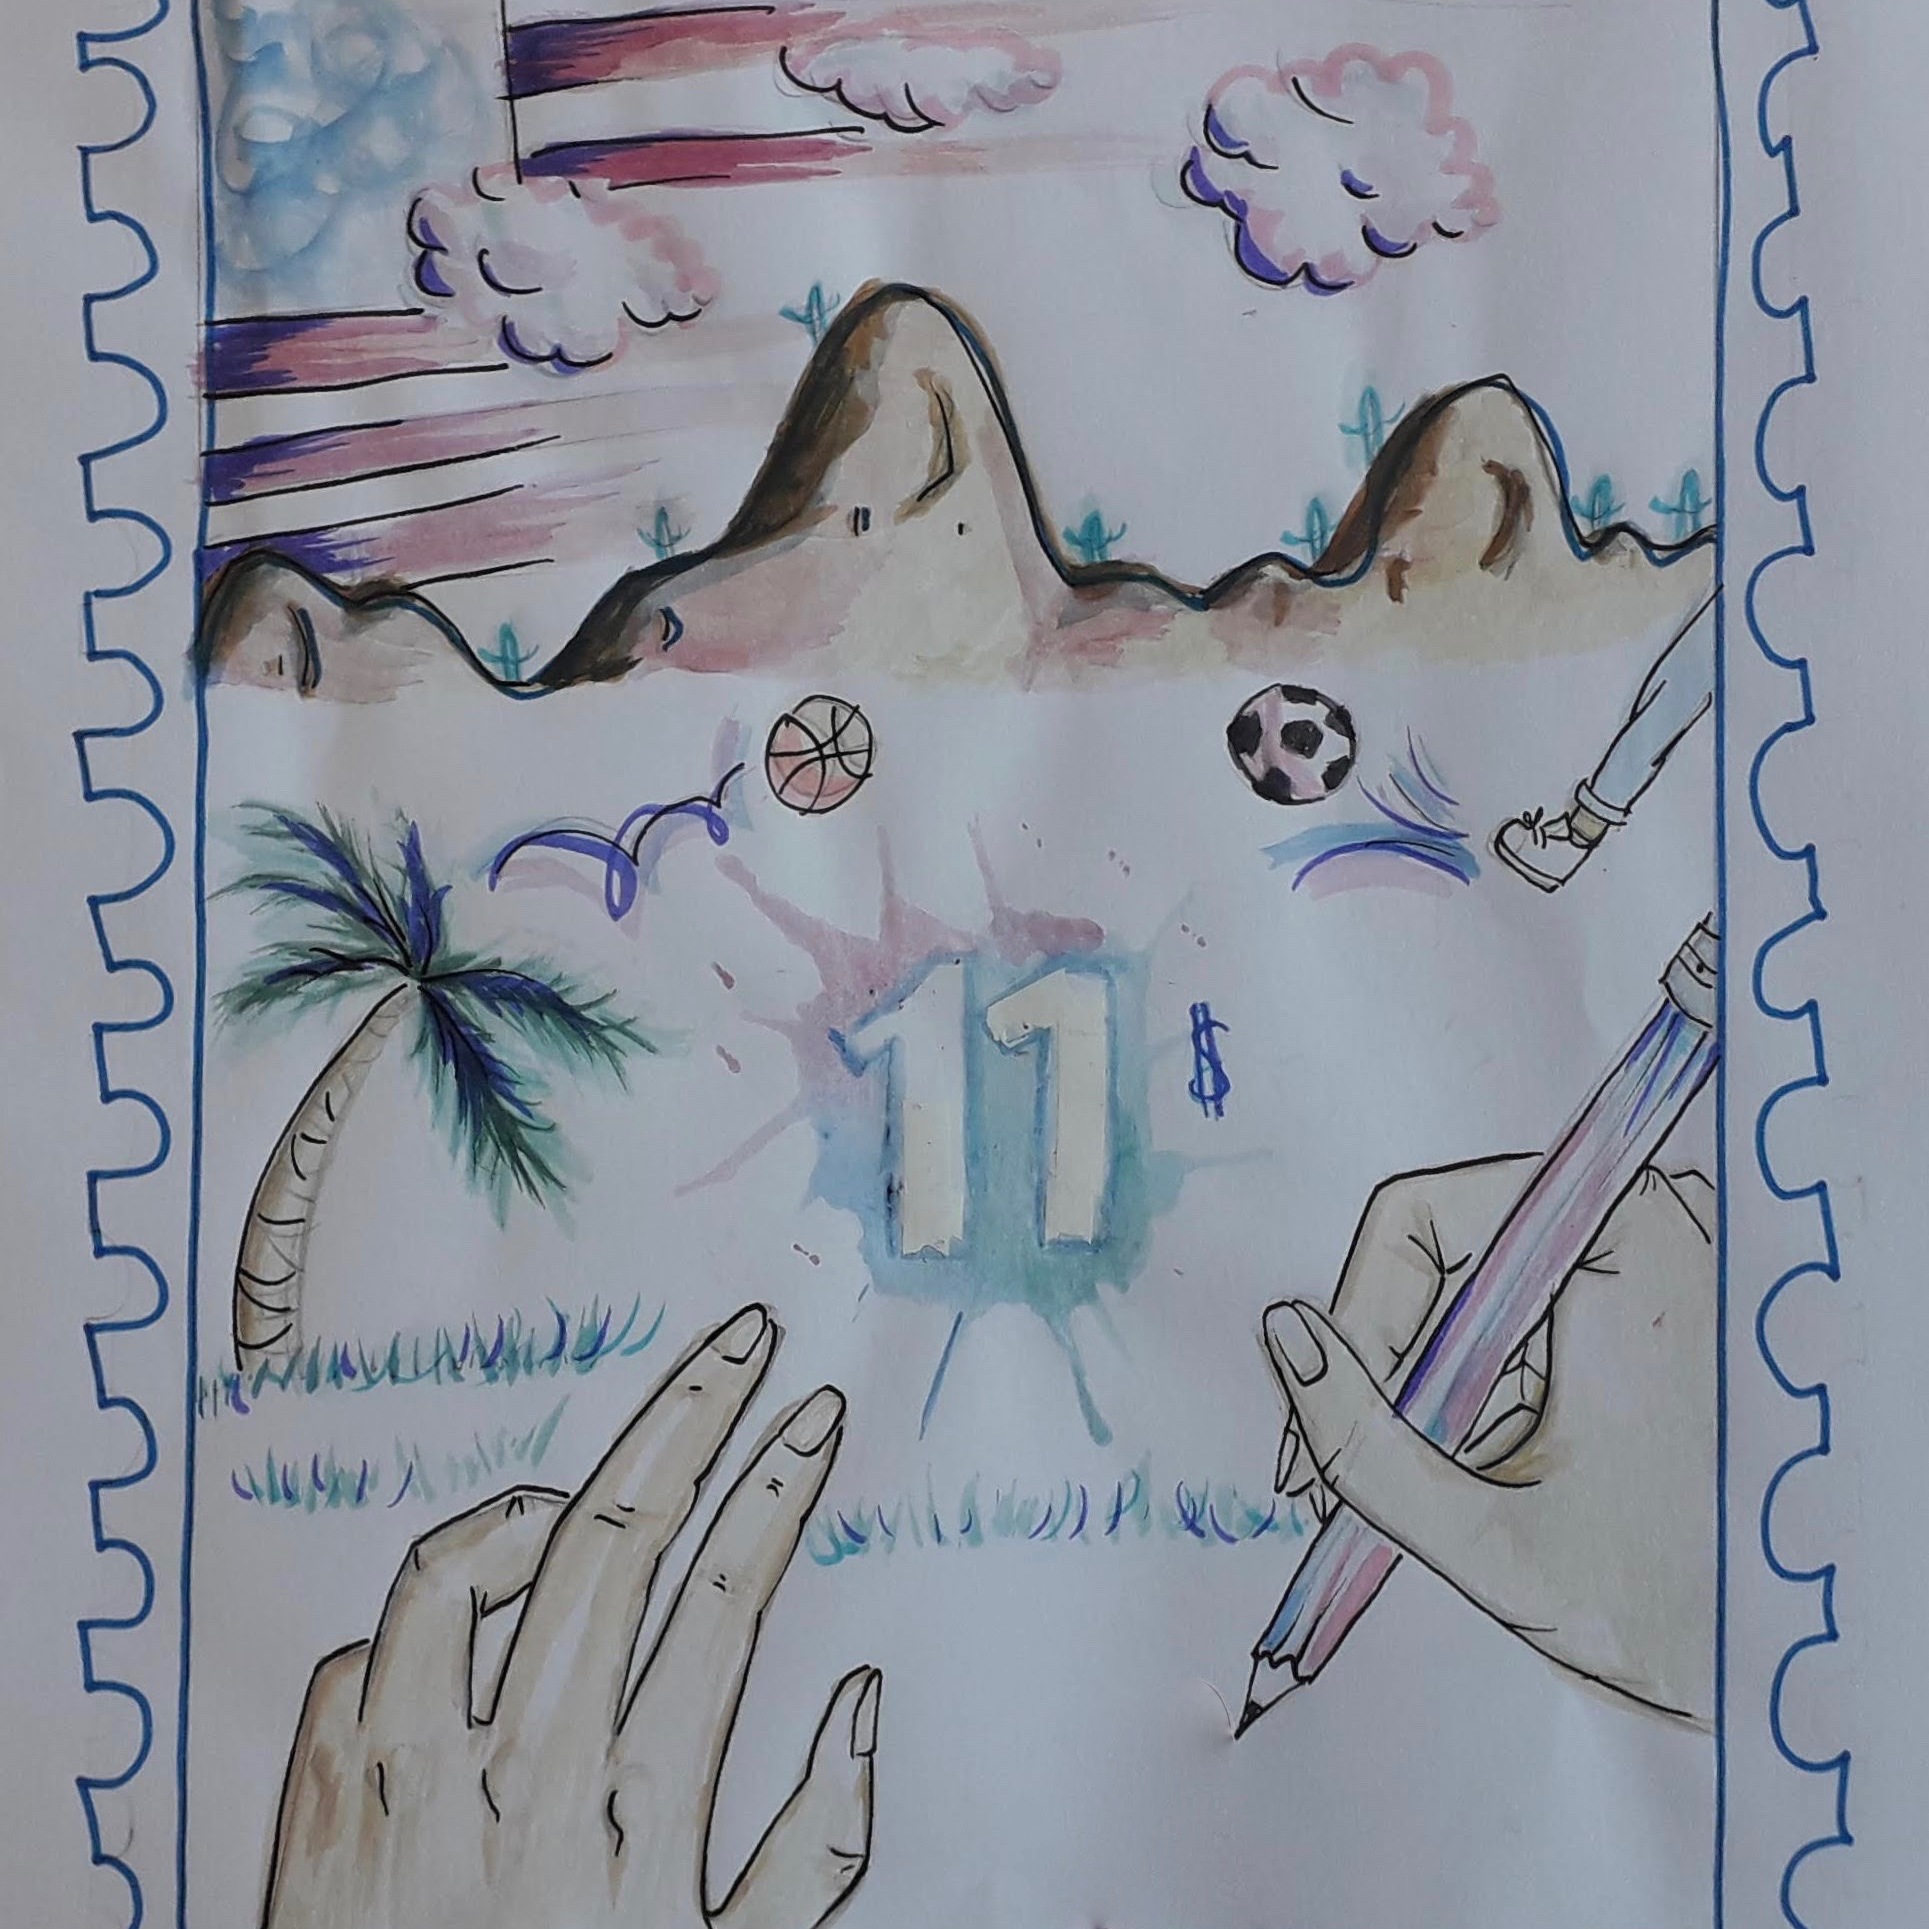
Each student created a thumbnail plan in their sketchbook first before creating a master copy. I showed the students how to create an easy booklet from one sheet of A4 paper. Students explored combining drawing and handwriting with collaged imagery and text. We also discussed variation of line weight and value. Students traced over their final pages with black pen, some even added a mid tone gray with pencil to create a greater range of contrast for photocopying.

Alas, time always runs short at the end of the year. Although we discussed how we could distribute and share our finished works with the community, only a couple of students could finish and make copies for the public. Here are a few that we had out for our fringe festival at the end of May.

I really love this project as a final summation to the year- an opportunity for students to share their voice and own unique style developed over the course of a year.

From Our Sketchbooks: Finish the Picture

This is a sketchbook assignment my middle school students have been working on over the past few weeks.

I printed out a variety of colouring pages and cut them up. Each student chose a section and glued it into their sketchbook as inspiration for a sketchbook drawing. They did not see the original big picture, but had to use their own creative ideas to draw and fill the rest of the page. Finished drawings were outlined with black marker.

Pastel Compositions

We started this new semester in middle school exploring the medium of pastel. I had the students try different techniques for applying pastel, including blending, colour mixing, stippling, scumbling and sgraffito. Seventh and eighth grade students chose an object to explore and created several thumbnail drawings before deciding on a composition. These compositions needed to be cropped in close to the object so that it touched at least three sides of the paper. Colour and value were added to the drawings using a chosen group of analogous (not local) colours, and the background with a complementary colour.

Fifth and sixth grade students created abstract design blocks, tracing their line design in glue. Each block had the same entry points on each side so they could connect into a collaborative work. Students explored blending with pastels, and used analogous colour schemes to fill in each section of the design.

Above is the collaborative work fifth grade put together as a present for one of their teachers, who is also my co-homeroom teacher.

Dear Miss Twa

I have returned to this assignment after a few years. I always enjoy learning new things about my students. They are such a diverse group of TCKs; representing a mosaic of cultural backgrounds, languages and experiences. I had them write artist statements in the form of a letter to explain the symbolism within the finished pieces.

This one, for me, seems to best illustrate the Third Culture Kid experience; in both the division and blending together of two identities.

Printmaking on Repeat

Whew, it has been a busy month! I have enjoyed revisiting these lessons  from a few years ago, having made some improvements (check back here, here and here for the original posts).

5th and 6th Grade: Gelli Monoprints

7th Grade: Collographs

20181204_094927

Students made collograph plates by gluing textured materials: cardboard, felt, wallpaper, string to a cardboard surface. Students printed an edition of three prints, plus two artist proofs: one in an additional different colour, and one incorporating chine collé (tissue paper that gets glued to the paper at the same time as printing.

Once they finished printing, students covered their collograph plates with tinfoil to create a repoussee of the textures present. Colour and detail was added overtop with sharpie markers.

8th Grade: Styrofoam Relief Prints

The students created these prints by carving lines into styrofoam using a dull pencil. An edition of 3 prints were made, in addition to two artist proofs: one incorporating chine collé and one reduction print with two colours. The reduction prints were made by printing a first layer in one colour, drawing additional detail and line work on the plate and printing again overtop of the first layer in a second colour.

And, amidst all the flurry of printing with 70+ middle schoolers, I decided to host another after school workshop for my fellow teachers!

Figures in Imagined Environments

I still have not grown tired of this project, even after four years and looking at the 70+ sculptures from this quarter! This is such a fun unit to teach, enjoyed by many (if not most) of my students; and I continually have new ideas of how to reinvent it each time.

This year I had my students draw a background to add meaning to their sculpture. We thought about what pose each figure was conveying, where we might see this pose being made and where we could imagine displaying the finished sculpture to add to its meaning.

The sky was the limit! I watched the ideas take off with the addition of props to enhance a pose, and the development of imagined environments through drawing.

This slideshow requires JavaScript.

see past figure sculpture projects here and here

Beginnings

We are already into the fourth week of school and the busyness does not slow down! Hard to believe that on this day five years ago, I moved to Istanbul. What a wild adventure it has been!

I wanted to share some of the middle school projects from our first weeks. It has been two whole years since I taught middle school, so it will take some getting used to again. I am glad I keep a blog because I have a record to look back on of all the wonderful projects from years past.

20180907_161359
The fifth and sixth graders About Me sculptures

We started off the year with making portfolios- I will have to remember to share some photos!

The new middle schoolers, the fifth and sixth graders made paper line sculptures. These are hanging up in the hallway across from the art room. Each line represents something about the artist; for example, an orange tab if you have been on a train, or a green spiral if you like ayran (a Turkish yogurt drink).

This project may look familiar, it is typically one that I do with kindergarten (see here and here) but I have learned that it works for many ages. Thank you to Cassie Stephens once again for the inspiration!

Fifth through eighth graders also made paper foldables for the elements of art; this was information I knew I wanted them to get down from the beginning!

Here are a few of the finished foldables. Each of the seven elements of art were to be written in an illustrative way; to add meaning to the element. Inside are definitions for each element and further drawn examples.

This slideshow requires JavaScript.


Peruvian Arpilleras

I am so excited about this year’s final elementary pieces! I will be handing over the reins of elementary art to a new teacher next year, so these last moments with the students are precious.

We began this project looking at calendar images; describing the different parts of a landscape, including colours and textures. I had a few volunteers come up to the board to draw lines to show these different textures. Then we got busy painting (and stamping) paper to represent water, rocks, grass, flower fields…

A few lessons were spent painting paper before we had enough, I think we all enjoyed the process. Then we talked about assembling our landscapes in layers on a background paper. We talked about the different colours the sky could be (I ran out of the usual blue paper!) and what we could put in the foreground, middle ground and background. The students cut paper for each of these parts and glued down the pieces. I encouraged them to include additional shapes with paper- trees, rocks, clouds, sun…

A following lesson, we learned how to fold an origami house using two sizes of paper. To create a sense of perspective, we made larger houses to put in the foreground, and smaller ones for further back. We used pieces of foam behind to pop out these houses even more!

Once we had all of our main shapes, we added details. Out came the puffy paint (never thought I would go near this stuff, it has taken 5 years!) We practiced first on scrap paper, making dots, dashes, wavy and zigzag lines before moving onto embellish our landscapes.

The final step to make these arpilleras more textile-like: I had the students punch holes along two of the sides (some chose to go all the way around) and I demonstrated how to ‘sew’/wrap the edges in yarn to finish it off.

They are oh so lovely and colourful, and we learned many lessons along the way


This slideshow requires JavaScript.

Credit for this idea goes to the amazing Cassie Stephens